THE THAMES PATH
Stage 5: Lower Radley to Wallingford
Thursday, June 9, 2011

(1) Radley College boathouse
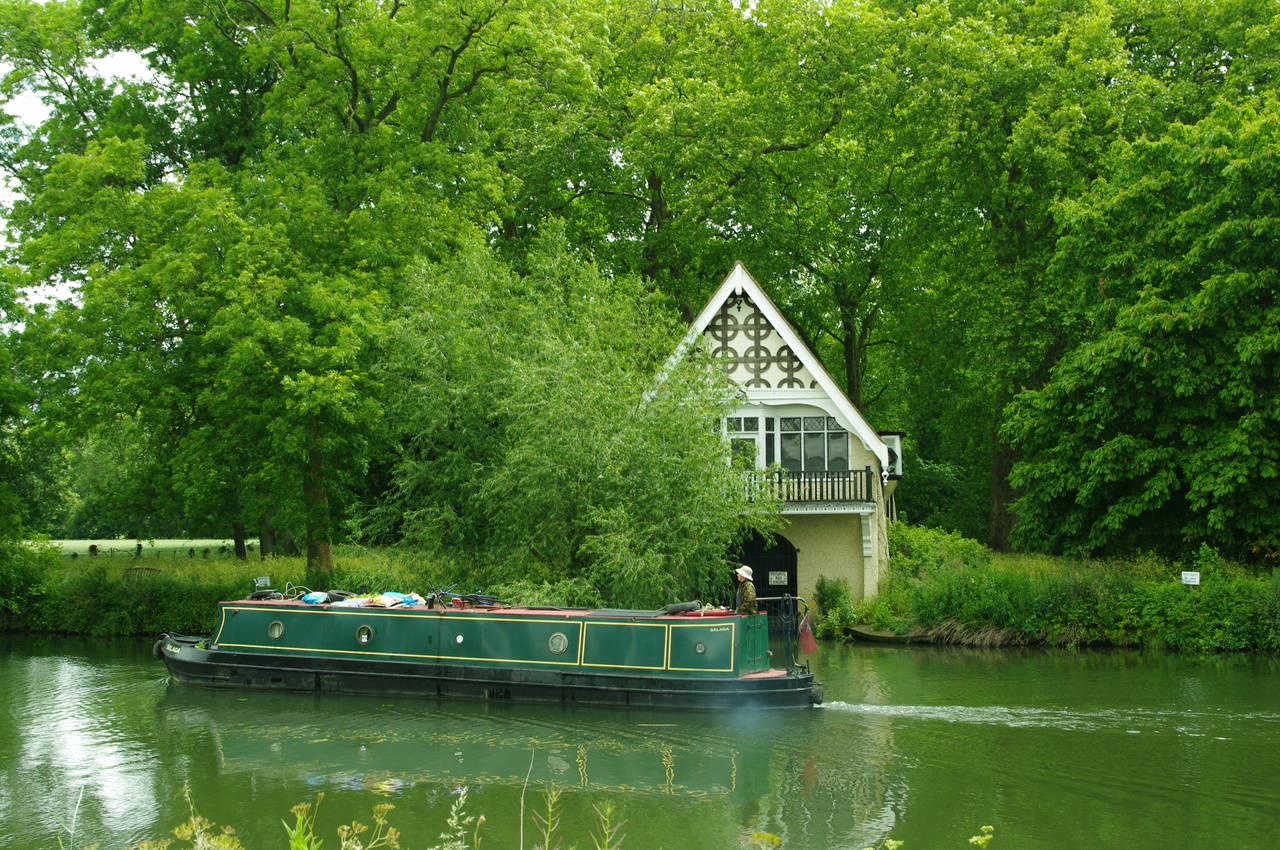
(2) Nuneham House boathouse
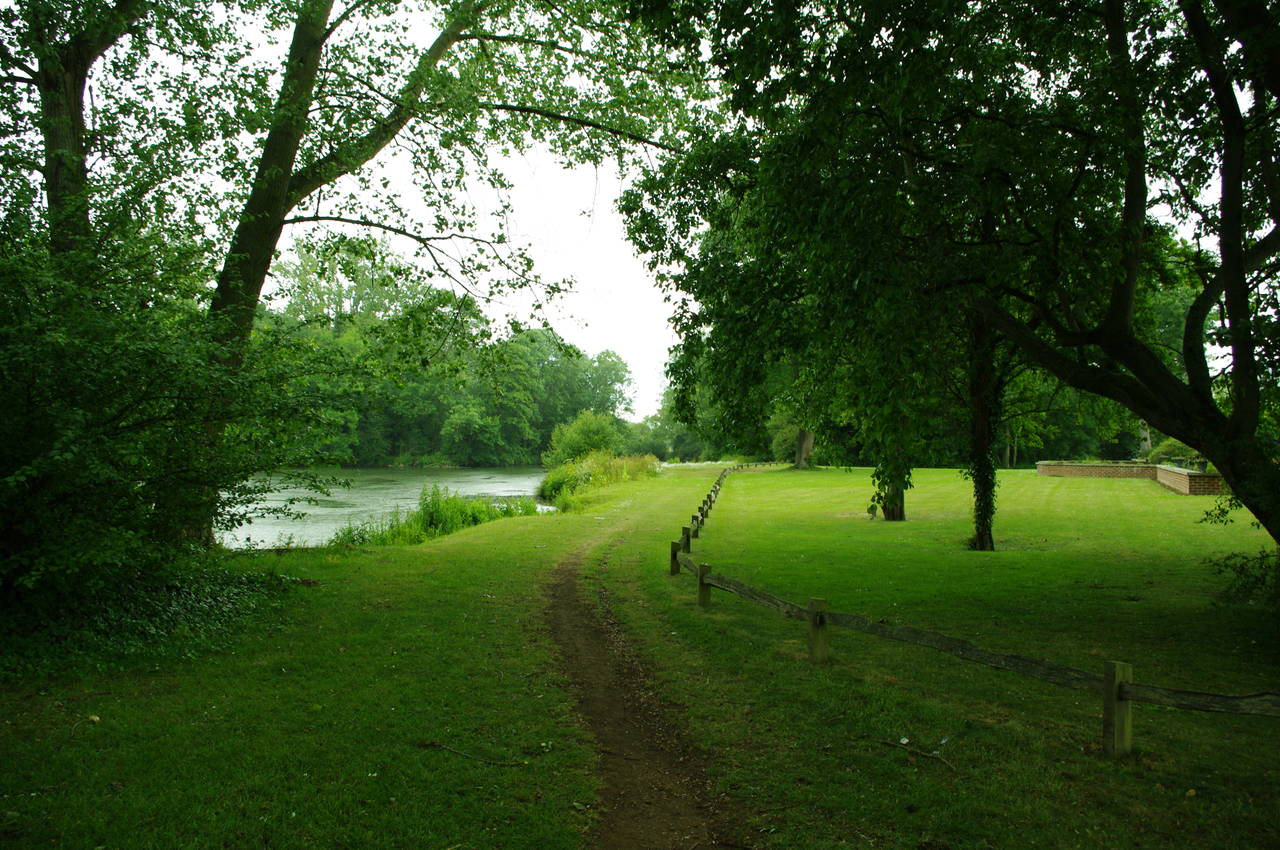
(3) The Thames below Lower Radley
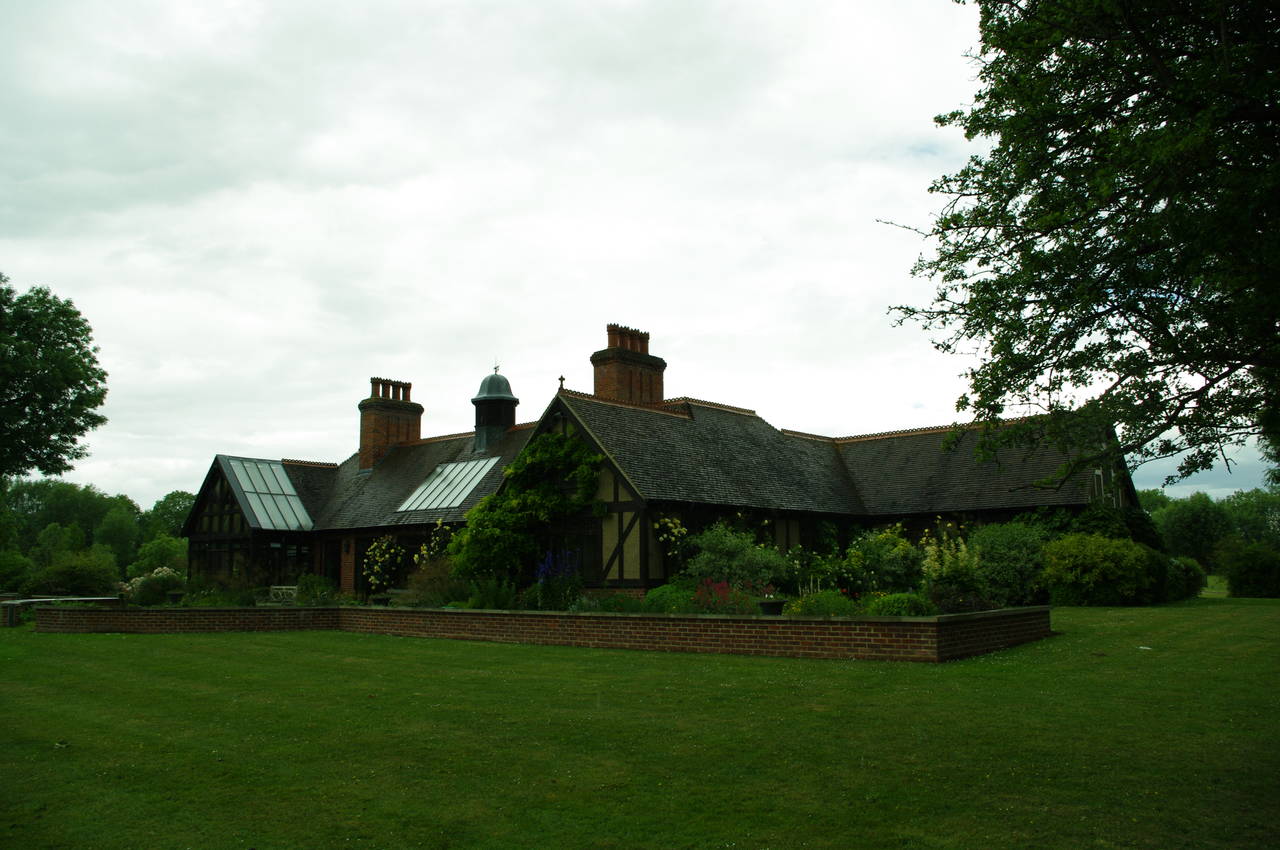
(4) Riverside house
It was an overcast and fairly cool morning when I returned to Radley on a local bus service from Oxford and then retraced my path back down to the Thames via Lower Radley.
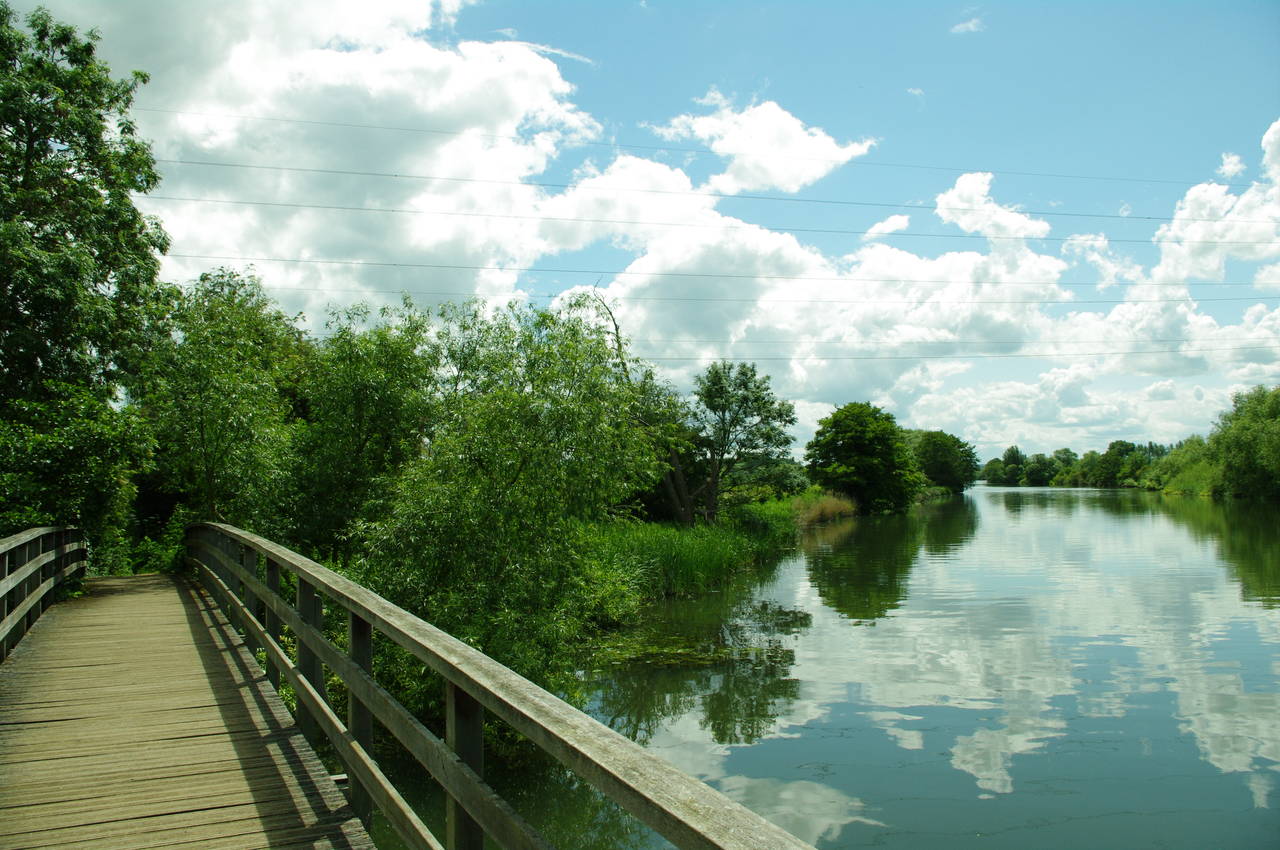
Resuming my walk along the Thames Path beside the boathouse of Radley College (picture 1), I followed the path downstream beside large fields and through several small patches of woodland. There were several boats heading upstream on this stretch of the river, including a large tour boat that appeared to be called Goring, and a narrowboat (picture 2, in front of the Nuneham House boathouse).
Before long, the path emerges from a clump of trees onto a neat lawn (picture 3) and passes in front of a rather grand riverside house (picture 4). While admiring the house, I was passed by a group of three walkers whom I had seen leaving the Rose Revived at Newbridge the previous morning.
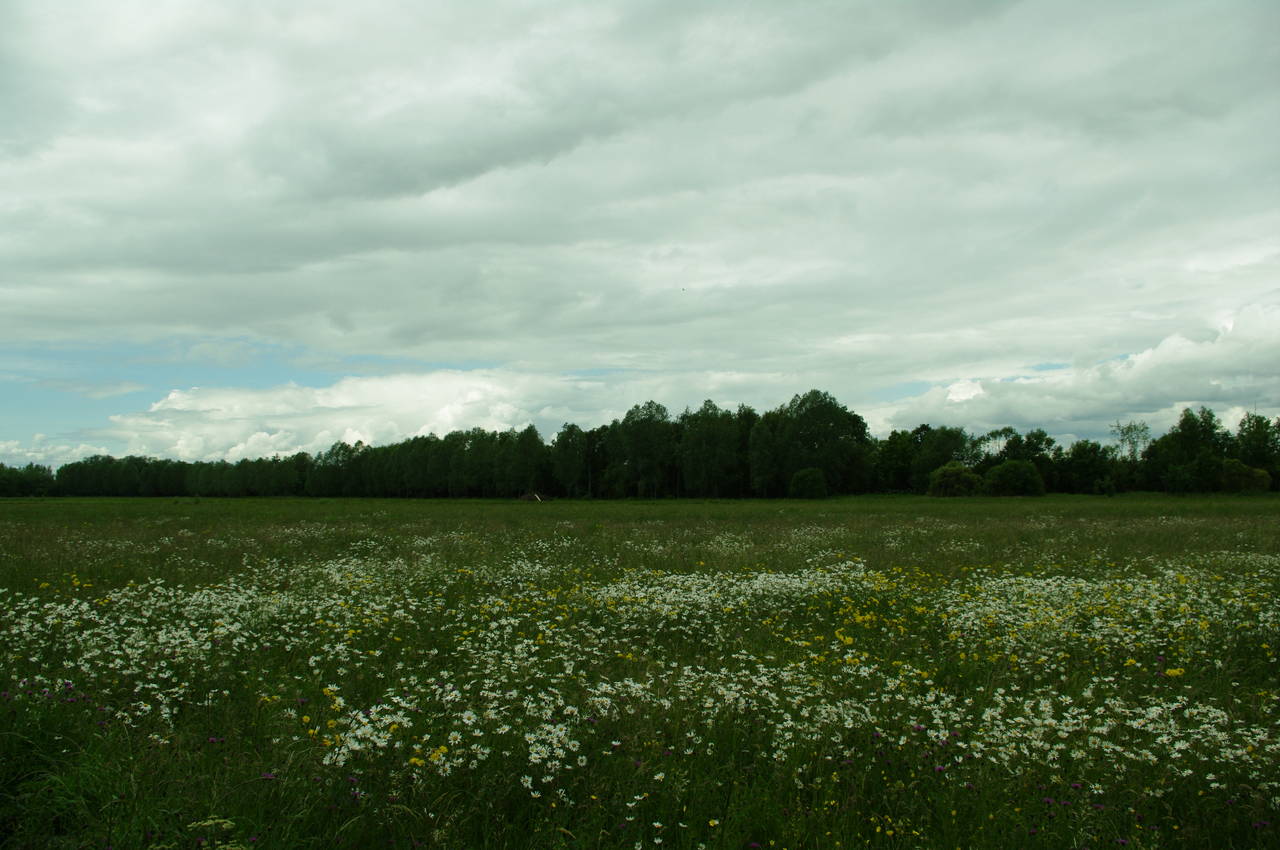
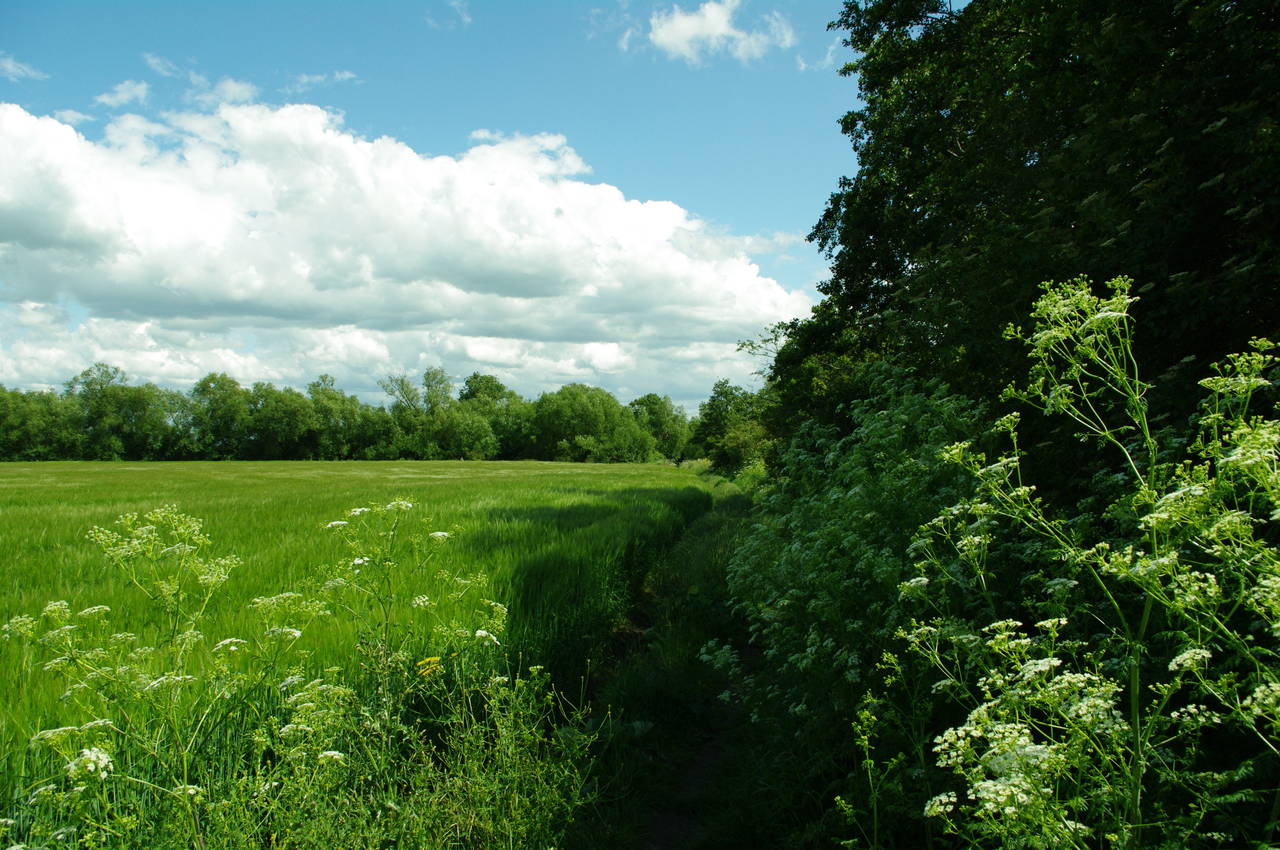
(5) Field of flowers
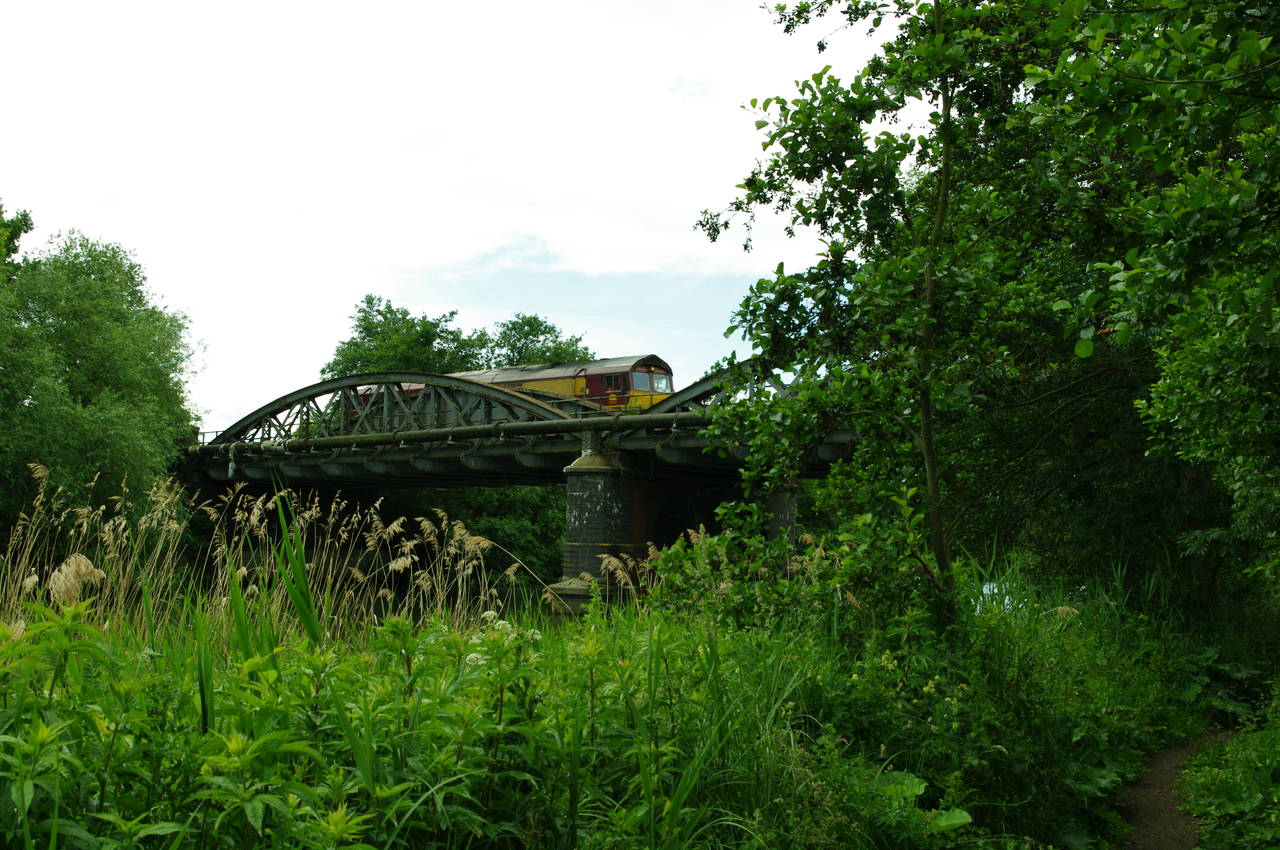
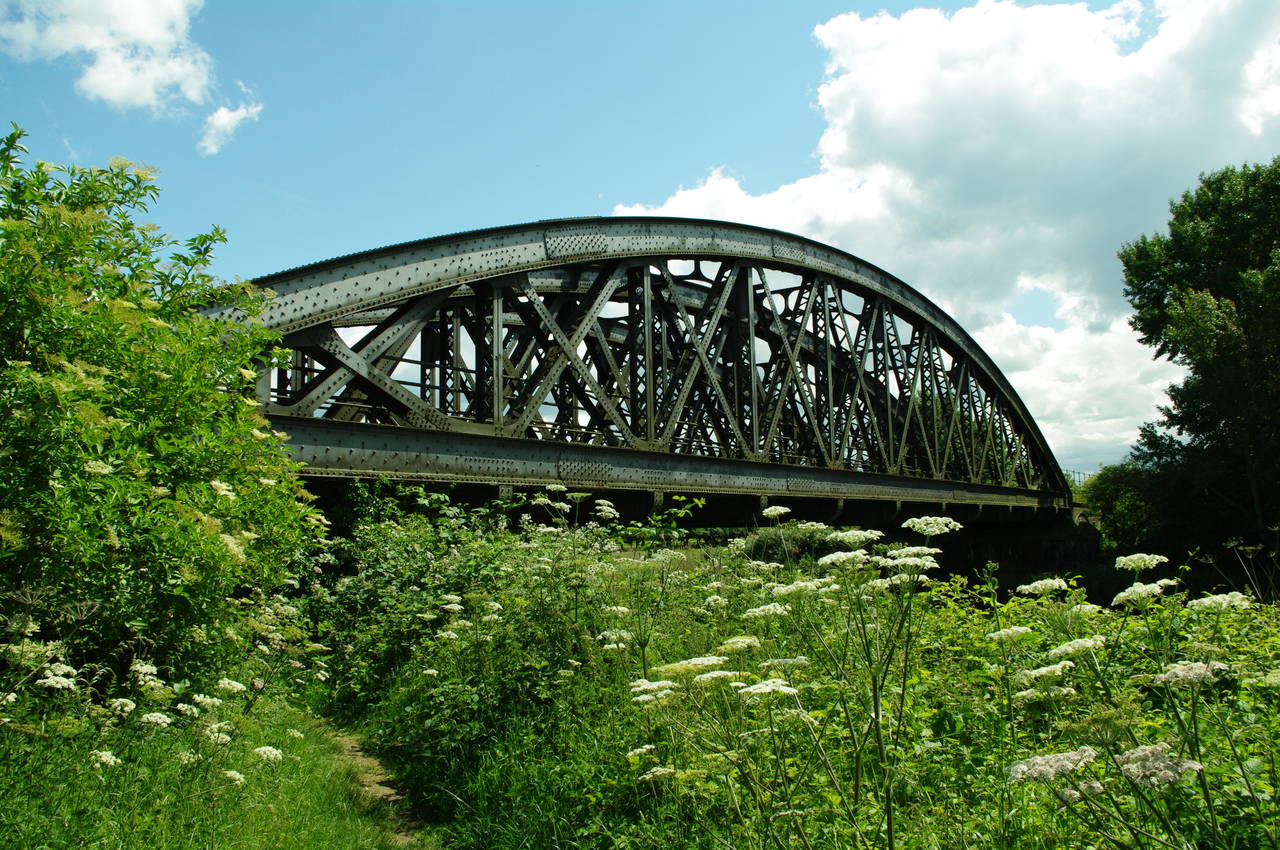
(6) Nuneham Railway Bridge
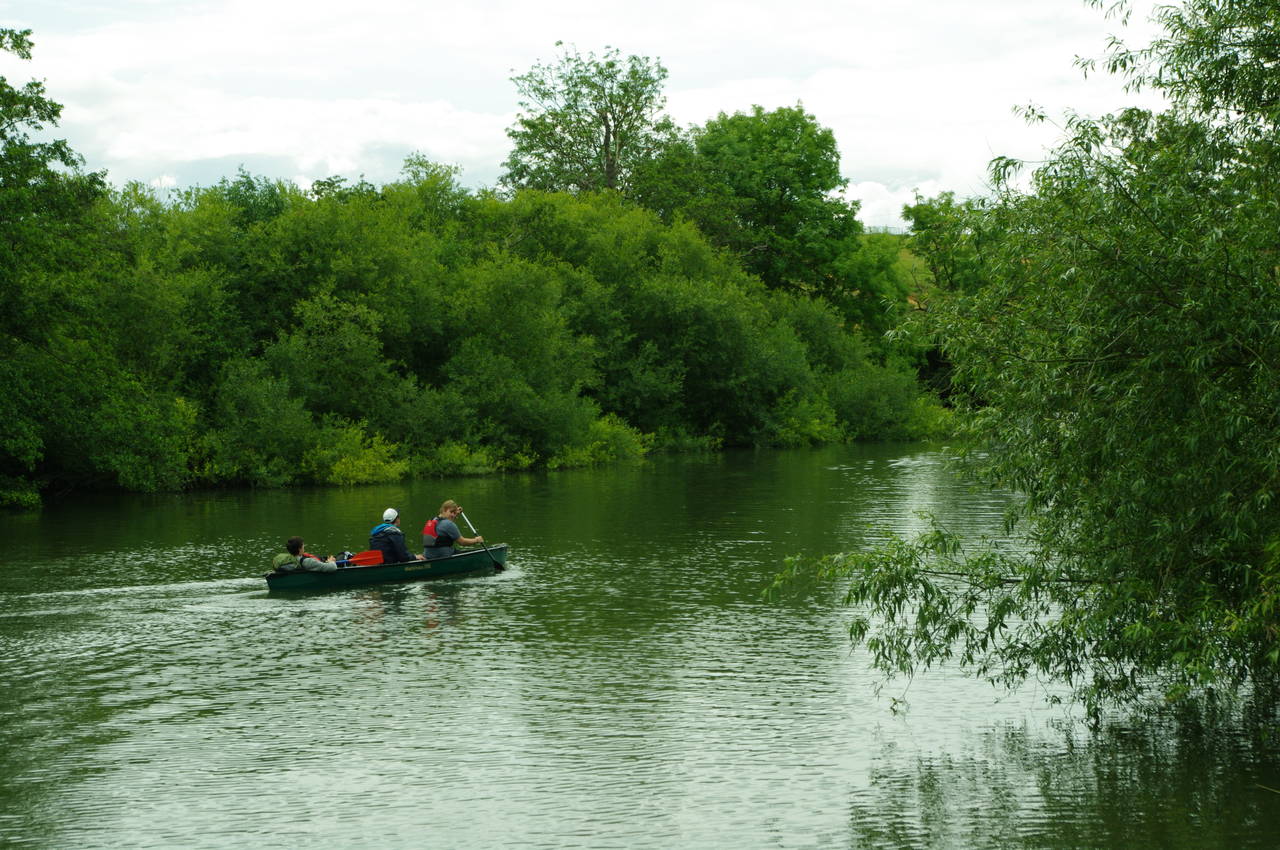
(7) Canoe near Nuneham Railway Bridge
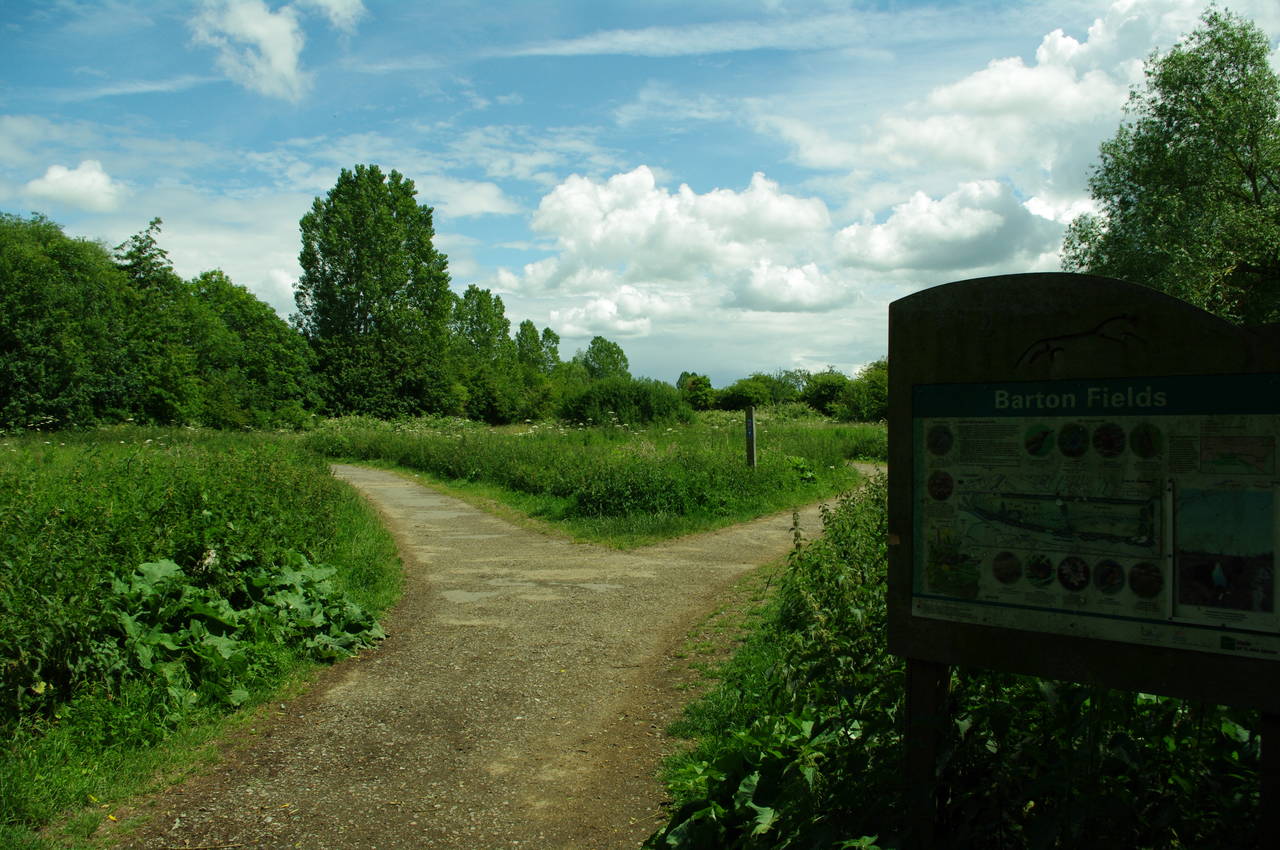
(8) Barton Fields
The path heads into another patch of trees that hide a tennis court belonging to the house before following the riverbank past a large meadow that was carpeted with small white and yellow flowers (picture 5). The path soon passes under the Nuneham Railway Bridge (picture 6) and continues along a more thickly wooded stretch of riverbank, where I slowly overtook three students in a canoe (picture 7).
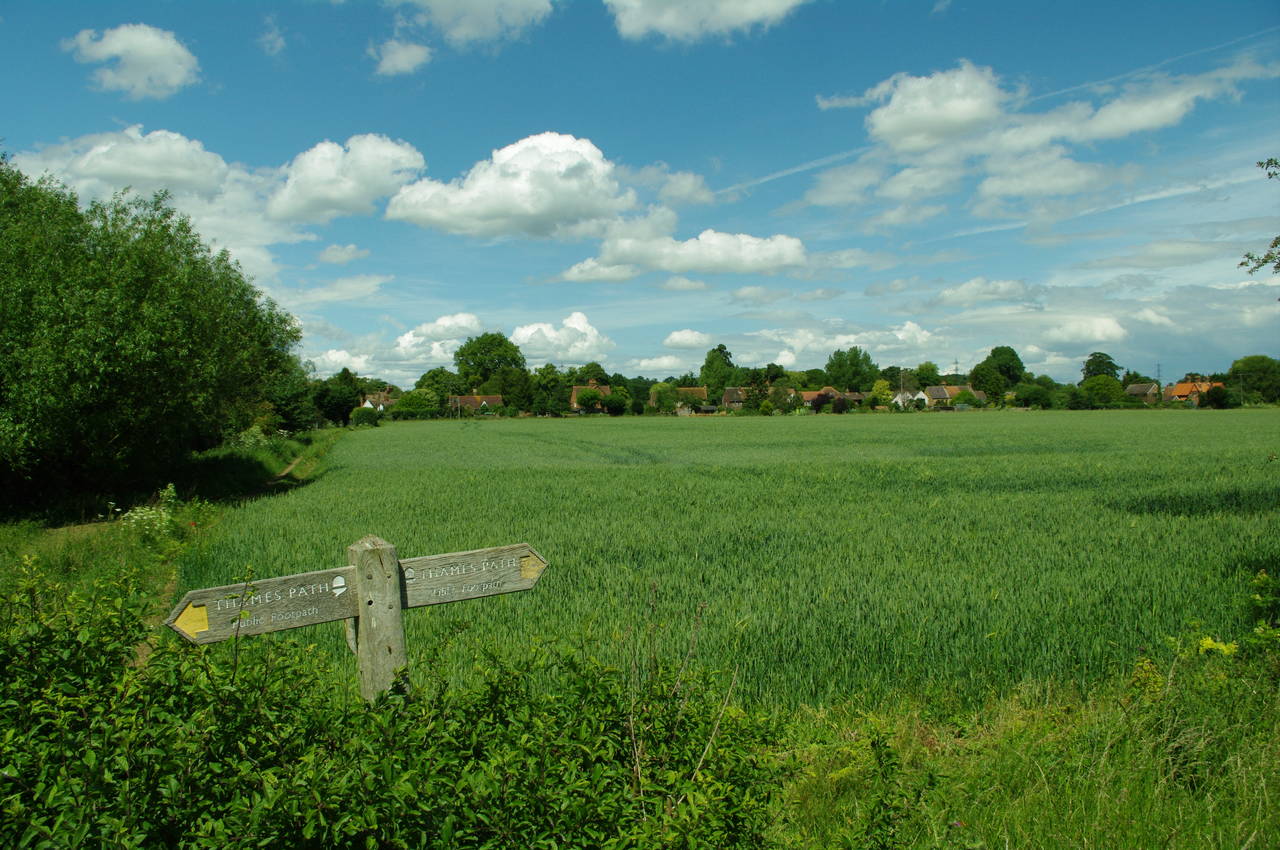
About a kilometre and a half beyond the railway bridge the path heads away from the Thames, following a small stream to the right to skirt around a swampy area before passing along the edge of Barton Fields (picture 8).
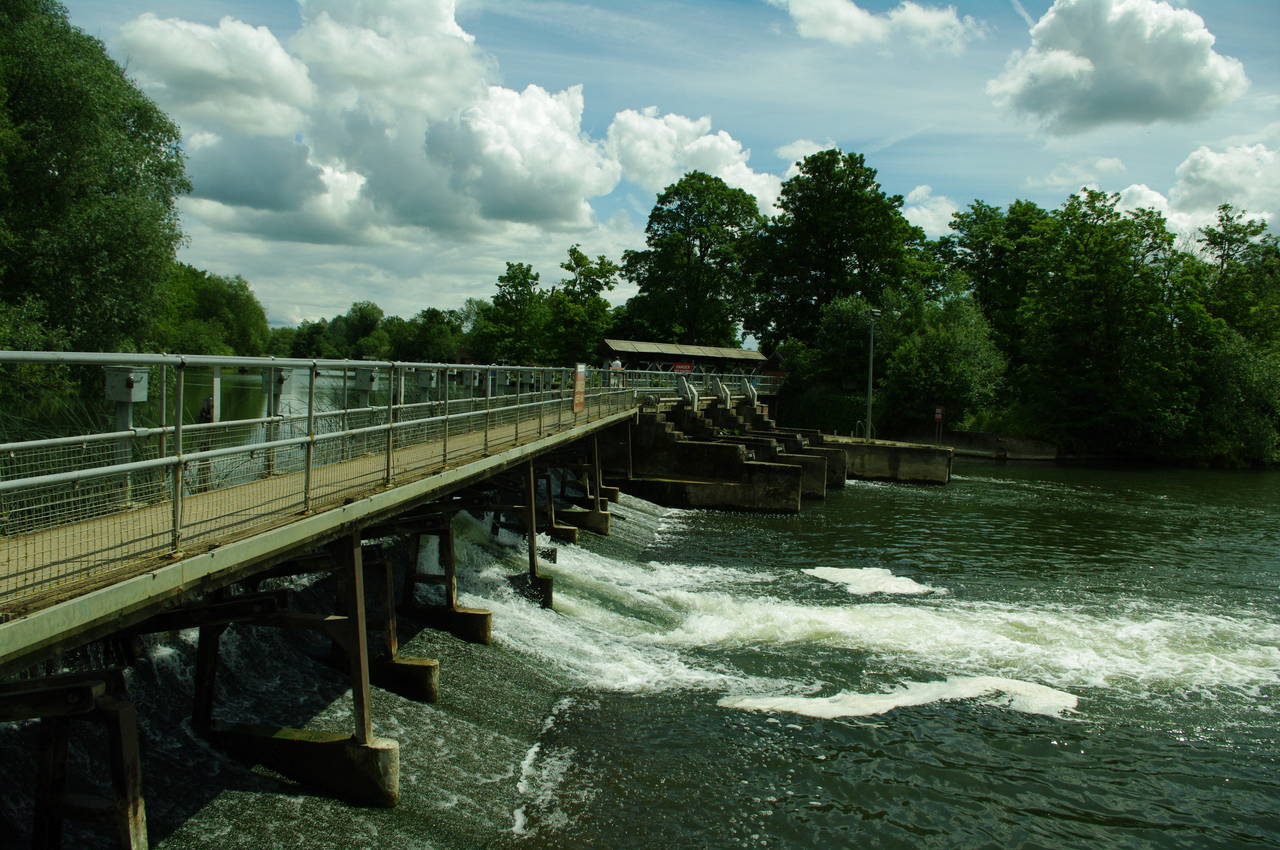
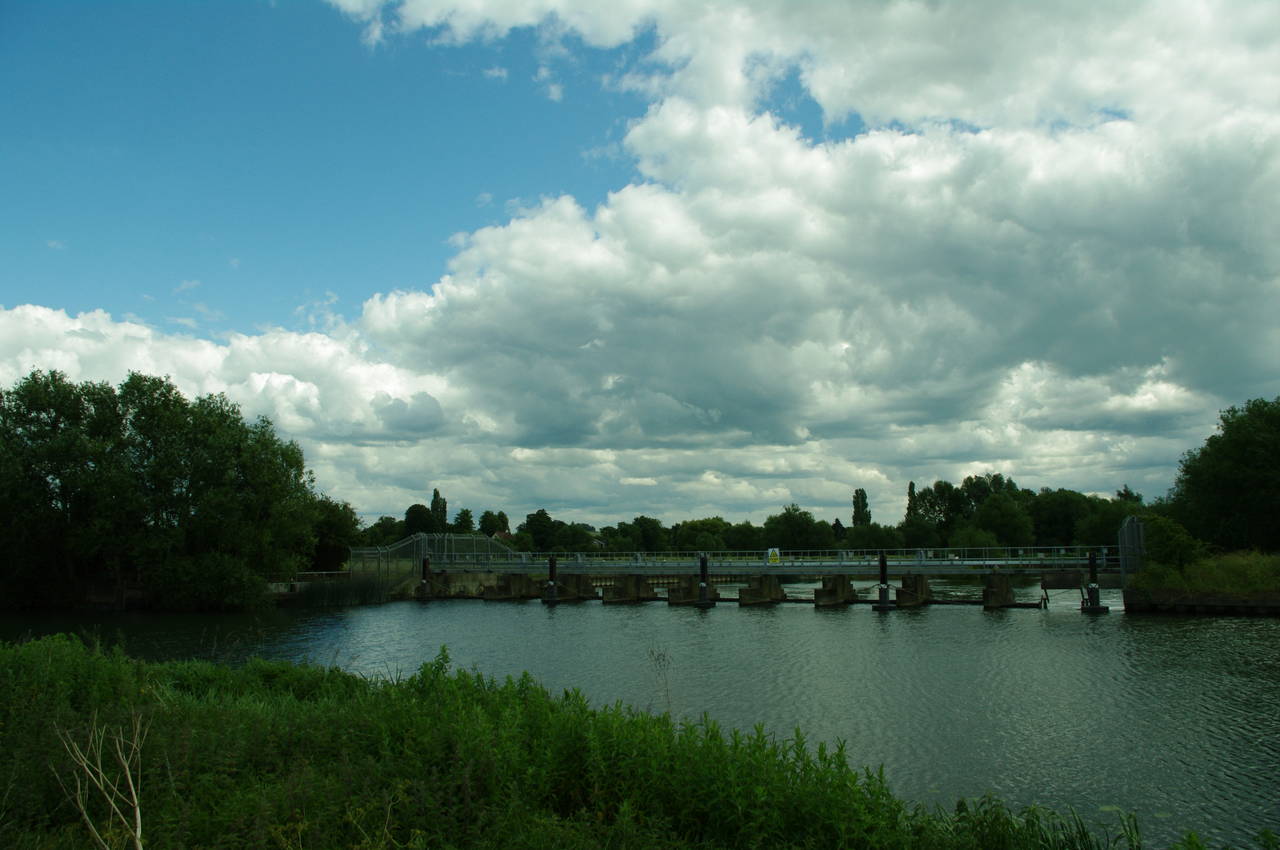
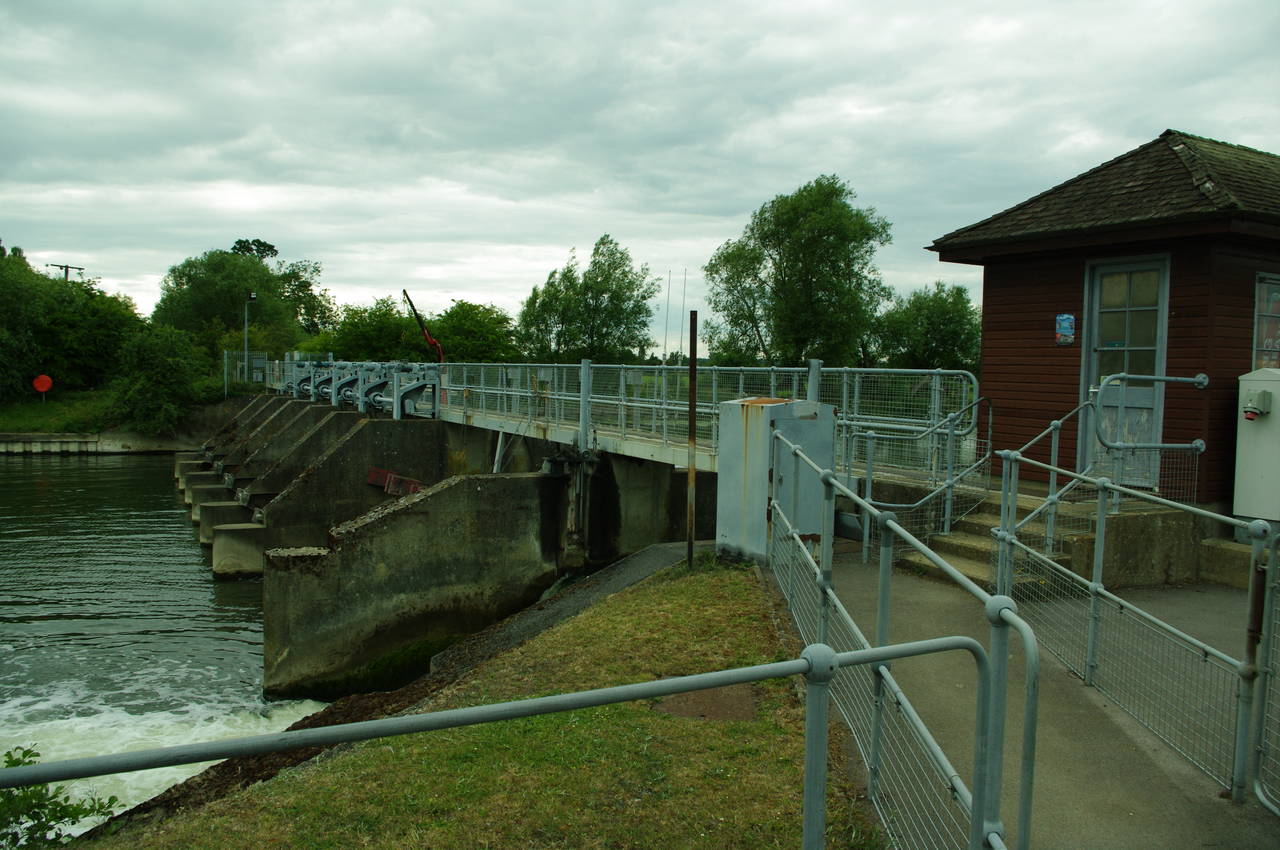
(9) Abingdon Weir
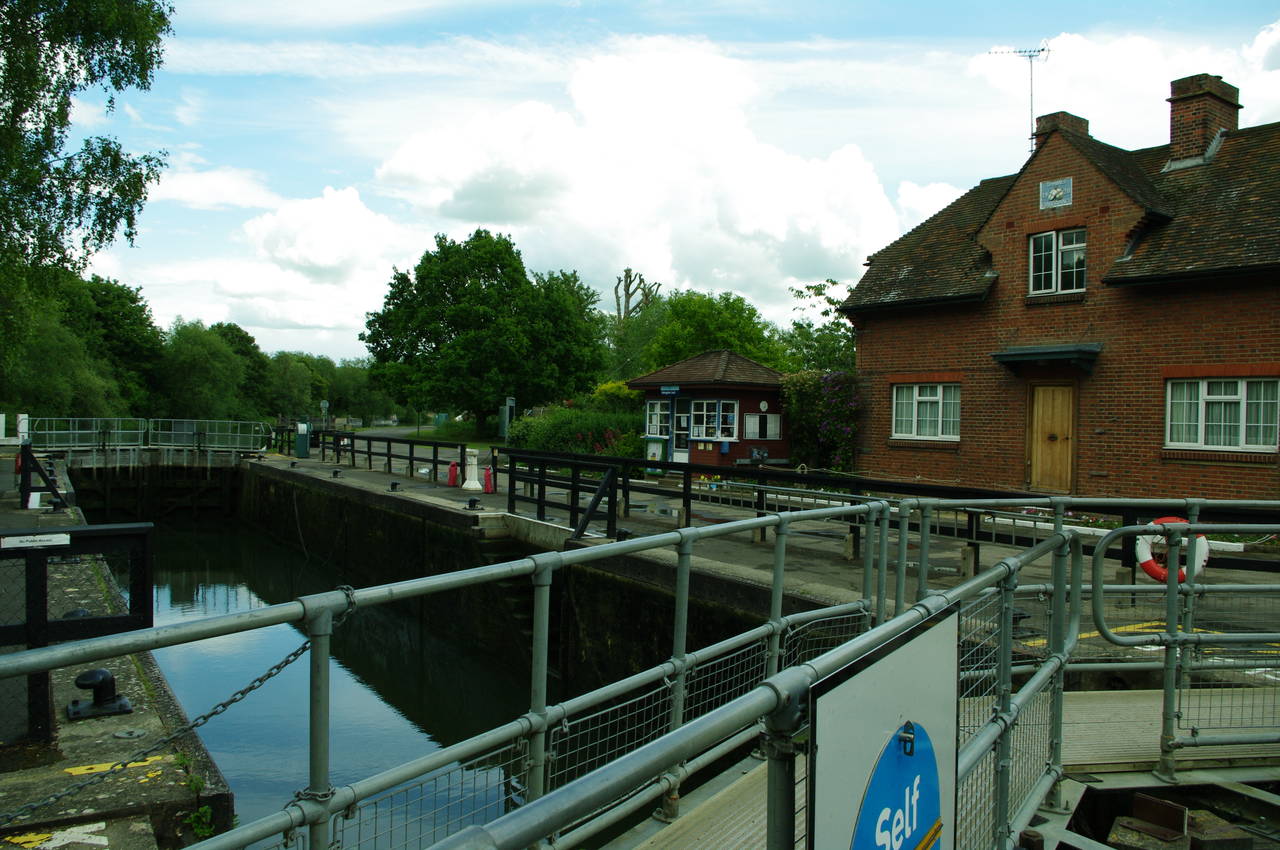
(10) Abingdon Lock
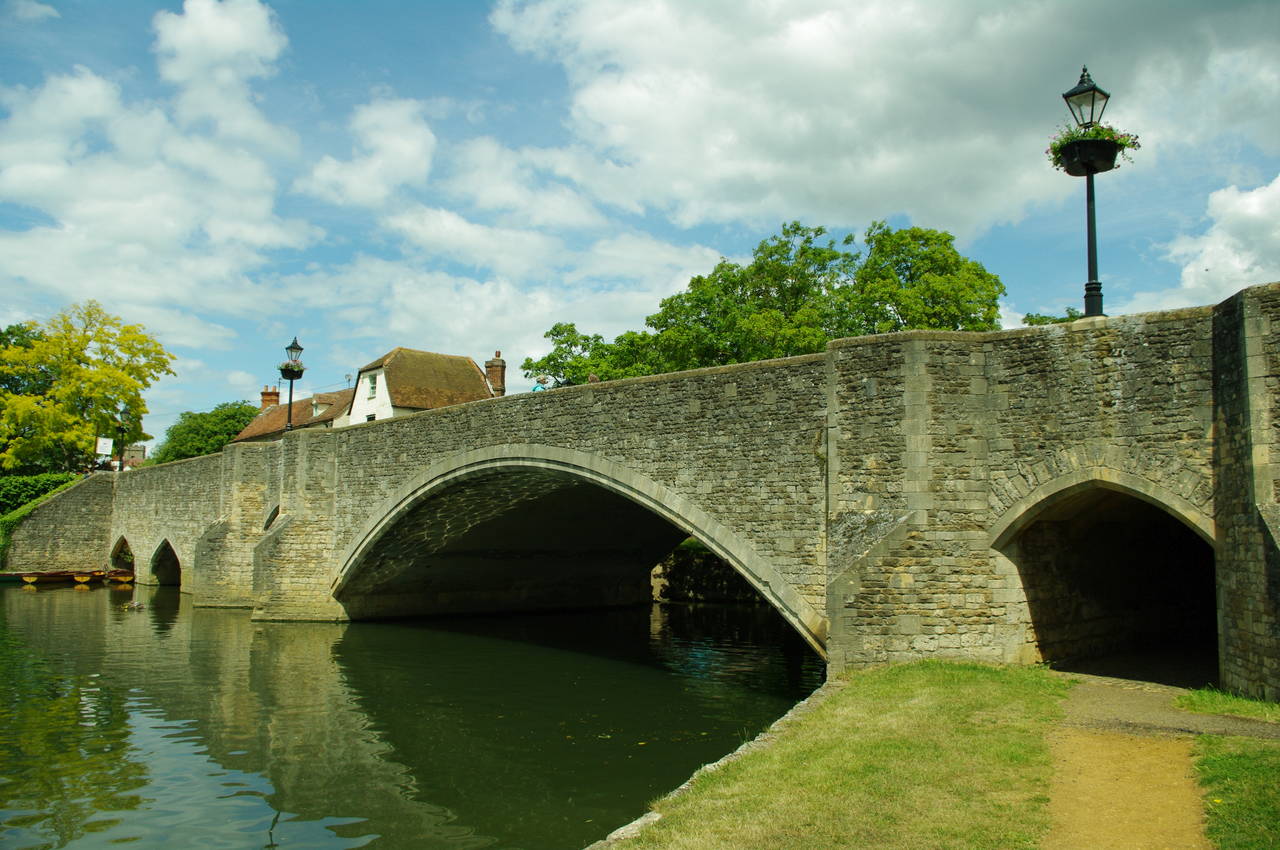
(11) Burford Bridge, Abingdon
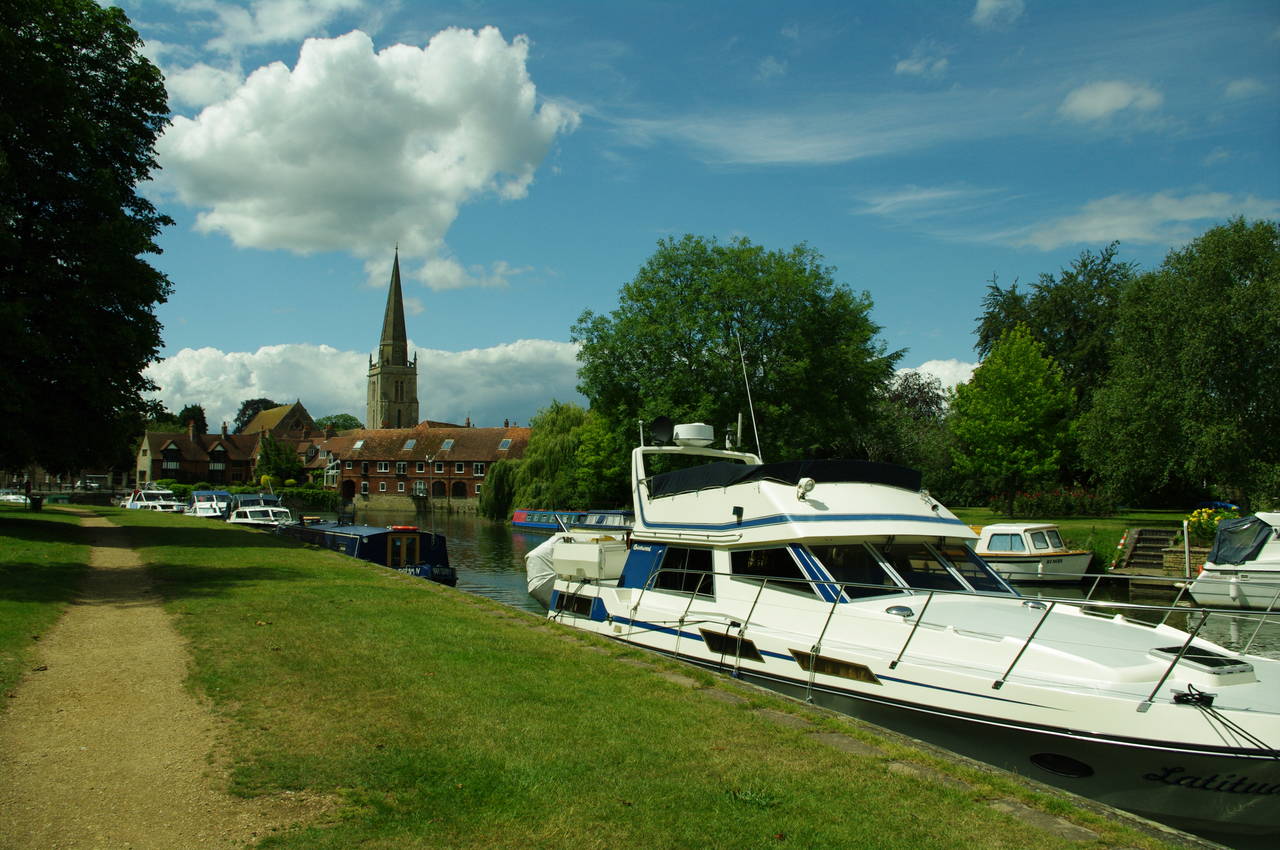
(12) View to St Helen's, Abingdon
At the end of Barton Fields, the path crosses a wooden footbridge over the Abbey Stream and then crosses a long walkway over the Abingdon Weir (picture 9). On the small, wooded lock island now, the path crosses the lock gates (picture 10) and then turns downstream to follow a well-worn path along the river's edge to pass under one of the arches of Burford Bridge (picture 11), which crosses the main navigation channel to Nag's Head Island. The bridge is commonly, but incorrectly referred to as Abingdon Bridge, but that name actually belongs to the bridge that crosses from Nag's Head Island over the mill stream to the far bank of the river.
The path continues through a large, shady riverside park, with a couple of cricket fields away to the left. Across the river is the town of Abingdon, with the tall spire of the Church of St Helen dominating the view across the river (picture 12). There were quite a few boats moored on both sides of the river and though there were still plenty of narrowboats, there were now also some larger and much more expensive looking craft as well.
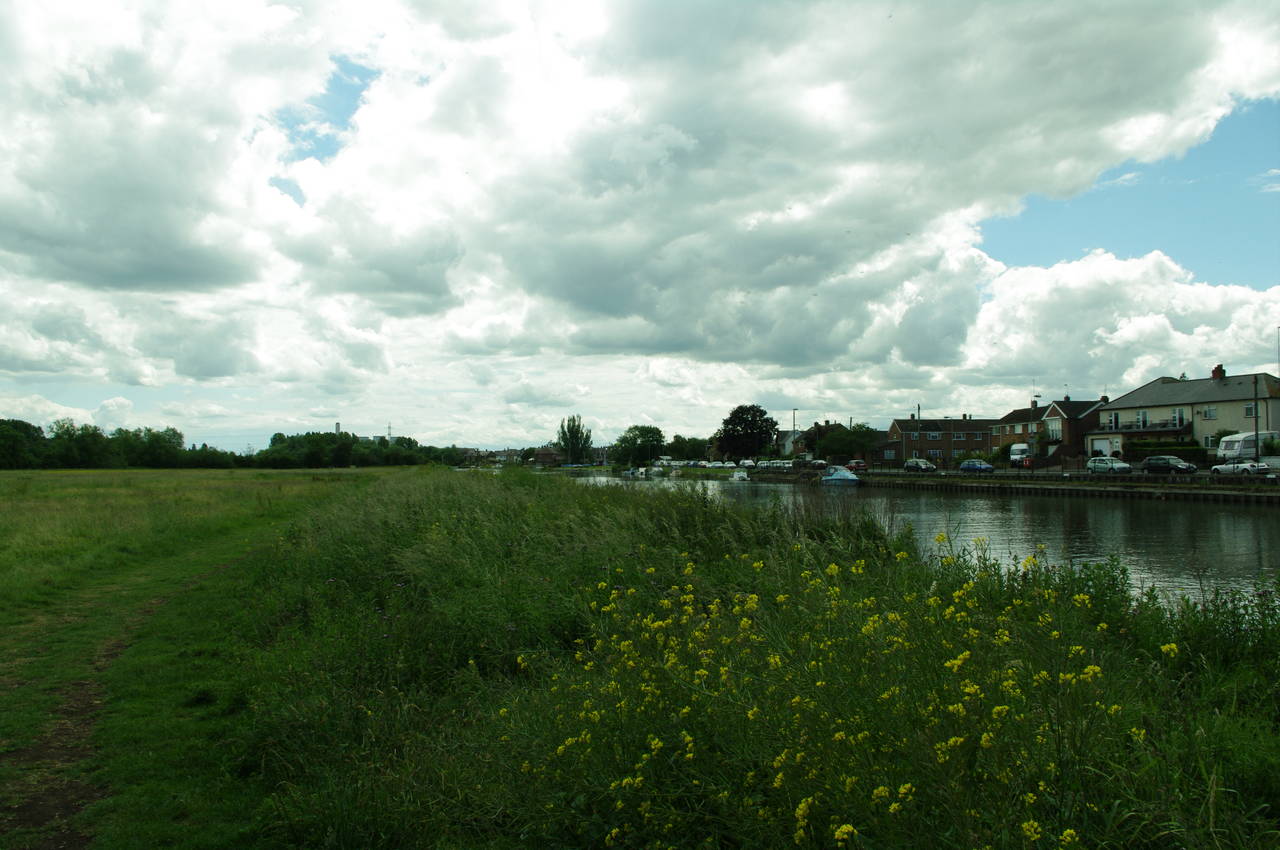
(13) Thames Path opposite Abingdon
(14) Footbridge where Swift Ditch joins the Thames
(15) Culham
(16) Culham Lock
When the shady path ends the route continues along the edge of another large open meadow with the houses of Abingdon across the river (picture 13). Beyond the houses the path crosses a footbridge over Swift Ditch (picture 14), once the main channel of the Thames, which left the river above Abingdon Lock and rejoins the main navigation here.
Beyond the footbridge is another large meadow with views of the funnels of Didcot Power Station ahead to the south. Almost a kilometre down the riverbank from the footbridge, the Thames Path turns sharply left to follow the Culham Cut, while the old channel of the river heads off to the south. The cut was dug in 1809 to bypass the Sutton Courtenay Mill, which stood on the original course of the river.
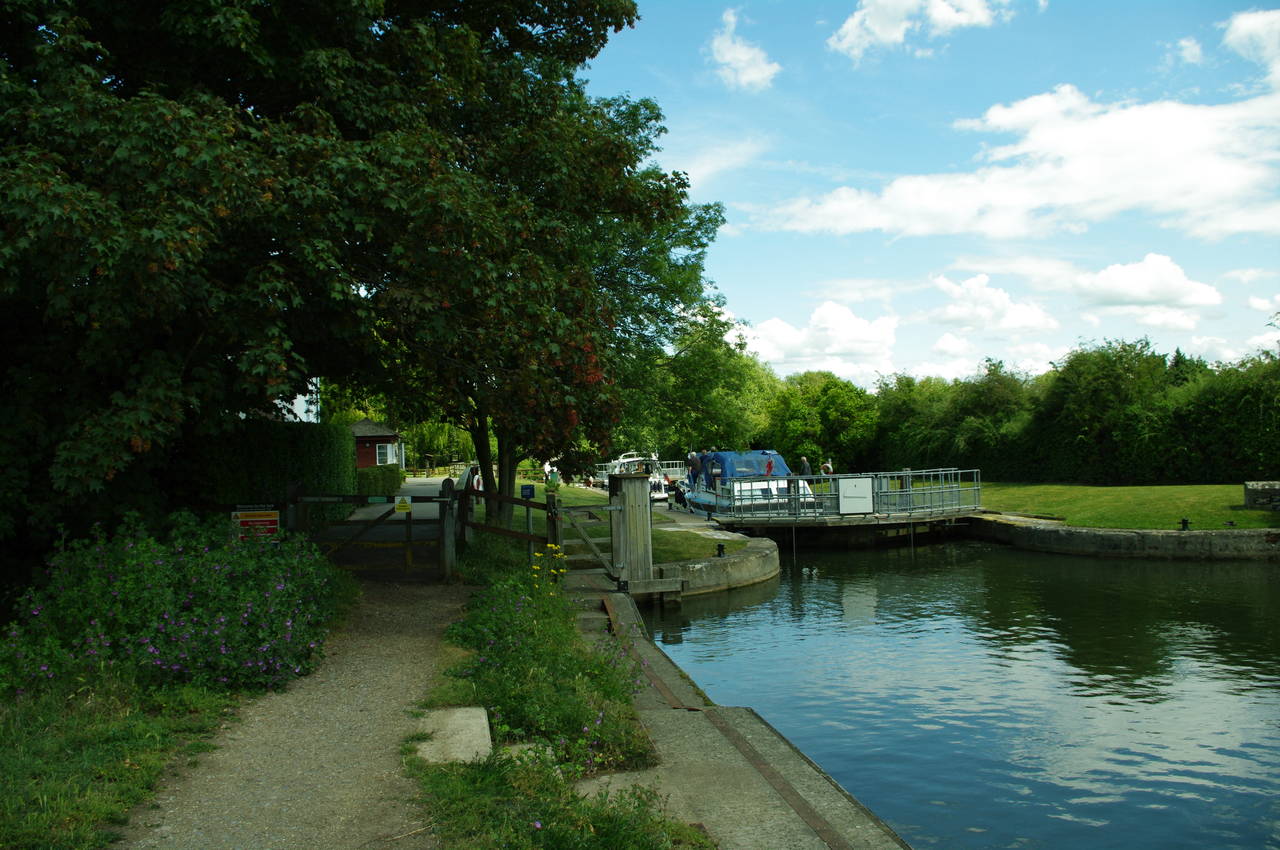
The path follows a mostly shaded path beside the Culham Cut, passing by a footbridge before emerging beside a large field of barley beyond which the village of Culham could be seen (picture 15). The Thames Path continues straight ahead along the cut, however, and soon passes through a wooden gate and along beside Culham Lock (picture 16).
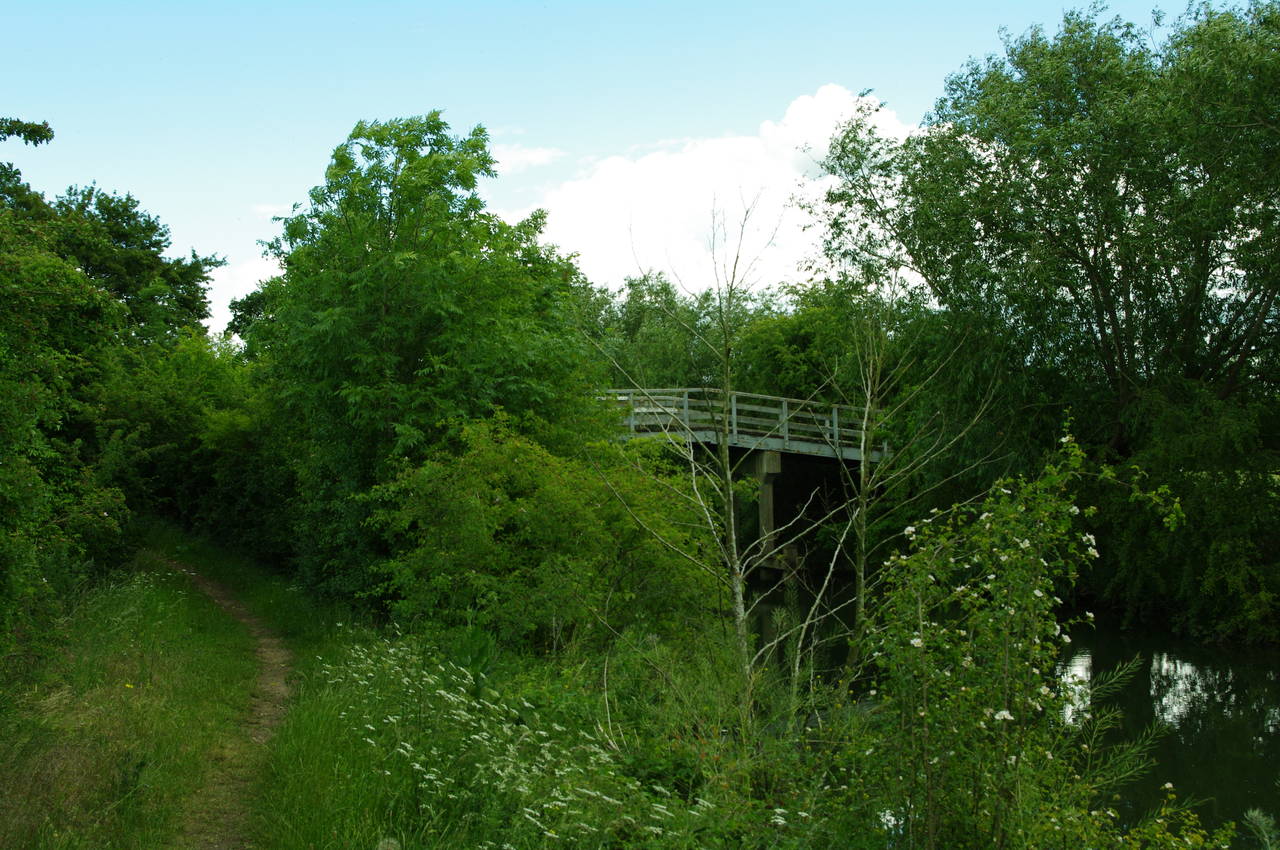
(17) Sutton Bridge
(18) Appleford Railway Bridge
(19) Thames Path near Appleford
(20) Weir takes old channel via Long Wittenham
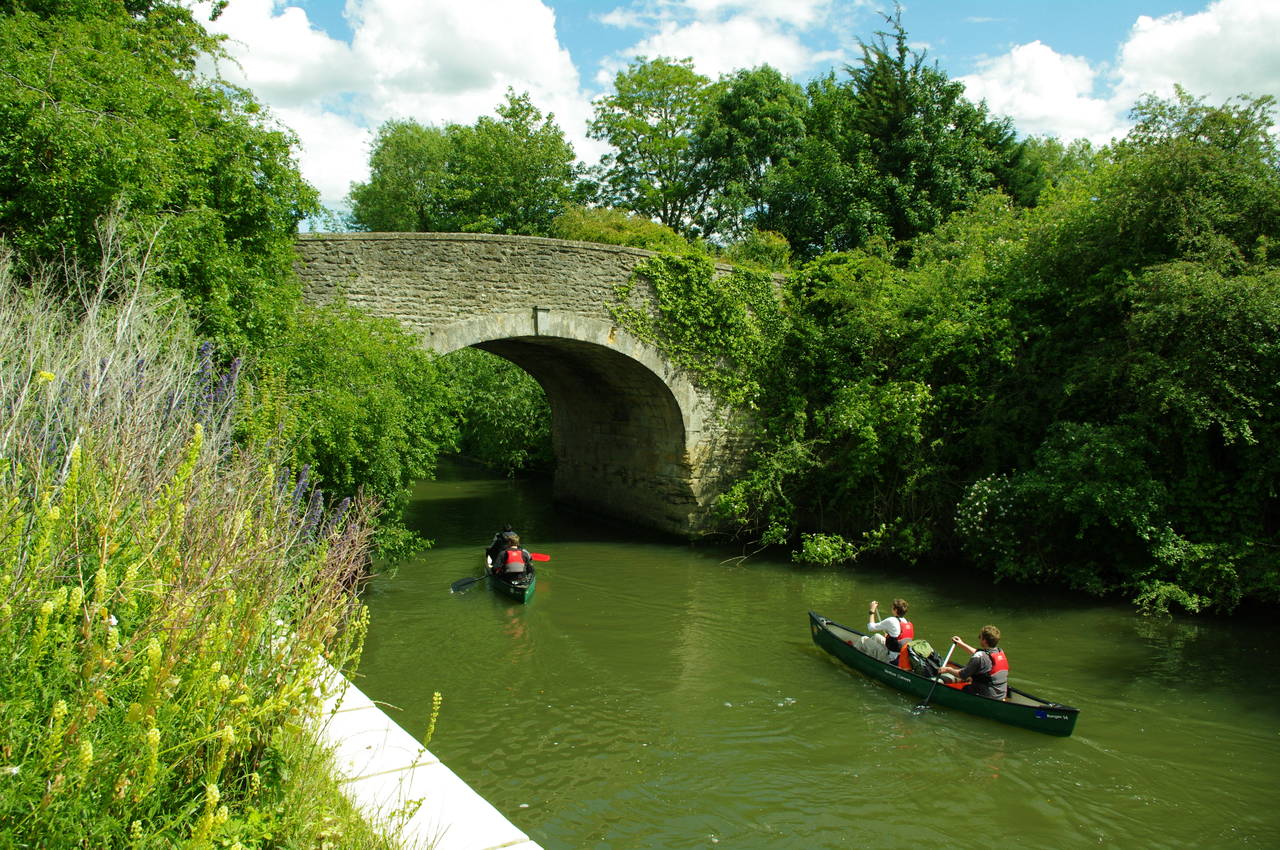
As I walked along the lockside, I observed that the lock was rather busy, containing three boats and two canoes on their way downstream. The lock is one of the deepest on the Thames, dropping around 2.4 metres. When the lower lock gates opened, the canoes came out first, paddling downstream at walking pace and heading off under the stone arch of Sutton Bridge (picture 17), which crosses the cut just above the point where the cut rejoins old channel of the Thames.
The path now follows the edges of several large fields of barley, with the view of the river often obscured by trees, though the water is never more than a few metres away to the right. After passing under some power lines, the path soon reaches the steel arch of the Appleford Railway Bridge (picture 18), completed in 1929, which carries the railway line between Didcot and Oxford.
Beyond the bridge the path follows the edge of a meadow with many flowers next to the path (picture 19), then heads through a riverside clump of trees before following the river along another large field past a weir that takes the original channel of the river via the village of Long Wittenham (picture 20).
(21) Path beside the Clifton Cut
(22) Clifton Lock
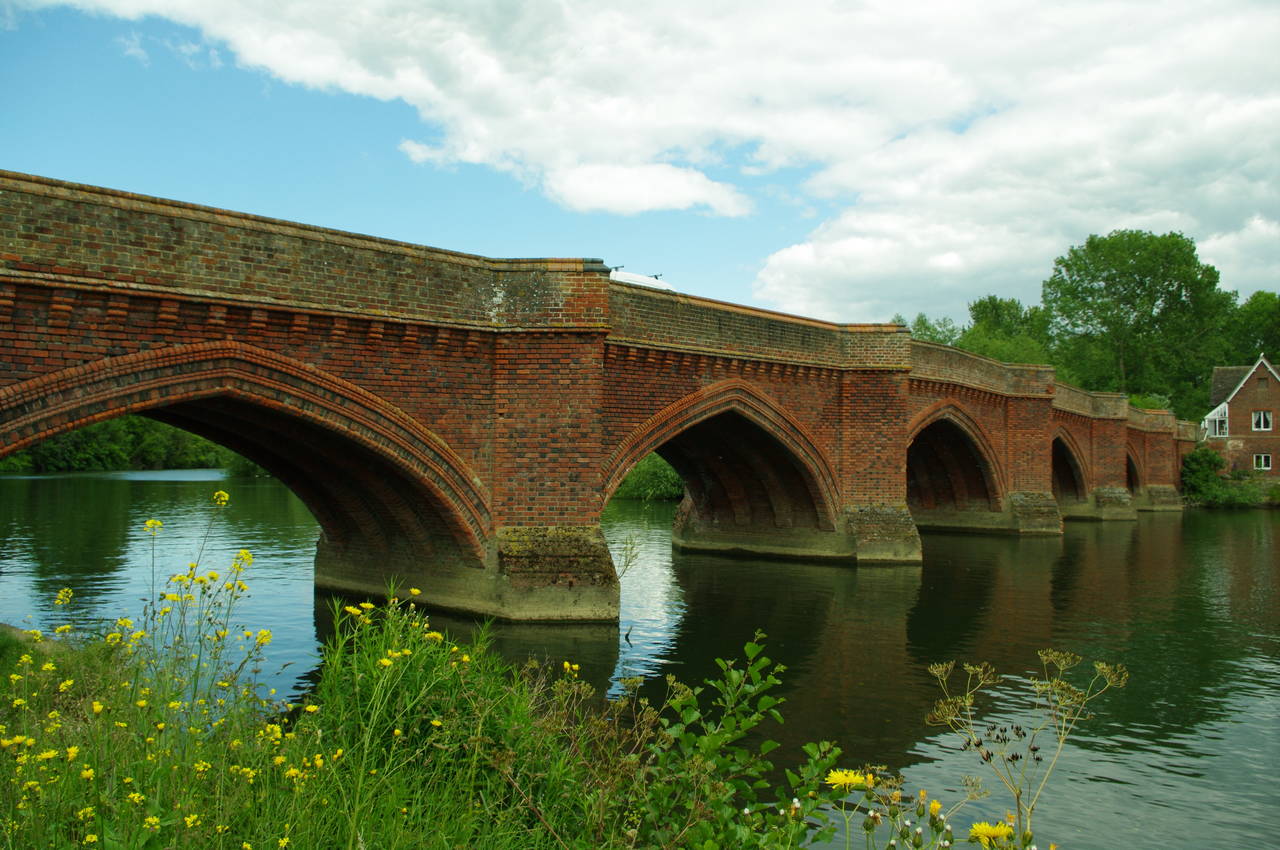
(23) Clifton Hampden Bridge
(24) Path leaves Clifton Hampden Bridge
The Thames Path however follows a shady path along the Clifton Cut (picture 21) for almost a kilometre to Clifton Lock (picture 22). Below the lock, the cut and the old Thames channel converge and the path approaches Sir George Gilbert Scott's red-brick Clifton Hampden Bridge (picture 23), completed in 1867.
Nearing the bridge, the path heads to the left and climbs up onto the bridge, which like most of the pre-20th-century Thames bridges is only wide enough for one lane of traffic. The route crosses over to the other end of the bridge, where a signpost directs the Thames Path back down onto the towpath (picture 24).

(25) One of the grand riverside homes of Burcot
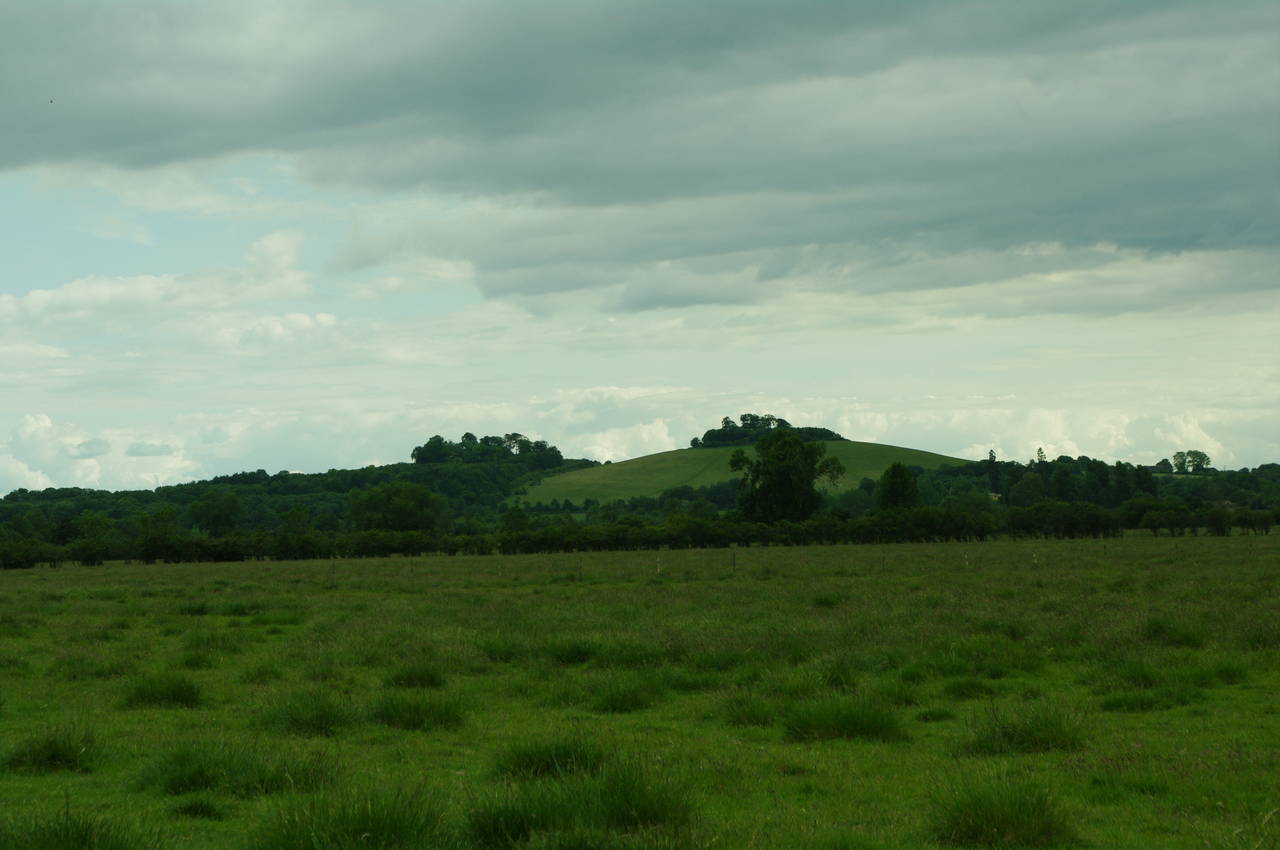
(26) Castle Hill and Wittenham Clumps
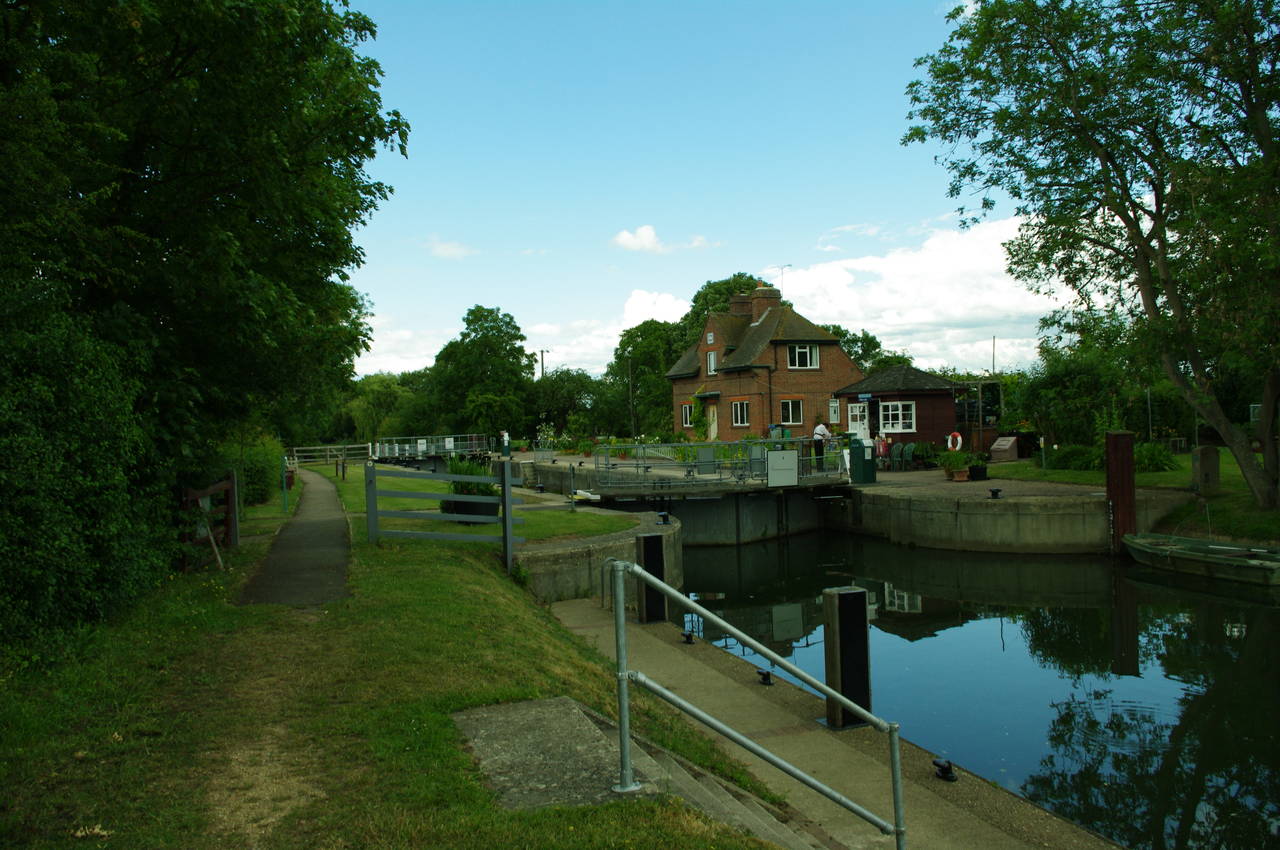
(27) Day's Weir
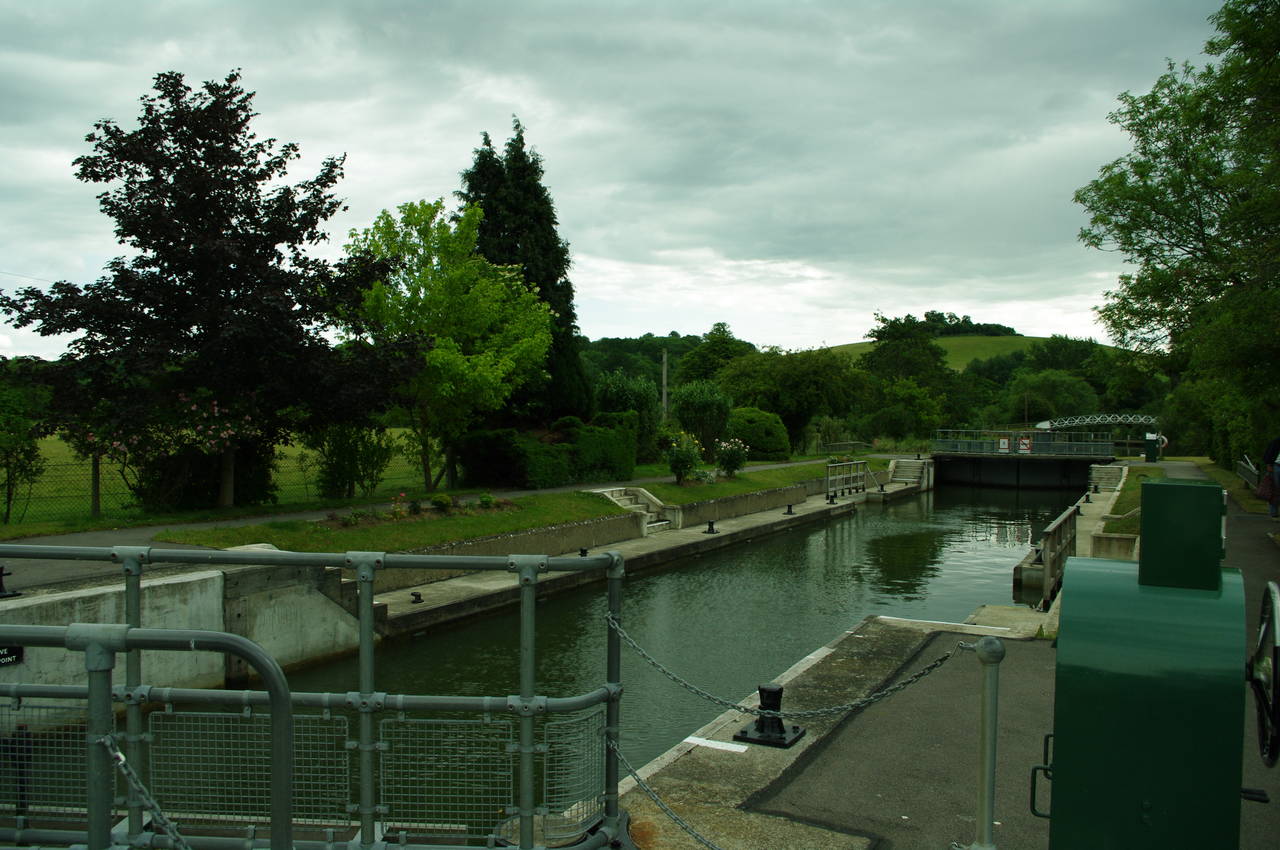
(28) Day's Lock
From Clifton Hampden Bridge, the towpath heads north, but after a short distance the course of the river begins a long curve to the right for around three-and-a-half kilometres, eventually ending up heading south. The towpath on this stretch of the river runs beside vast open fields, while the far bank of the river is mostly wooded aside from some rather grand riverside houses belonging to the village of Burcot (picture 25).
As the path swings towards the south beyond Burcot, a large grassy hill is visible up ahead. Atop the hill stand the trees of the Wittenham Clumps, and just to the left a second clump of trees sits inside the earthworks of the Iron Age hill fort on Castle Hill (picture 26).
Eventually the path reaches Day's Weir, where the Thames Path crosses over the weir (picture 27) and then over the upper lock gates of Day's Lock (picture 28).
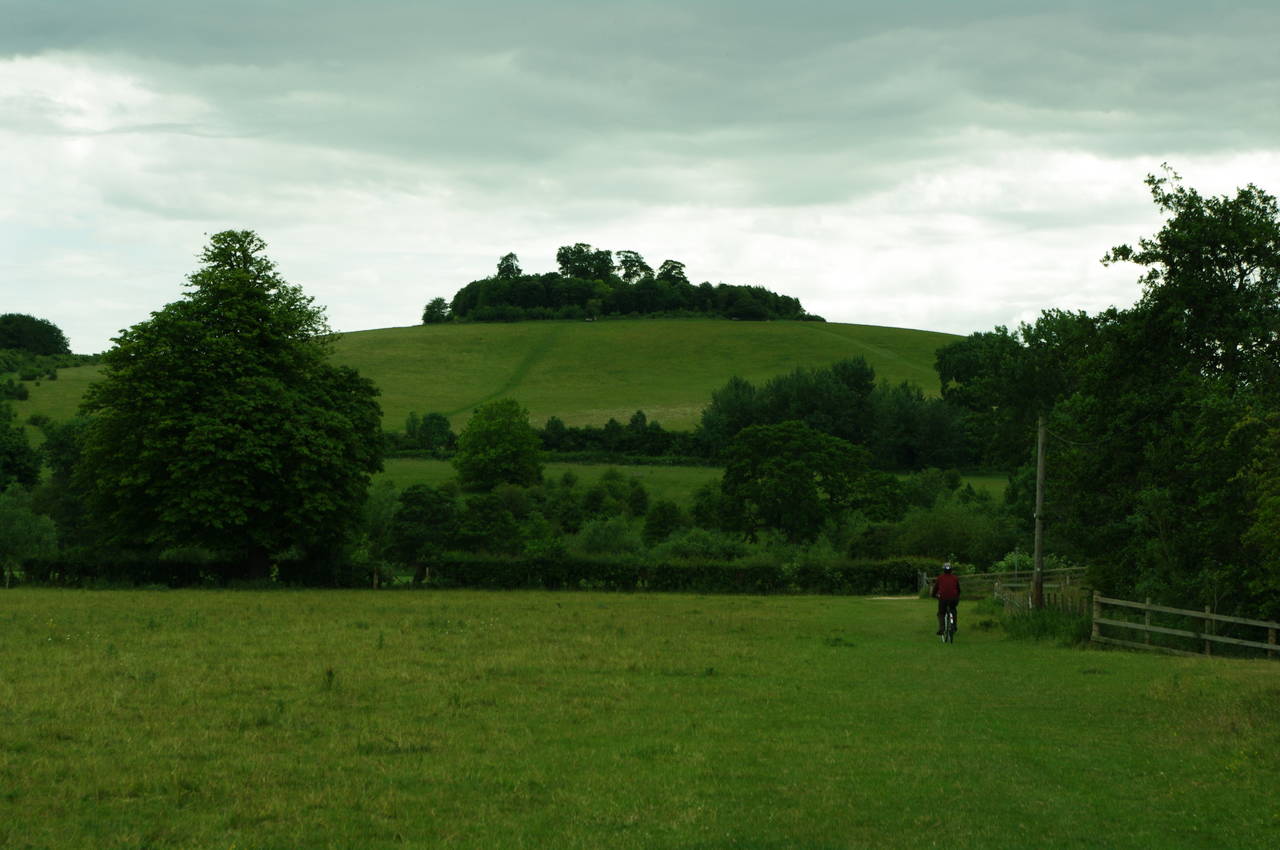
(29) Wittenham Clumps
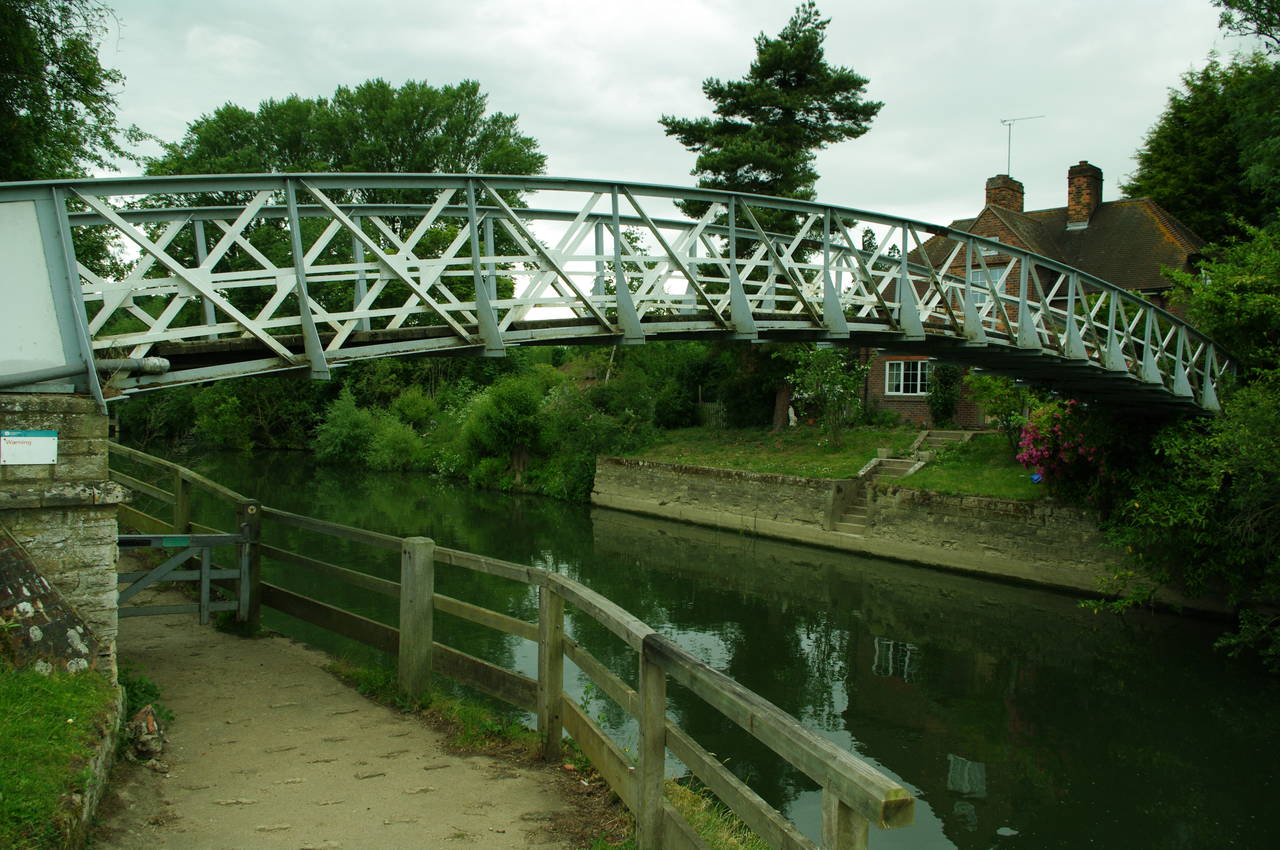
(30) Little Wittenham Bridge
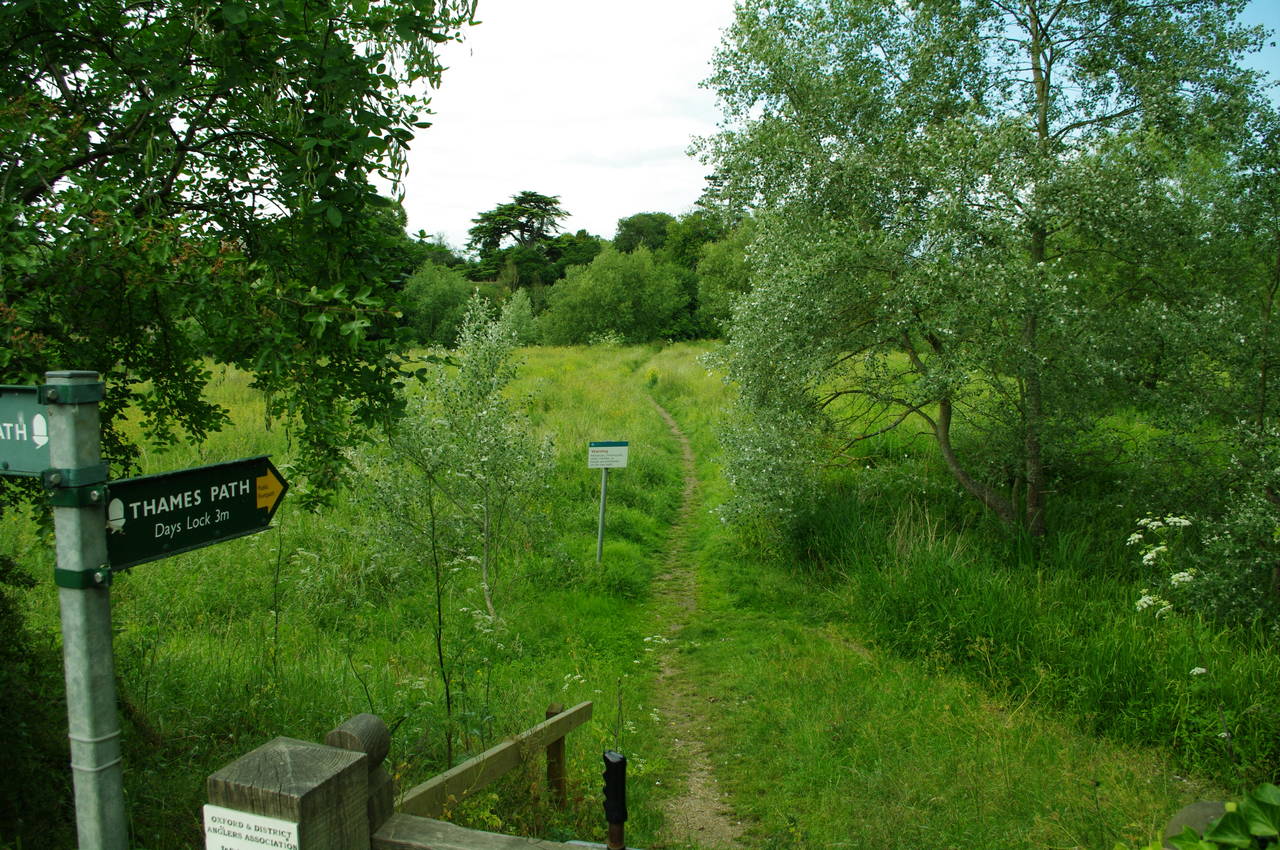
(31) Thames Path below Day's Lock
(32) Bridge over confluence of the River Thame
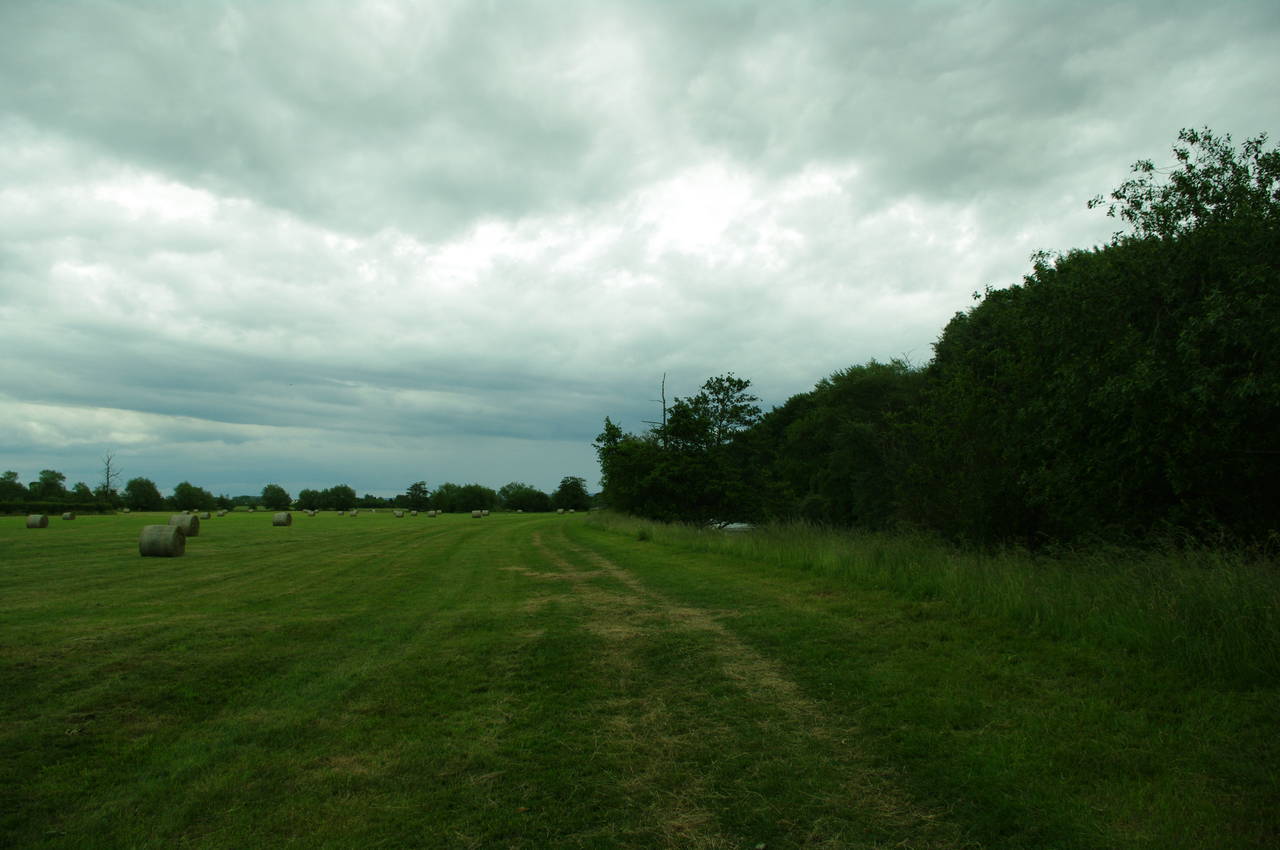
Leaving Day's Lock, the path follows the river bank with the Wittenham Clumps now rising steeply directly ahead (picture 29). A short distance along the riverbank, the path passes under Little Wittenham Bridge (picture 30), an arched footbridge over to the large Lock House Island, where the lock-keeper's house for Day's Lock is located.
The course of the river soon does a right-angle turn to the left and proceeds beside a large field where many circular bales of hay stood (picture 31). At the far end of the field, the path crosses a footbridge (picture 32) under which the River Thame, which rises 65km away in Buckinghamshire, adds its waters to those of the Thames.
(33) Approaching Shillingford
(34) The Thames at Shillingford
(35) Shillingford Court
(36) Shillingford Bridge
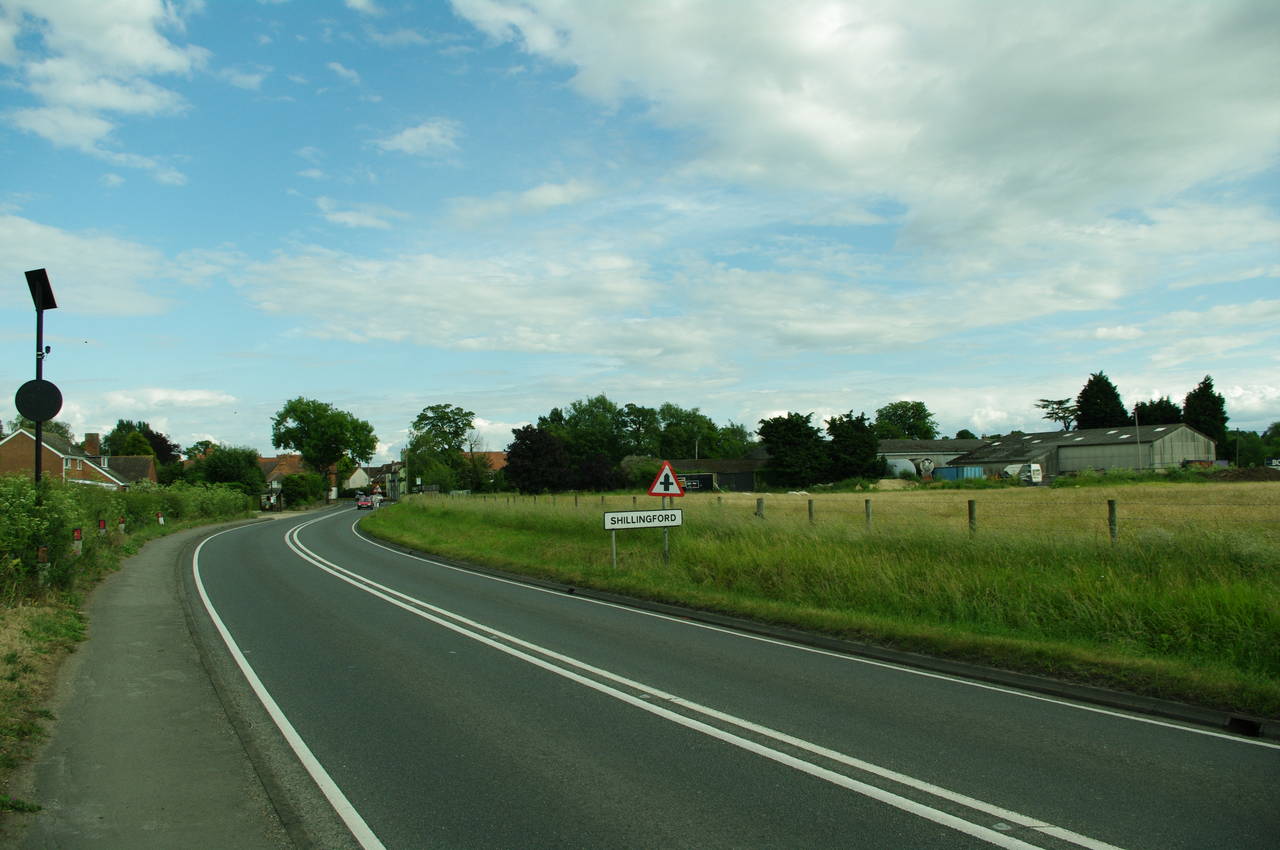
The Thames Path continues beside more fields for a little over a kilometre until a wooden fingerpost points away from the river and the path heads up to join the A4074 Henley Road. The path crosses over the busy road and then follows it to the right into the village of Shillingford (picture 33).
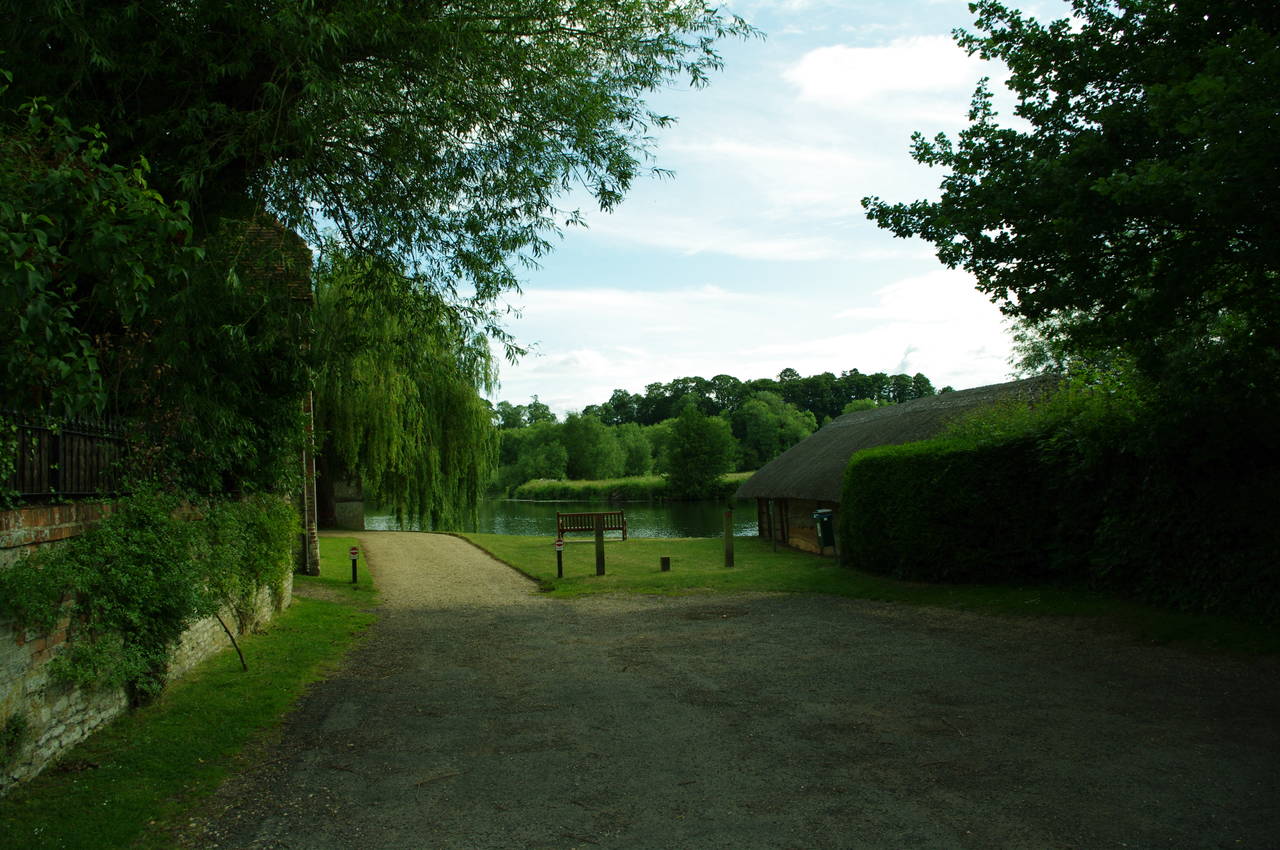
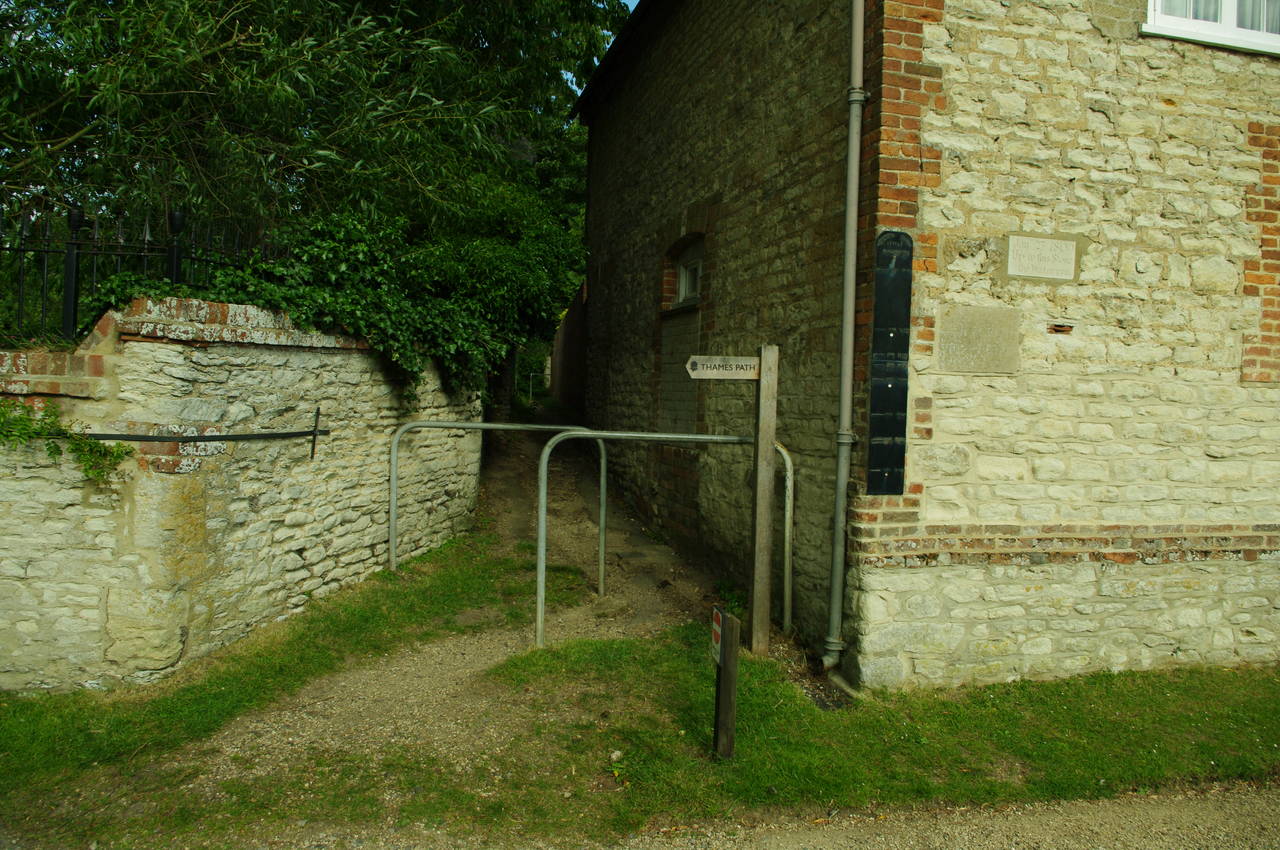
Reaching an intersection with the Kingfisher pub on the opposite corner, the route turns to the right along Wharf Road. Wharf Road soon reaches the bank of the Thames at a pleasant spot with a bench next to a thatched building (picture 34), but just before the river the Thames Path turns to left to follow a narrow alleyway between a stone wall and the stone building of Shillingford Court (picture 35). On the corner of the building is a sign displaying historic flood levels of the river -- the highest flood level being taller than me.
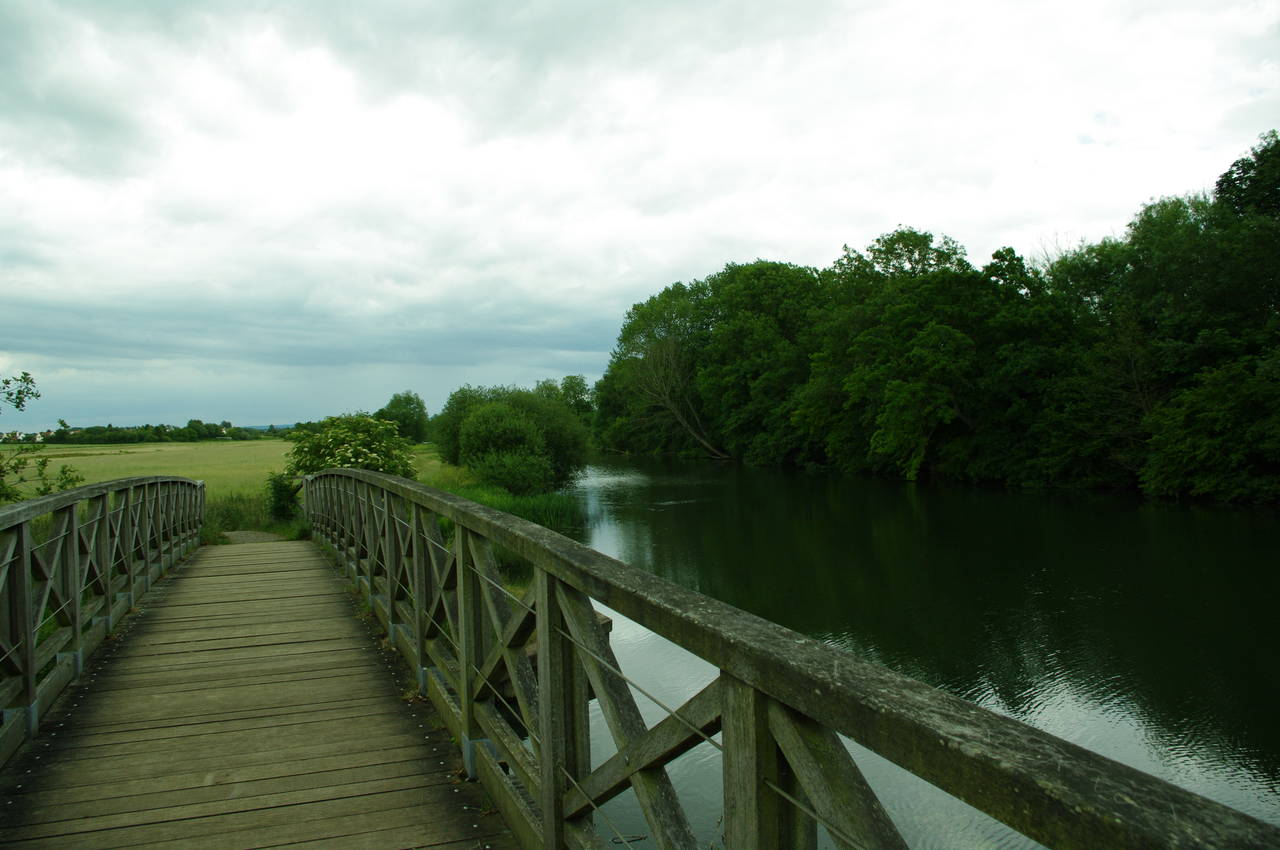
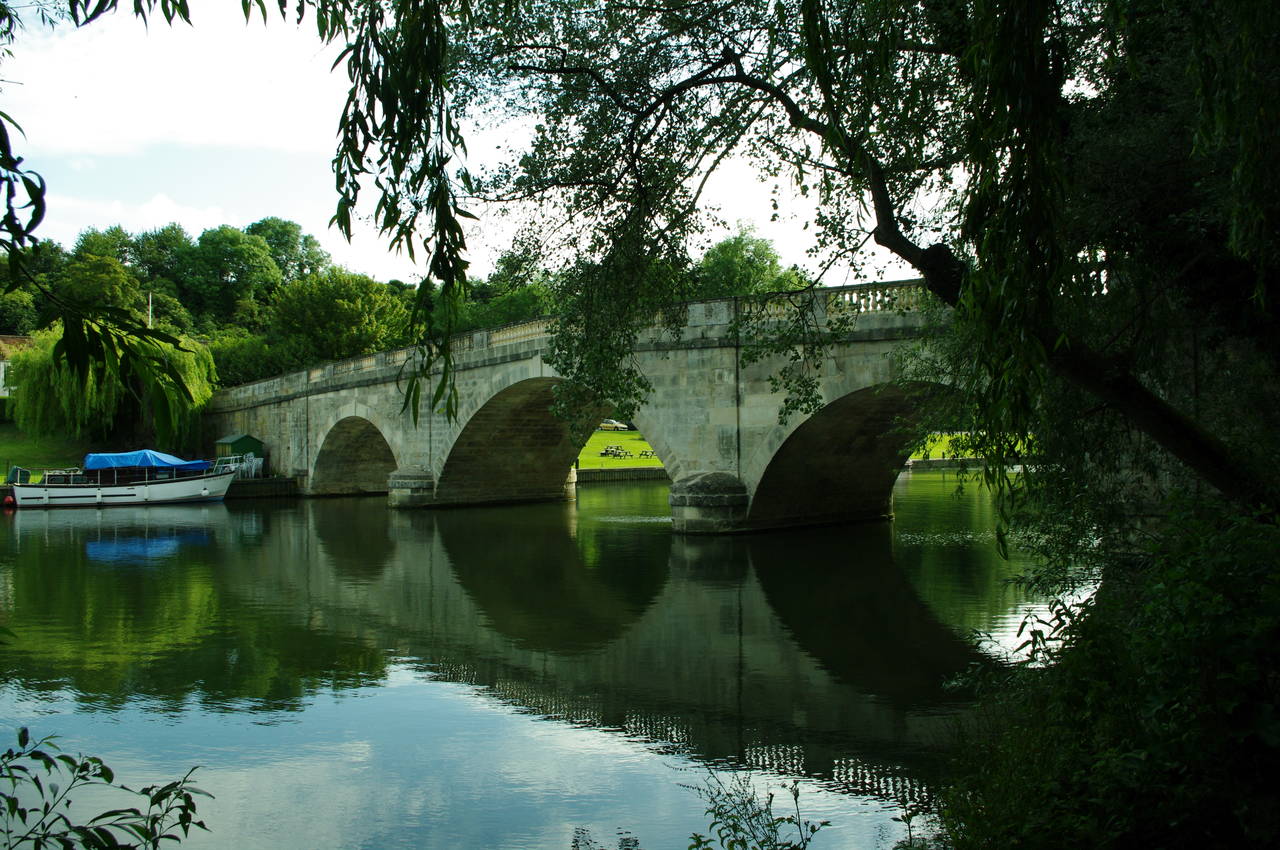
The path emerges from the alley onto a driveway which leads up to a road, where the path crosses over and turns right. Just before the road would cross Shillingford Bridge, the Thames Path leaves the road to the left and descends back onto the towpath from which there is a good view of the bridge (picture 36).
(37) Approaching Benson
(38) Benson Marina

(39) Benson Weir
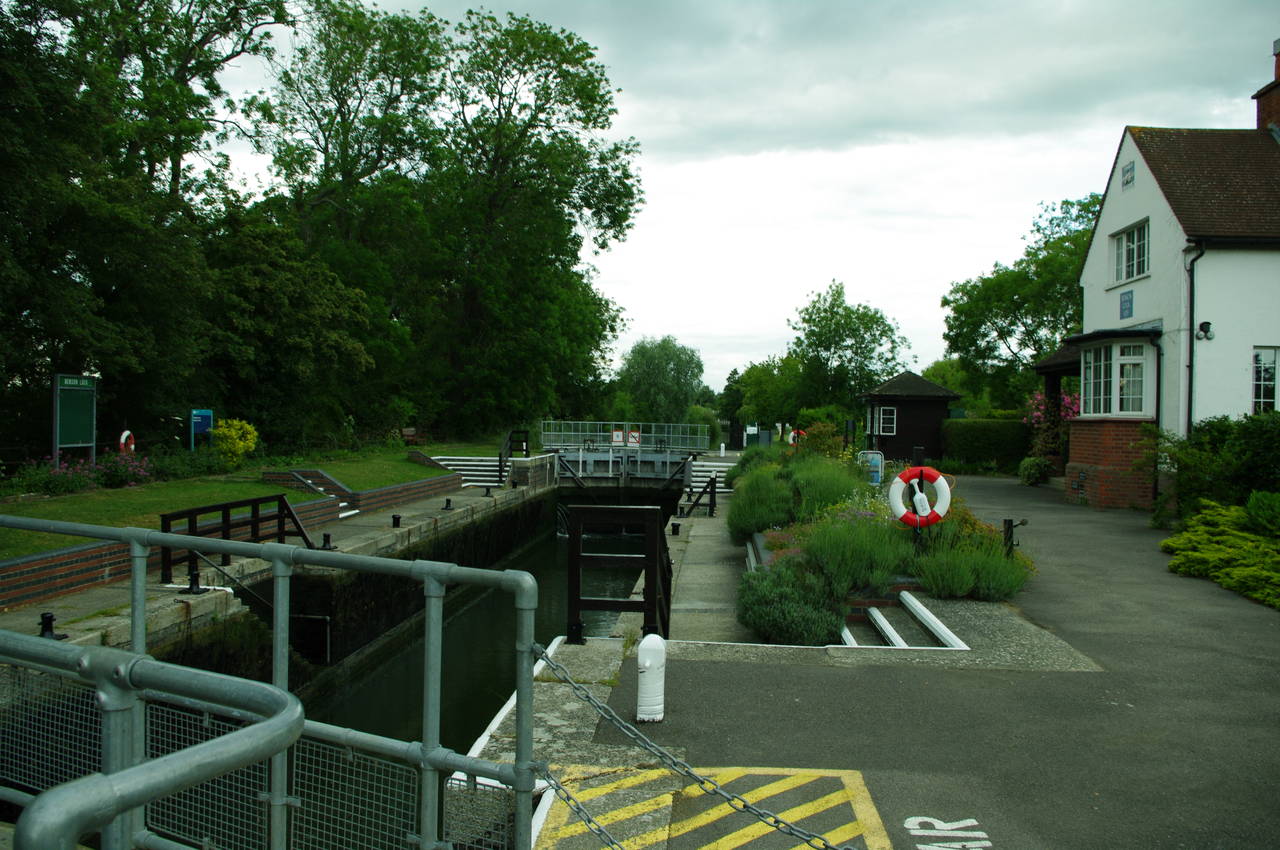
(40) Benson Lock
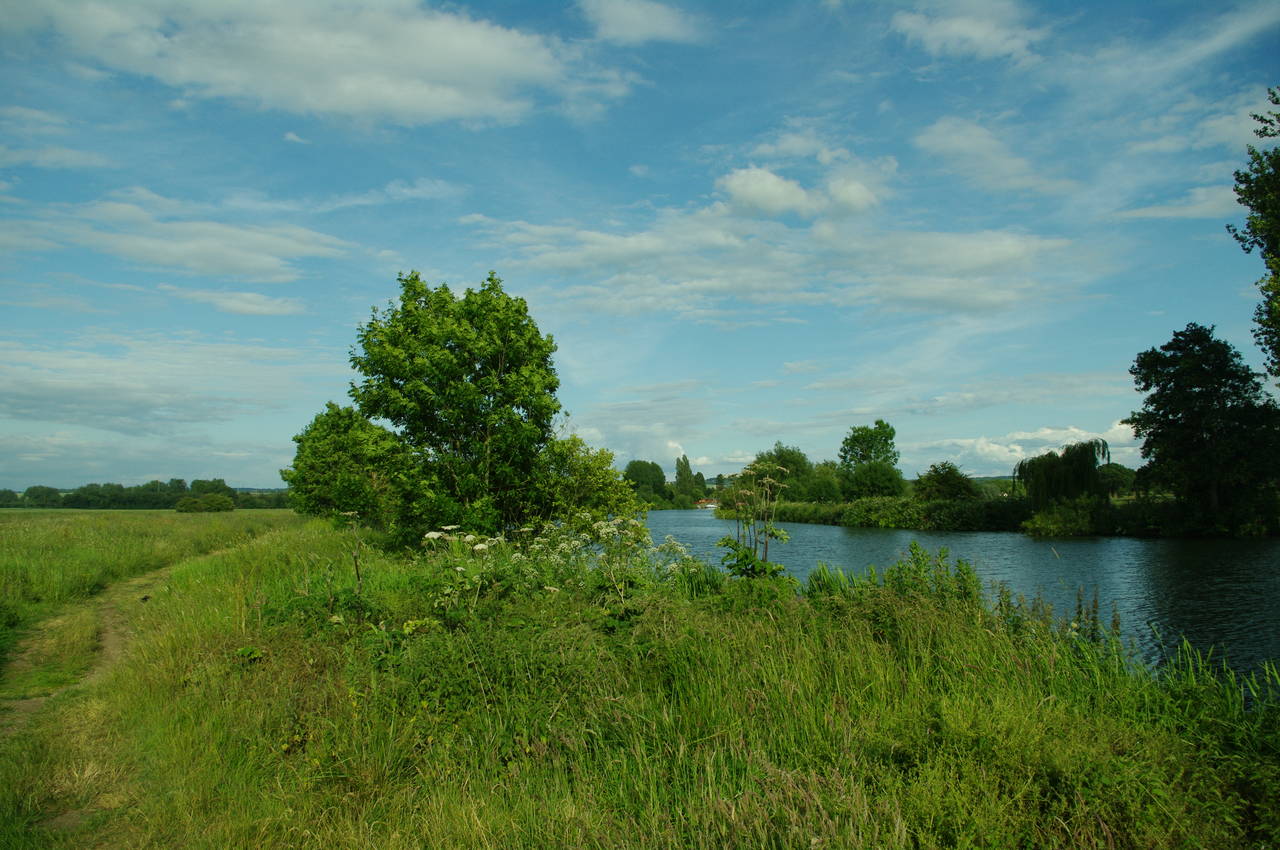
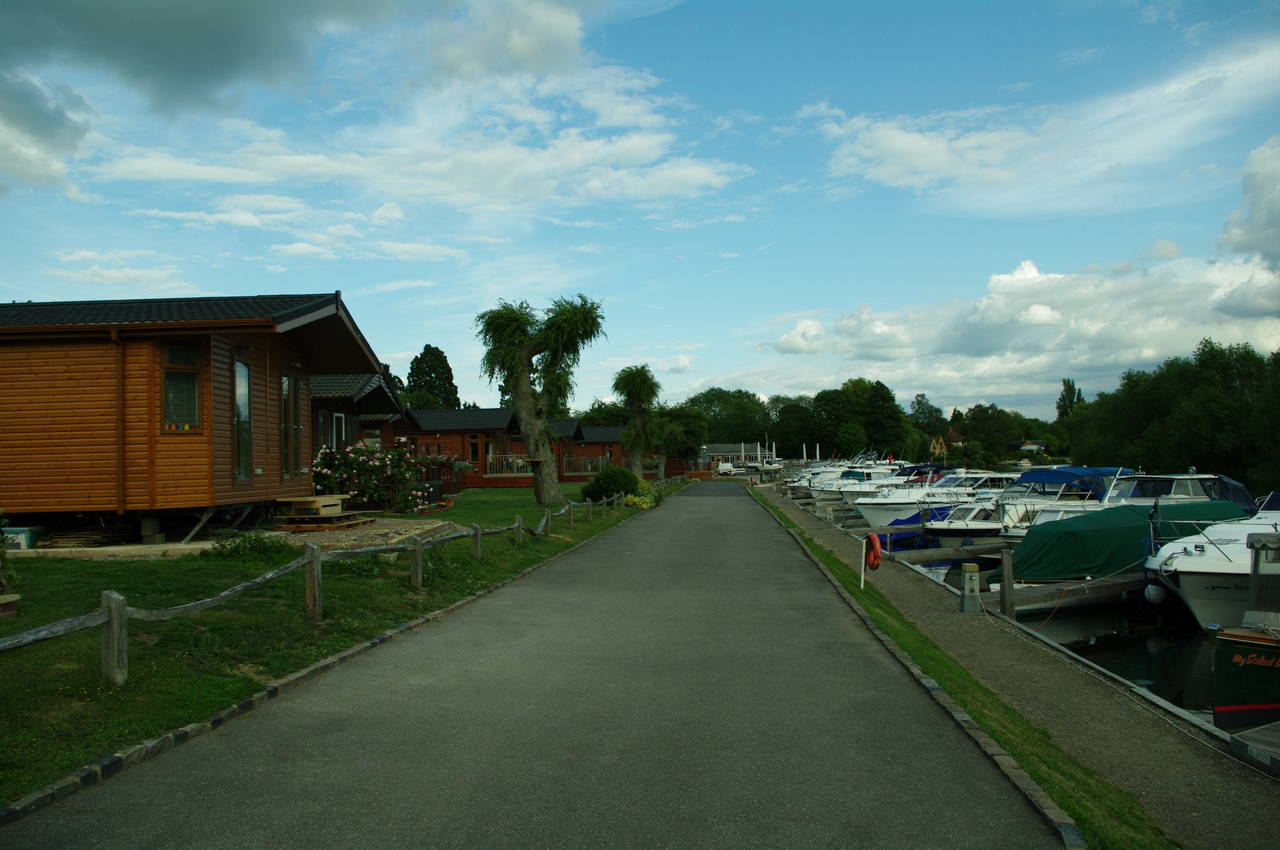
For another kilometre the route crosses mostly open fields beside the Thames (picture 37) towards the town of Benson. Reaching the edge of the town, the path goes through a gate and follows a concrete path between a small marina and a row of chalets (picture 38). Nearing the far end of the marina, the path skirts around the end of a slipway and then passes the Waterfront Cafe, where I stopped for a snack and a short rest. The special of the day was a surprisingly tasty fish finger sandwich.
From the café the path goes through a gate into a public garden. The path briefly leaves the river here, heading diagonally across the garden to follow a quiet lane past houses for around 400 metres until a Thames Path signpost points through a wooden gate onto a path that leads down to a small footbridge over a mill stream. From the footbridge there is a good view of the large Benson Weir (picture 39), which the route then crosses onto the lock island where a footpath leads over the lower lock gates of Benson Lock (picture 40).
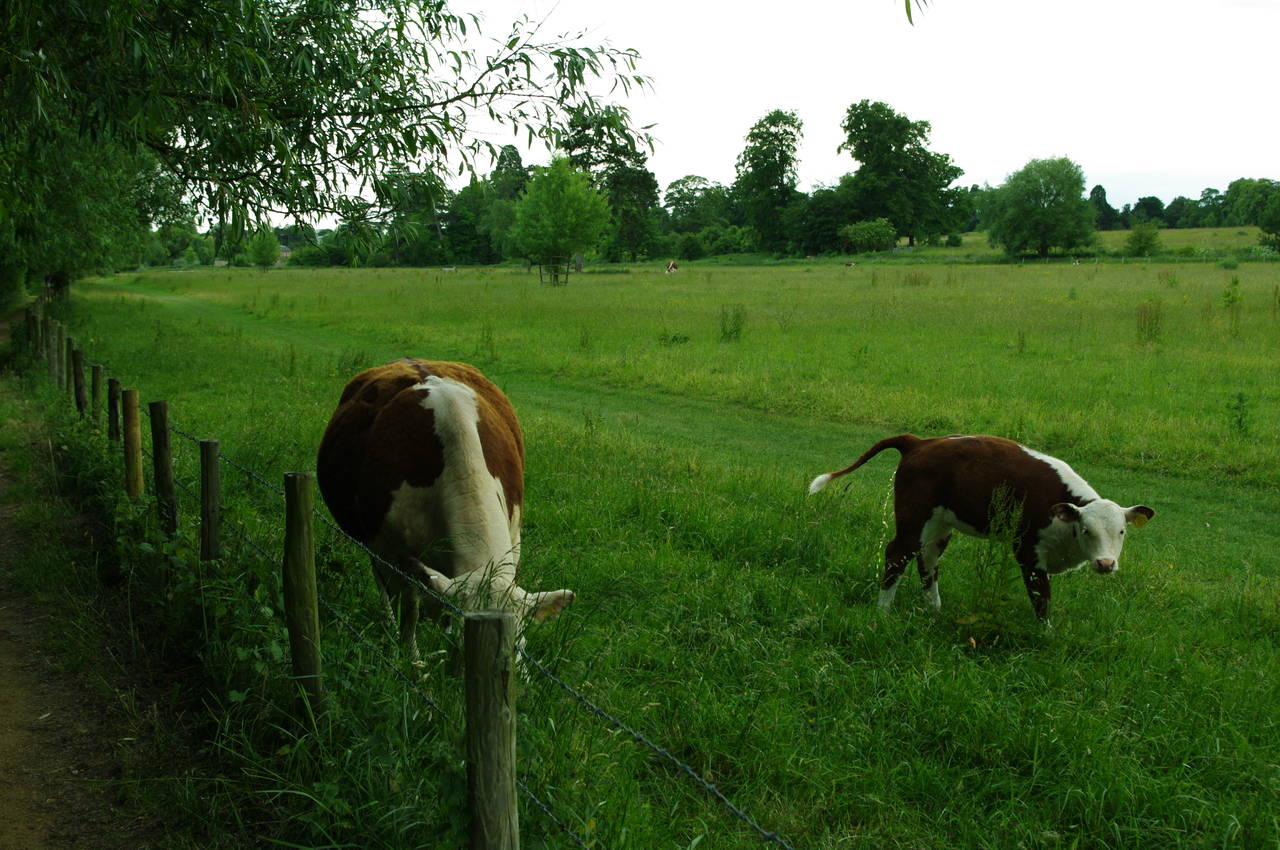
(41) Wallingford Castle Meadows
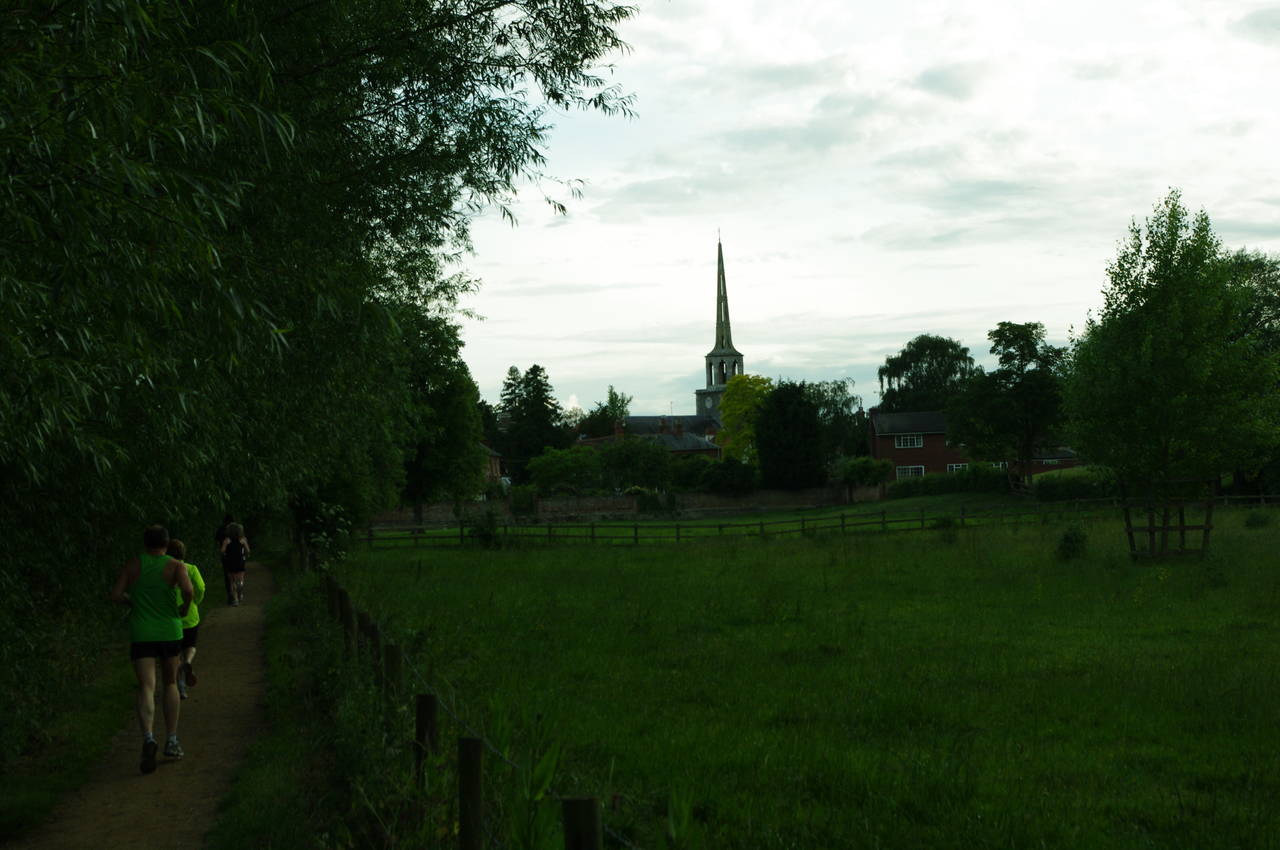
(42) Approaching Wallingford
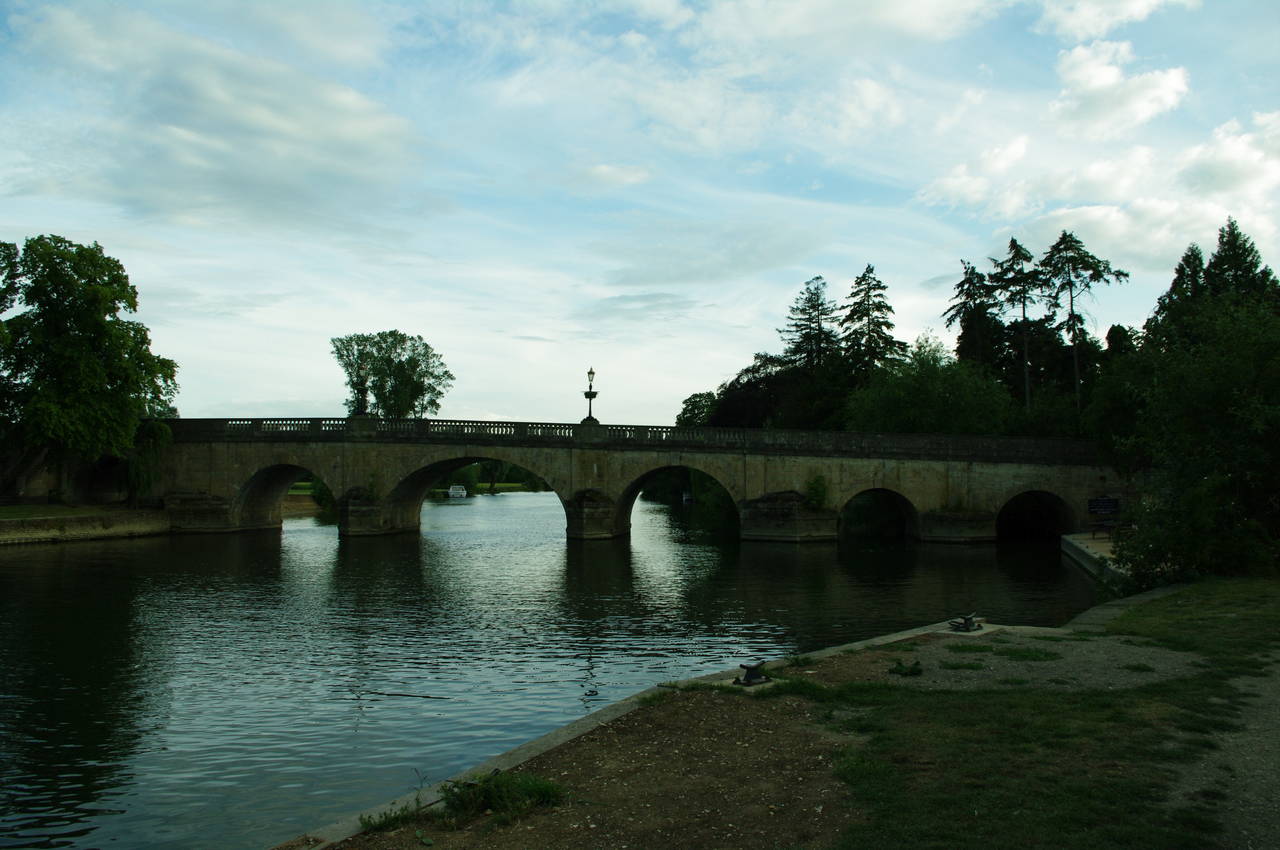
(43) Wallingford Bridge
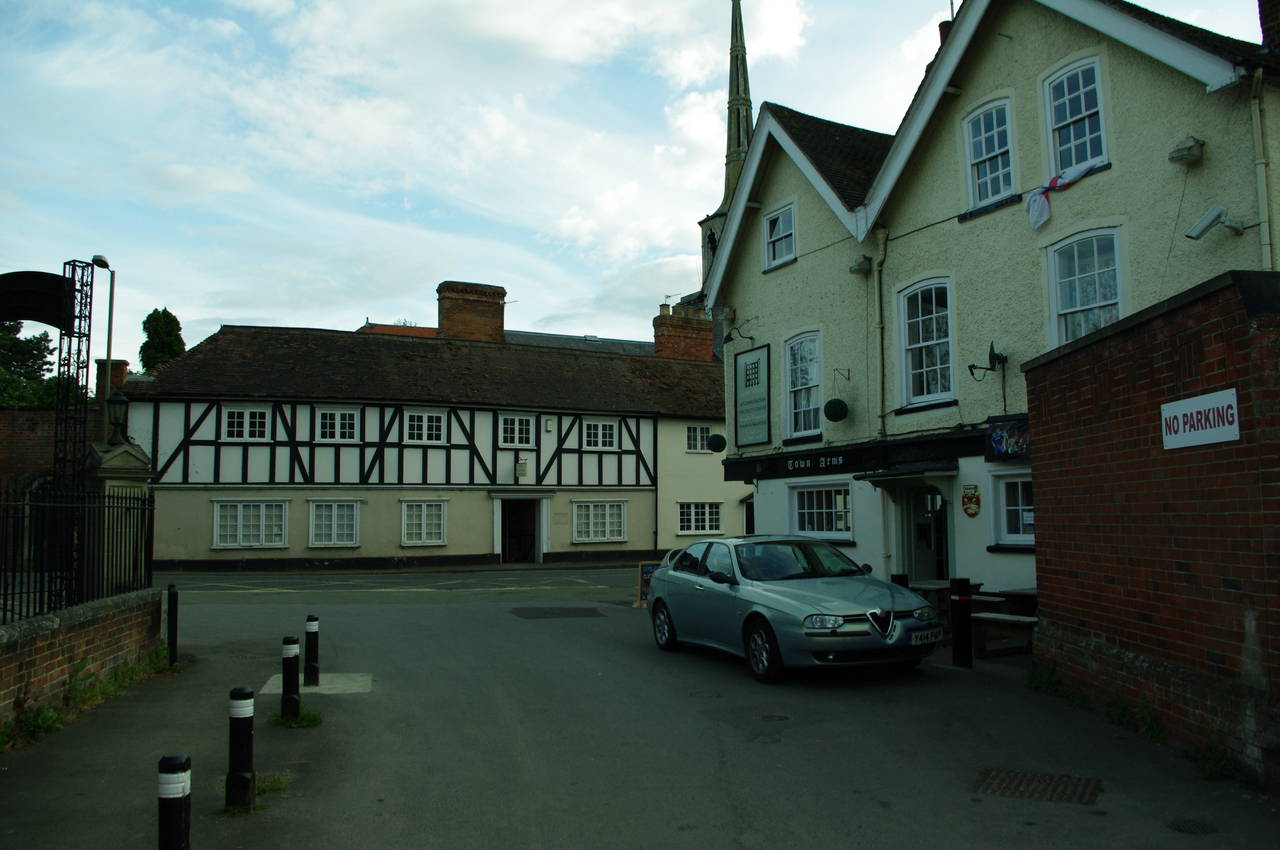
(44) Town Arms, Wallingford
On the riverbank once again, the path turns left and follows a footpath between the river and the Wallingford Castle Meadows, where a few cows were happily chewing on the long grass (picture 41). Up ahead the tall spire of St Peter's Church grows steadily larger as the path approaches the town of Wallingford (picture 42). Along most of this stretch of the path I was regularly passed by joggers, heading up towards the town in groups of two and three,
A short distance before the Thames flows under Wallingford Bridge, the footpath leaves the river's edge and heads up to Castle Lane, which is followed to the left to meet the High Street with the Town Arms on the right (picture 44). Turning right along the High Street for only about 30 metres, the Thames Path then turns left onto Thames Street.
Having covered 27.2km of the Thames Path, I left the path here and continued along the High Street to St Mary's Street, which leads to Wallingford's market square and bus stop, where I caught a bus to Reading Station.