SOUTH DOWNS WAY
Stage 4: Devil's Dyke to Amberley
Saturday, March 24, 2012
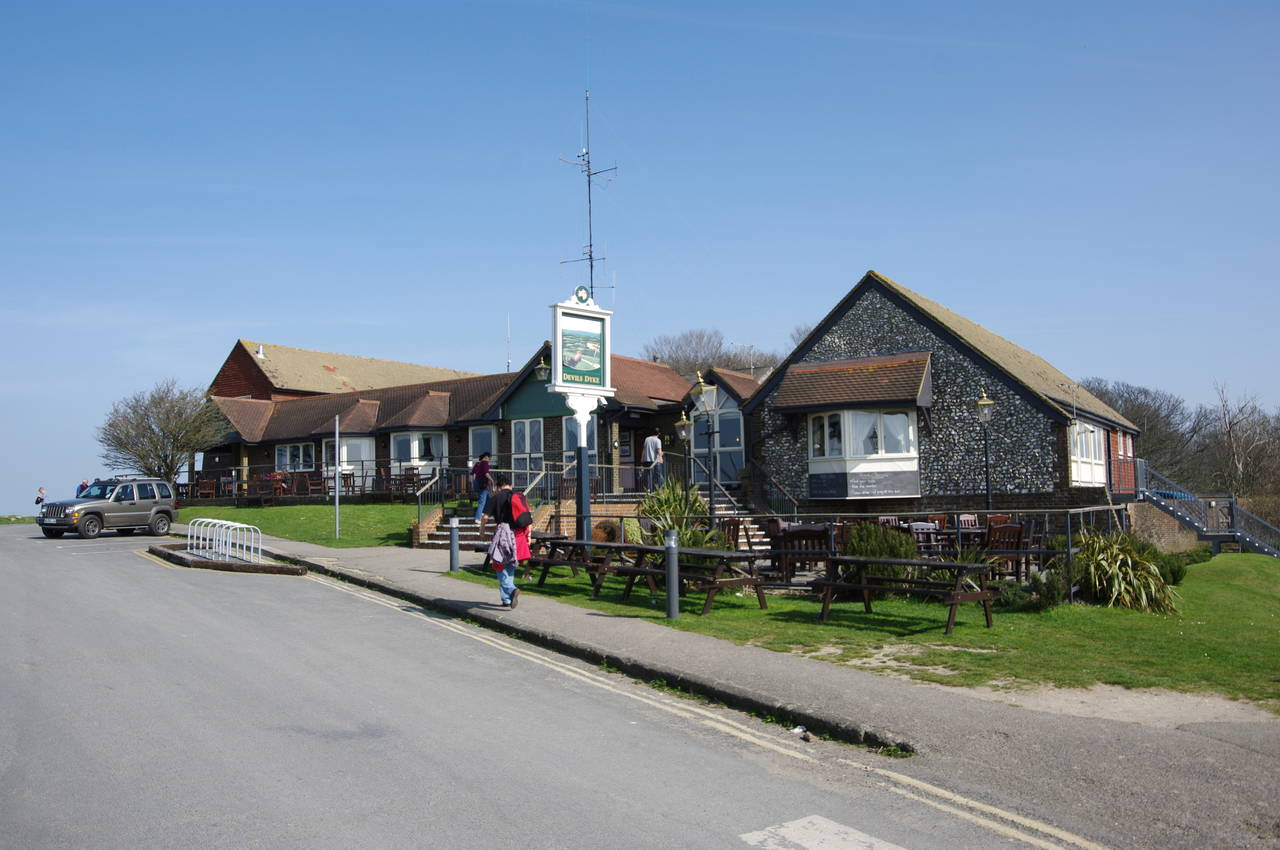
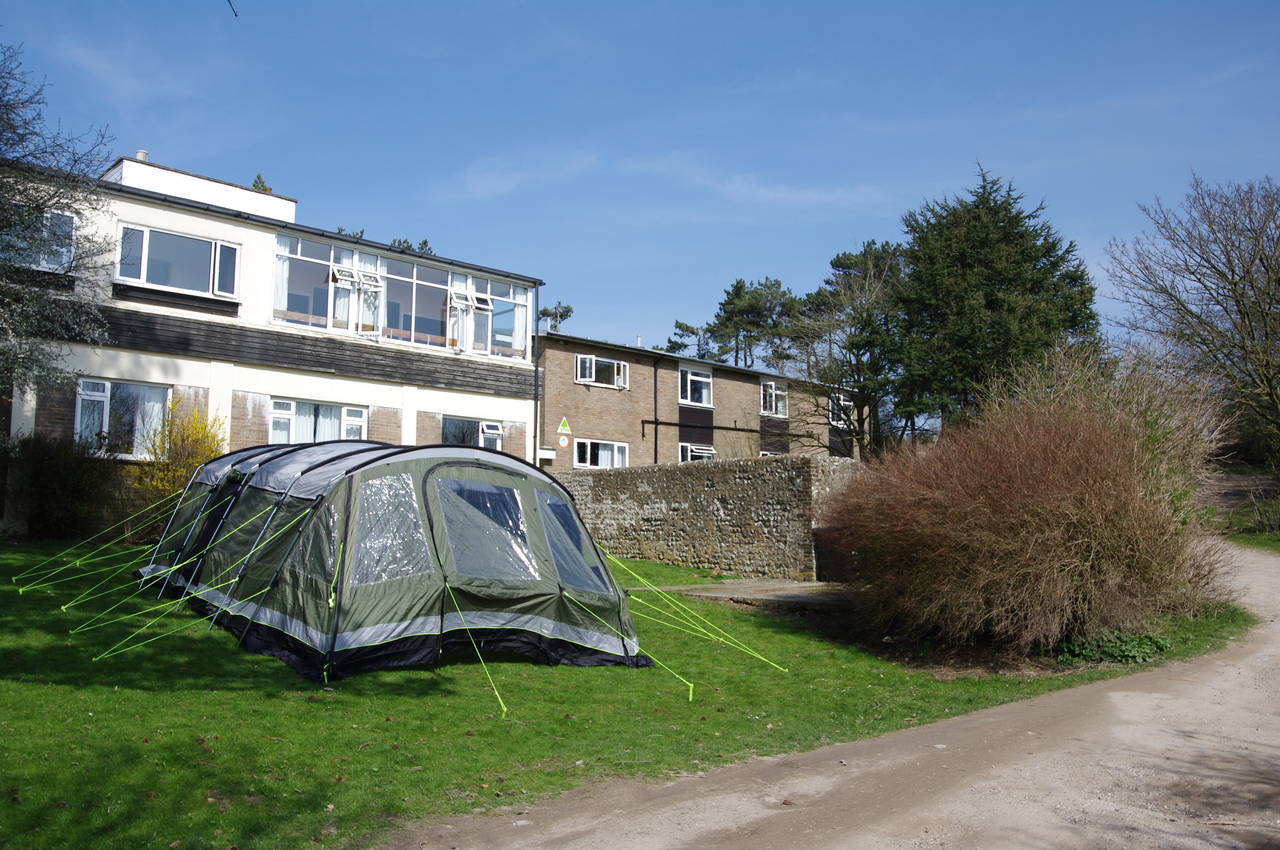
(1) Devil's Dyke Hotel
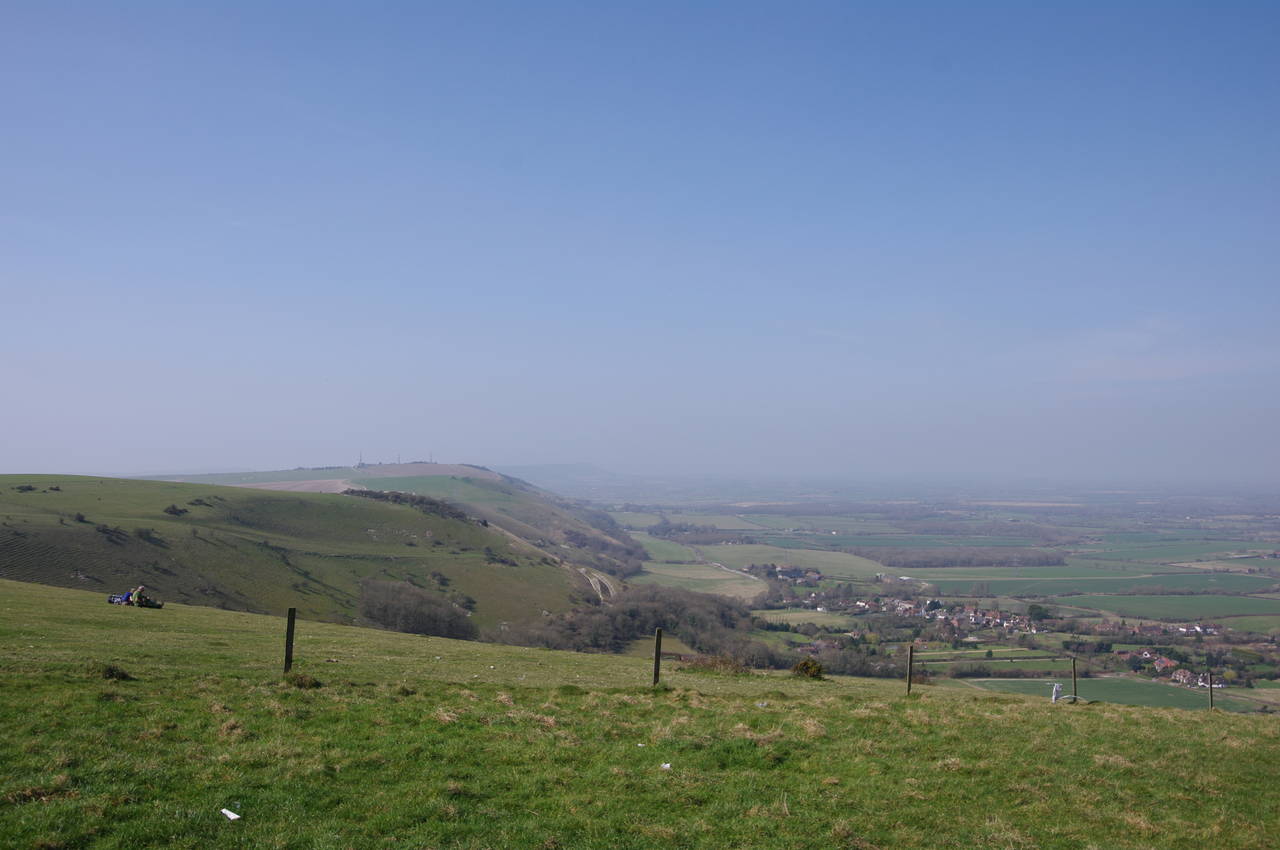
(2) View ahead to Truleigh Hill and Fulking

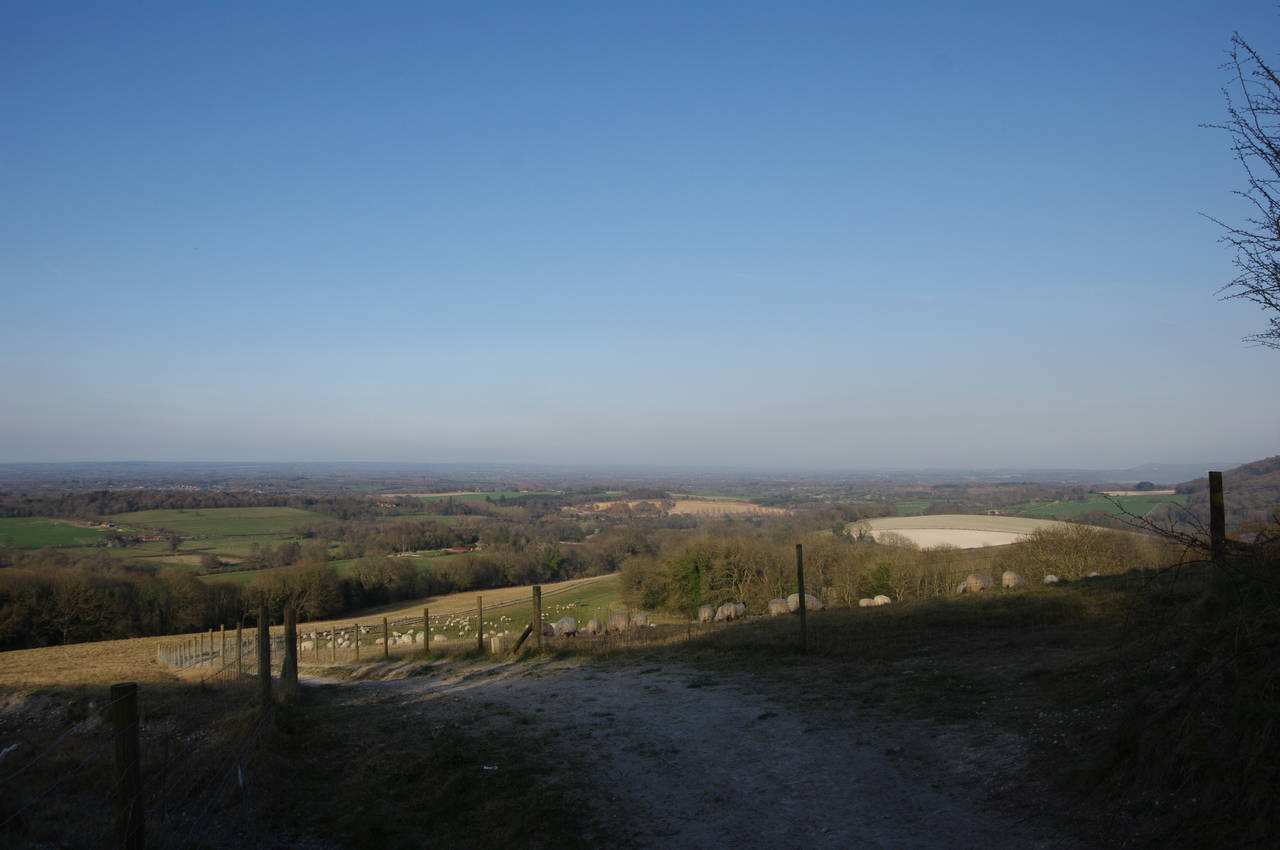
(3) Devil's Dyke
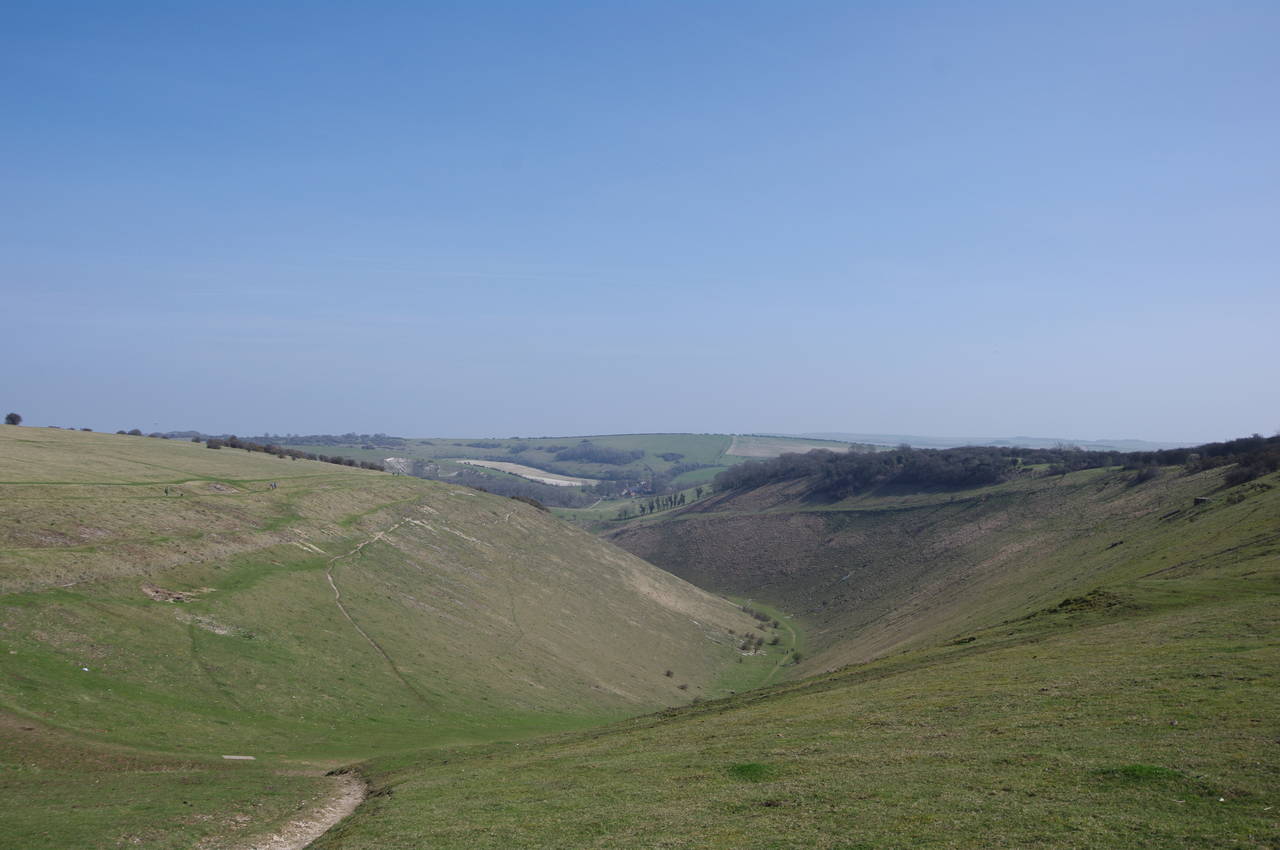
(4) Devil's Dyke
Having been sent on a hastily arranged business trip to Norway, I took the opportunity to get a cheap flight to England for the weekend, getting the train from Gatwick Airport to Brighton. By 11 o'clock I had made my way up from Brighton to the Devil's Dyke, where I had left the South Downs Way about eight months earlier.
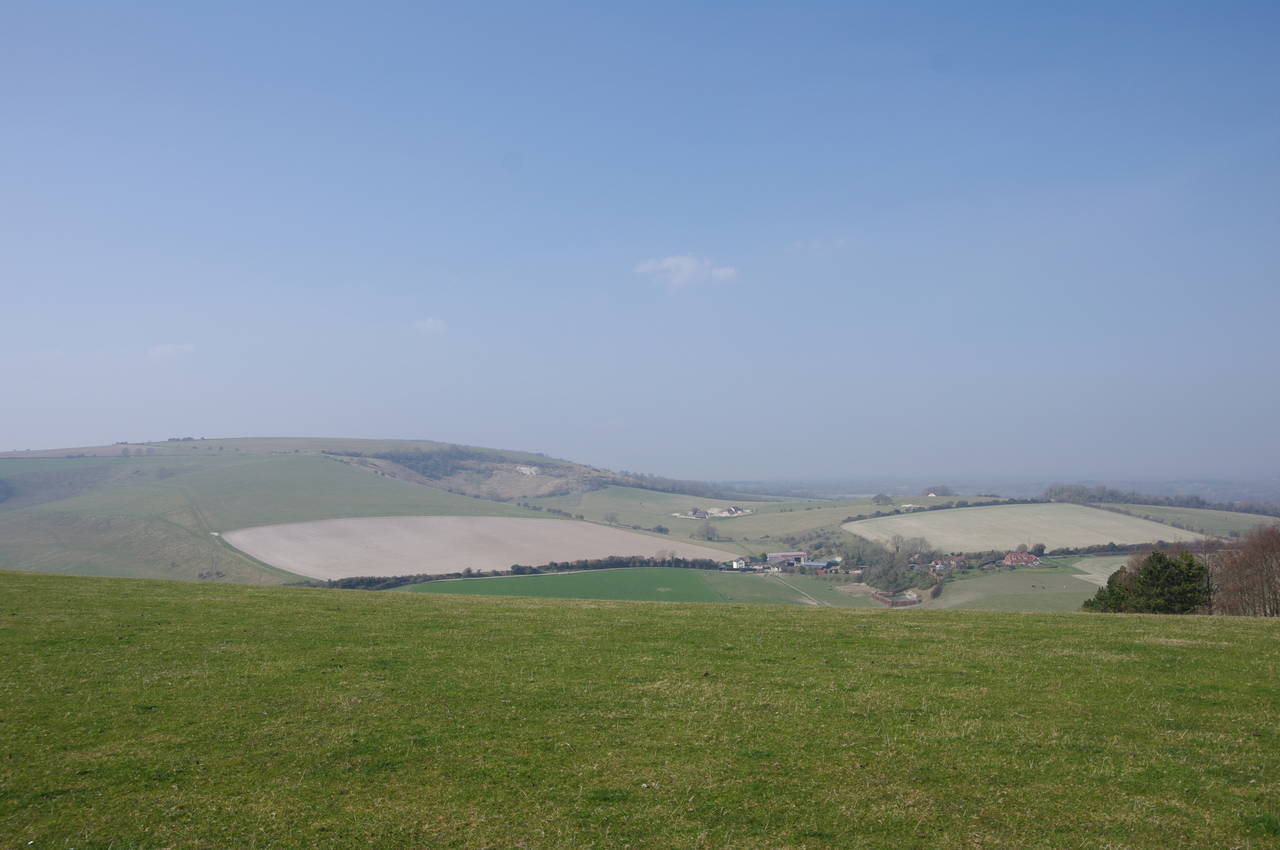
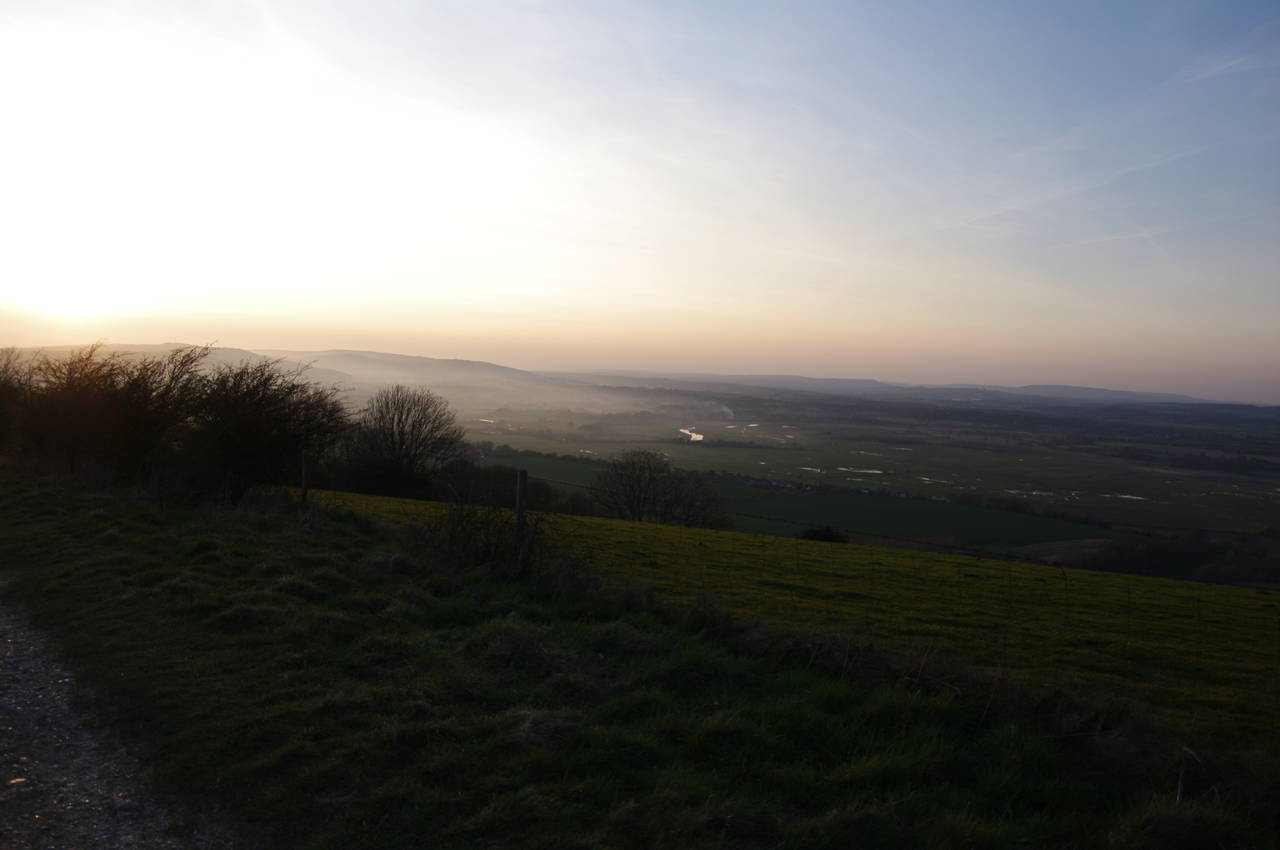
It was an unusually hot day for the time of year, and was already around 25 degrees when I arrived in front of the Devil's Dyke Hotel (picture 1). Although the sky was completely cloudless, there was a very noticible haze partially obscuring the view ahead along the downs, though I was still able to make out the village of Fulking at the foot of the downs and the three radio masts on top of Truleigh Hill in the distance (picture 2),
The warm weather had brought a lot of people to the downs and several dozen of them were milling about on the grassy hillside, presumably waiting for the pub to open for lunch.
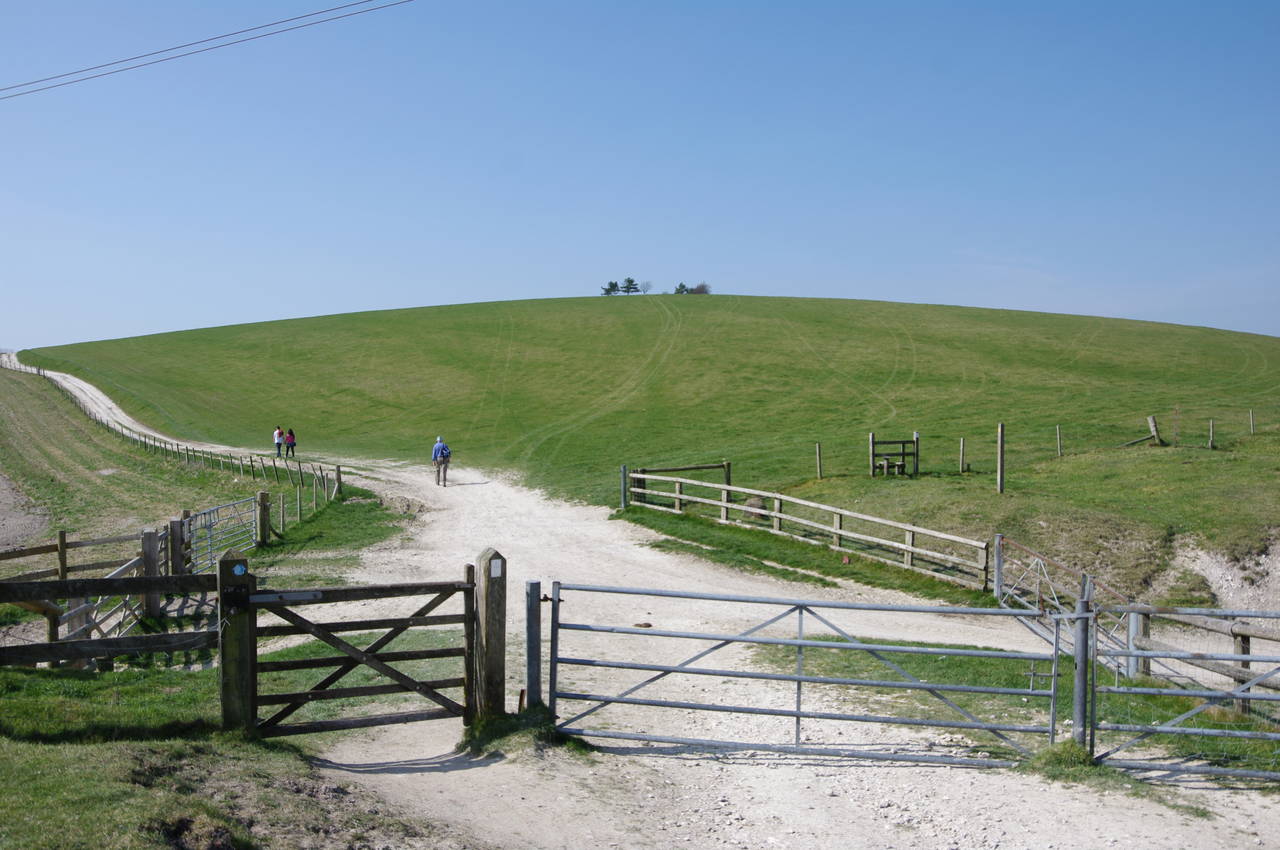
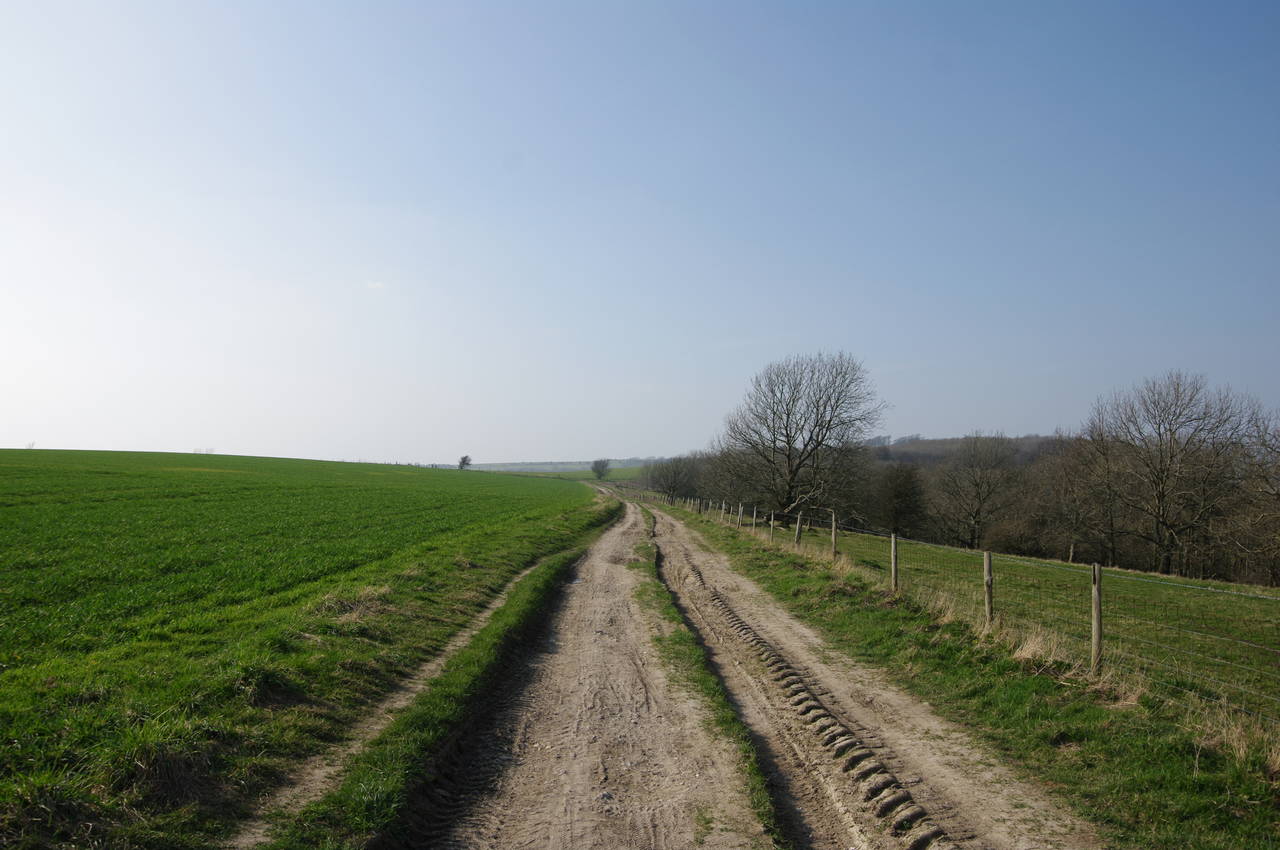
Heading across the Hotel's car park, I headed down into the dry valley of Devil's Dyke (pictures 3 and 4) and up the other side towards the point where the South Downs Way crosses the road to the Hotel.

(5) Fingerpost by Devil's Dyke Road
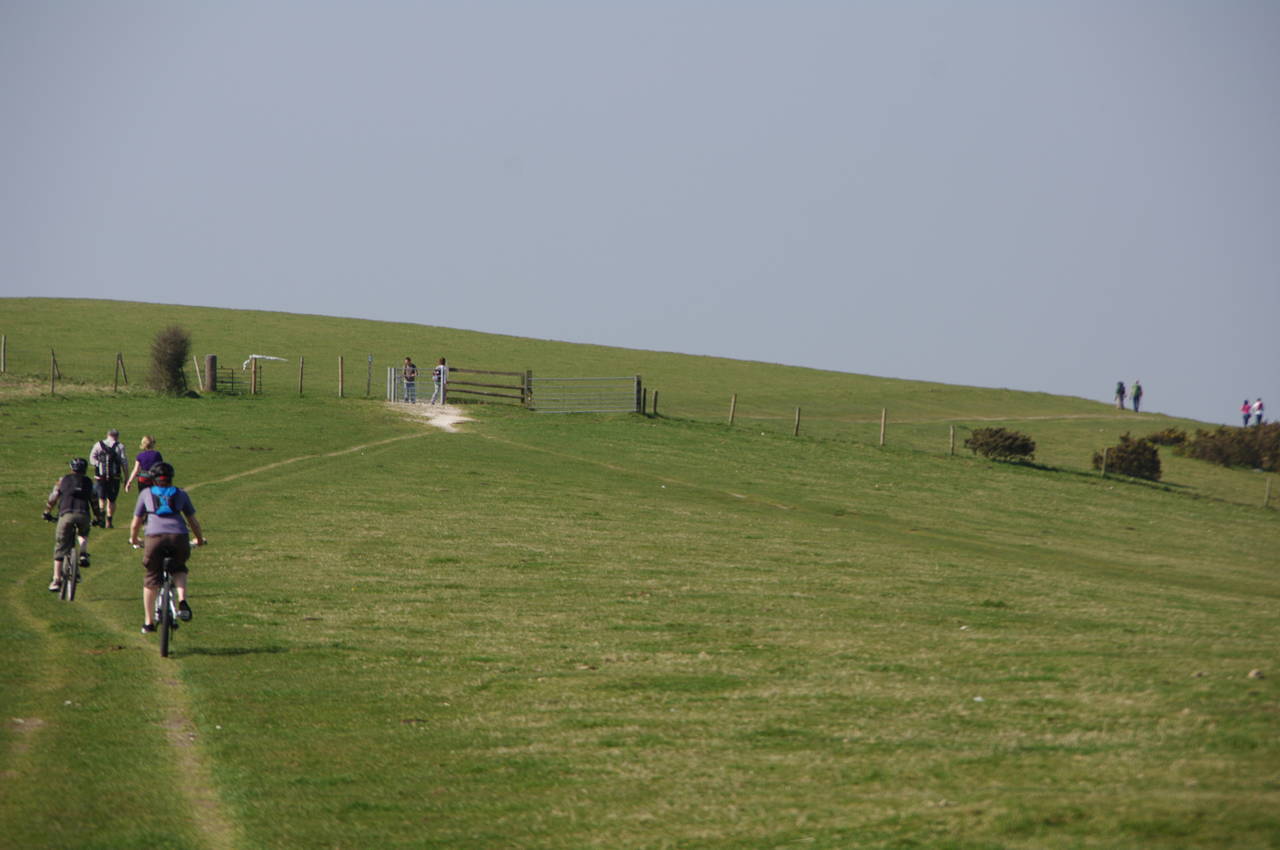
(6) Fulking Hill

(7) View back from Fulking Hill
(8) Edburton Hill
I soon reached the fingerpost by the road where I had last left the Way back in July 2011 (picture 5). Here the route crosses the road and heads out across the grassy expanse of Fulking Hill (I'm trying hard to leave the name alone), where there were quite a few walkers and cyclists enjoying the path (picture 6).
From the crest of the hill there were good views back towards the Devil's Dyke Hotel and the adjacent earthworks of the Devil's Dyke Iron Age Fort (picture 7) before the Way descends on a chalky path before climbing steeply over the smaller Perching Hill and across the next little valley where power lines cross the downs. Once under the power lines, the path climbs again over the side of Edburton Hill, where a few wind-battered trees survive on the peak (picture 8).
(9) View across Bushy Bottom to Truleigh Hill
(10) Bushy Bottom
(11) Radio station on Truleigh Hill
(12) Truleigh Hill Youth Hostel
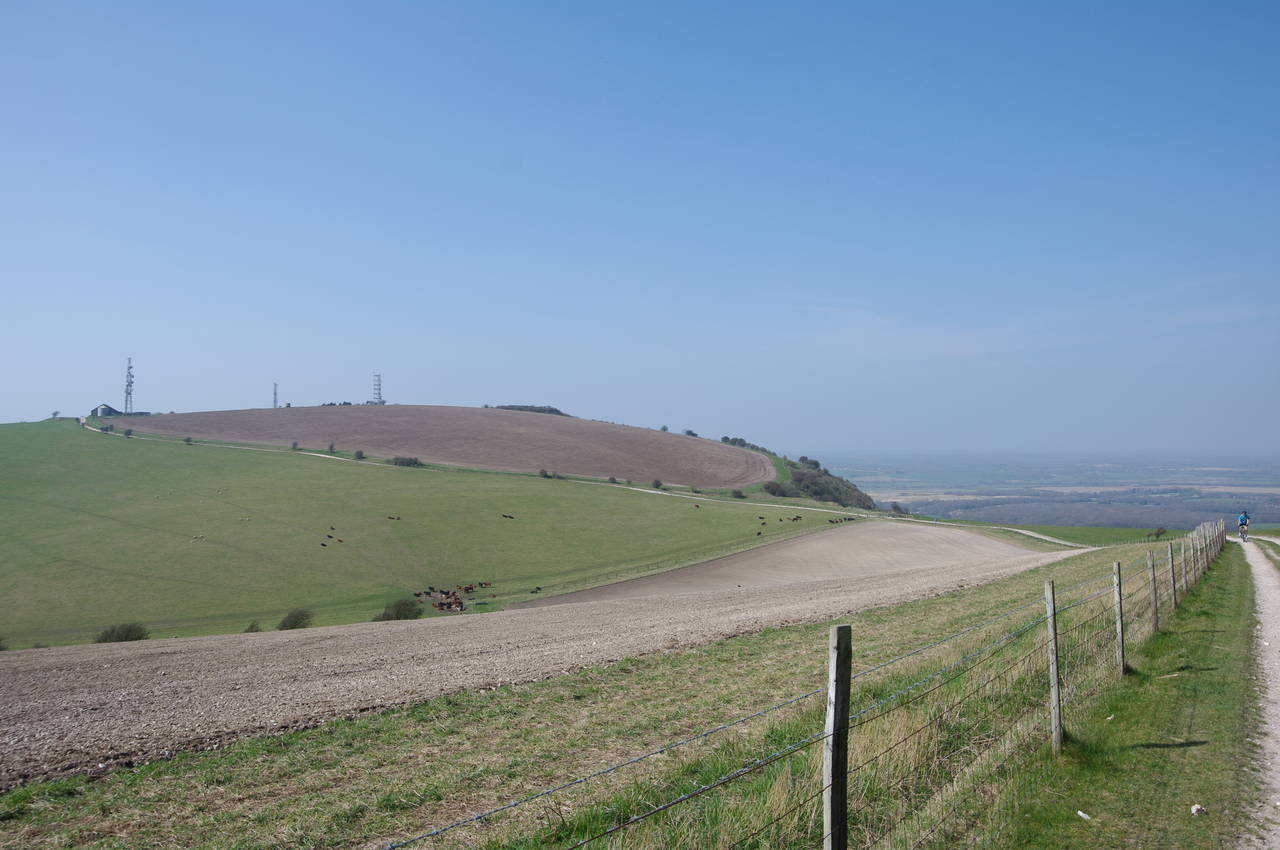
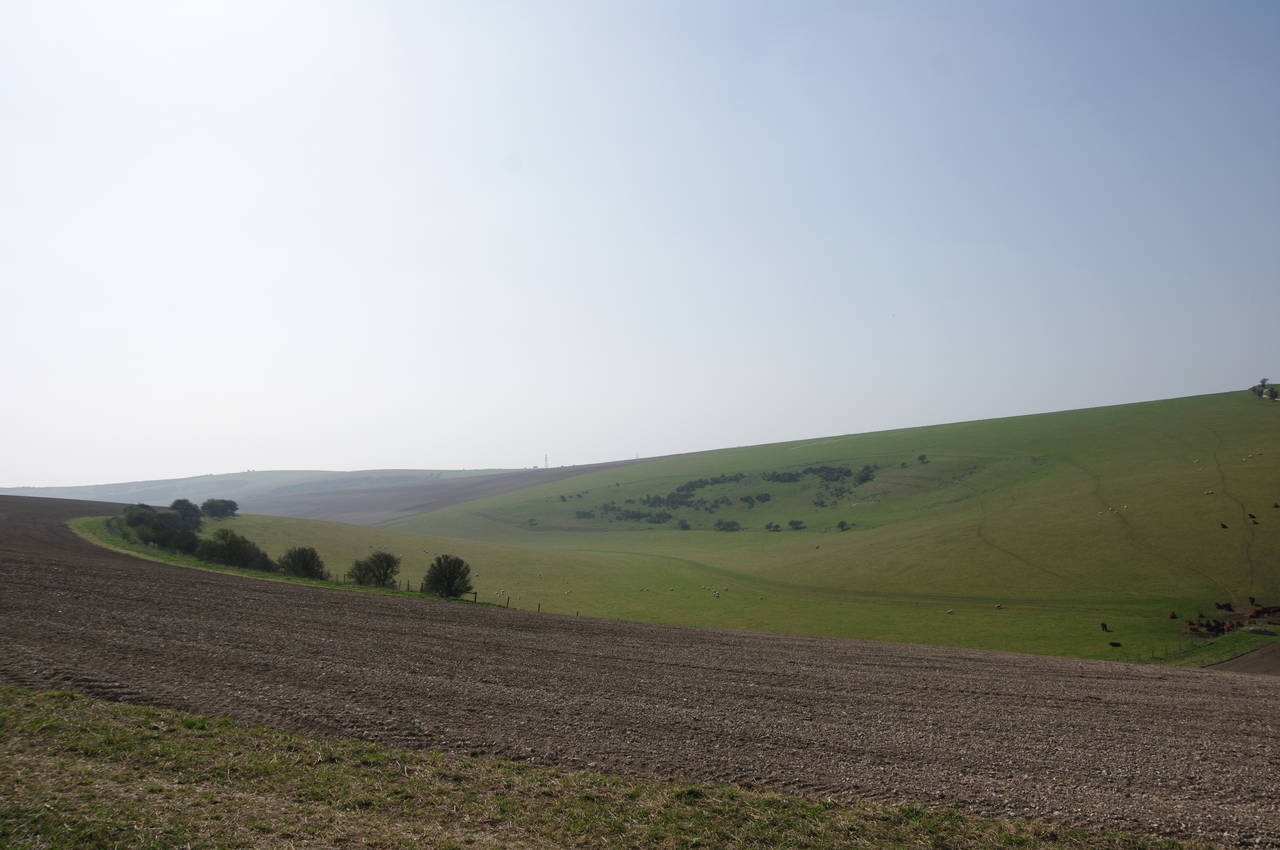
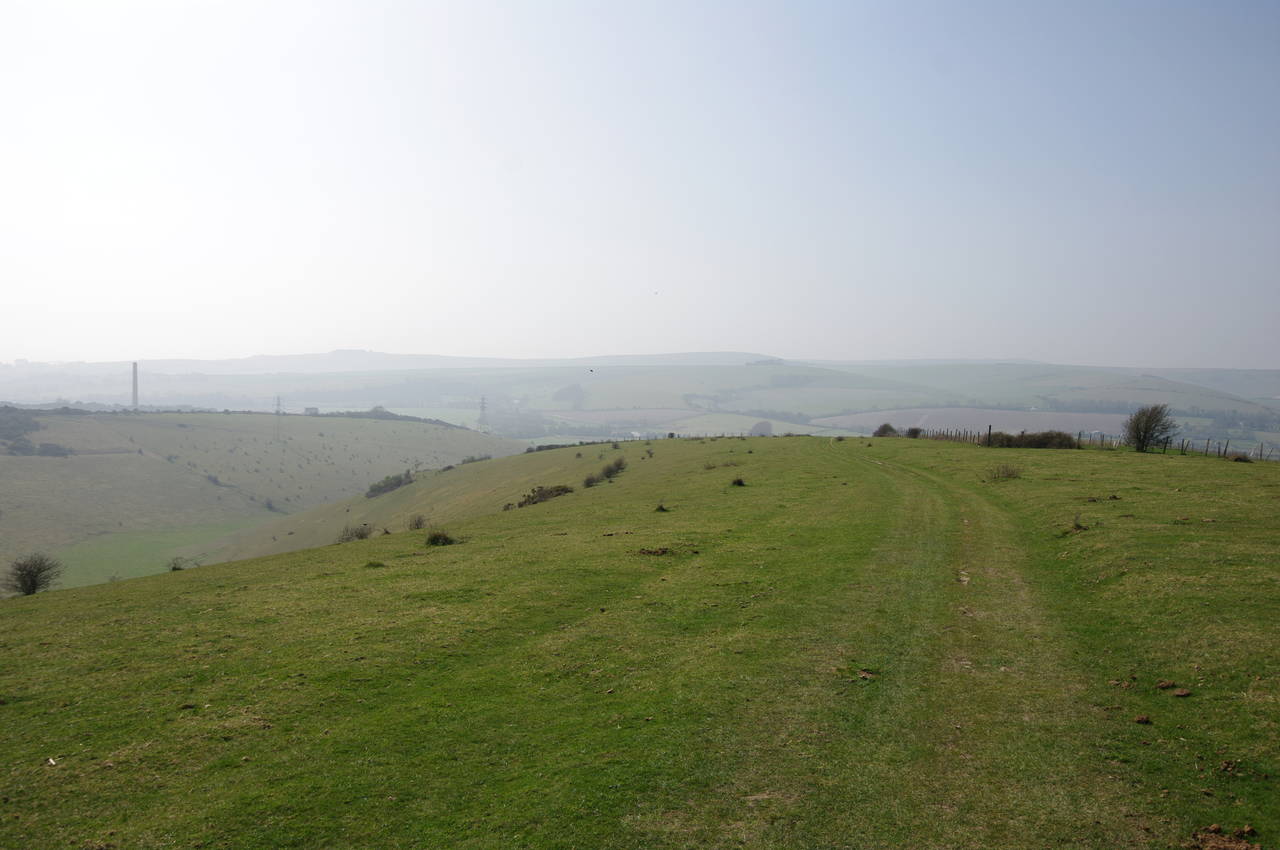
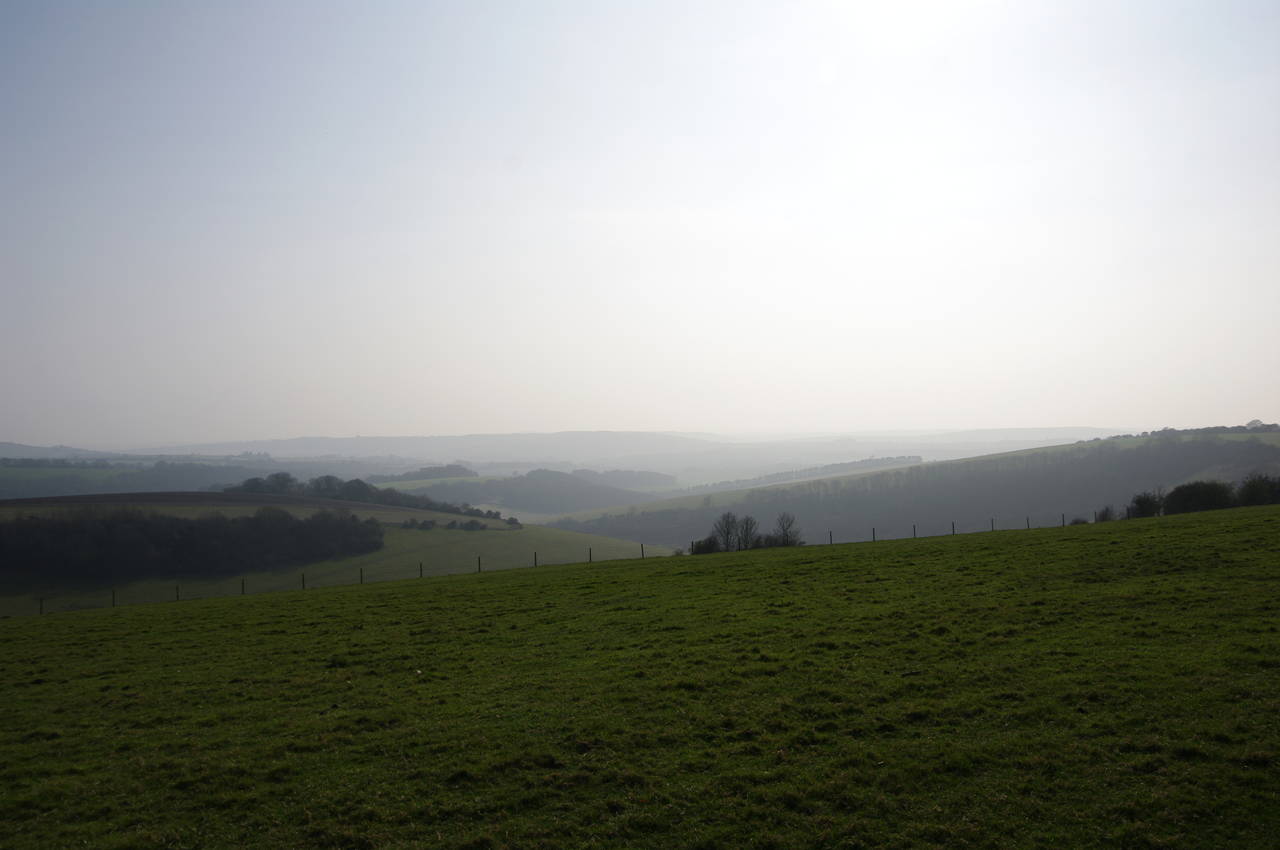
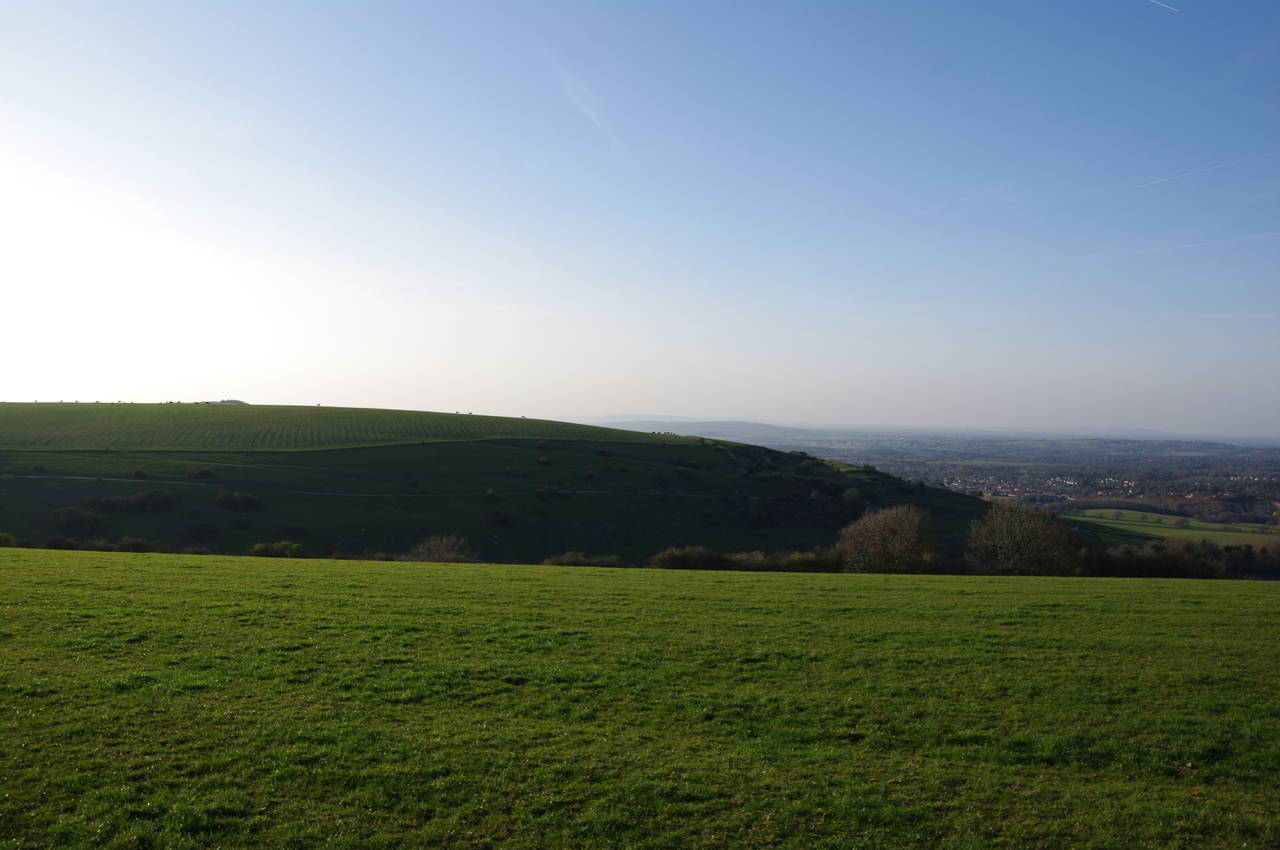
The path now curves gradually left around the top of another deep combe, called Bushy Bottom, which separates Edburton Hill from Truleigh Hill (picture 9), where the path can be clearly seen climbing up the side of the hill opposite. Before beginning the climb up Truleigh Hill there were views along the combe, where the haze in the air was obvious once again (picture 10).
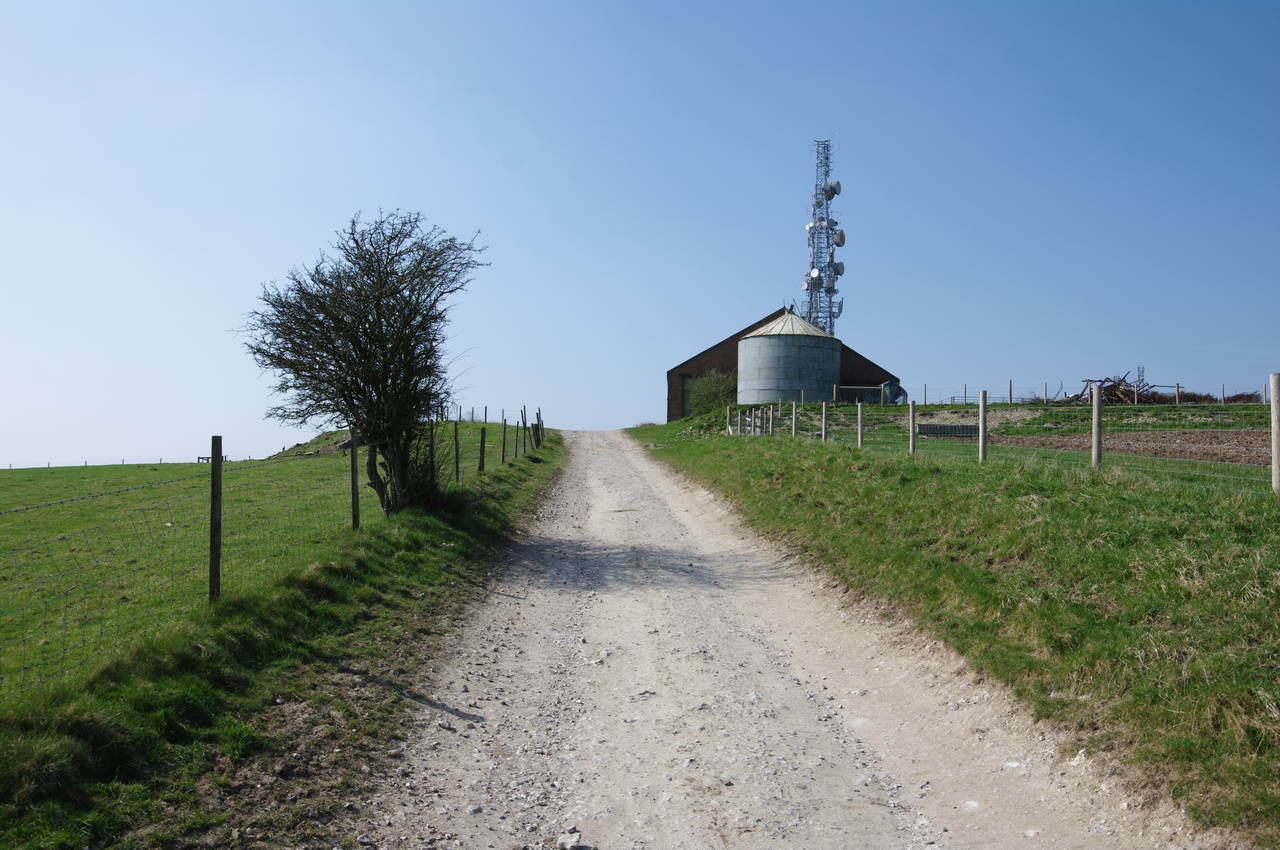
The broad chalky track climbs up the side of Truleigh Hill, curving back the other way to pass by one of the three tall radio masts on top of the hill (picture 11). The track then continues to climb less steeply past some farm buildings before beginning to descend through a patch of woodland surrounding the Truleigh Hill Youth Hostel (picture 12).
(13) Beeding Hill
(14) Path above Anchor Bottom
(15) View across the Adur Valley
(16) Water point near the A283
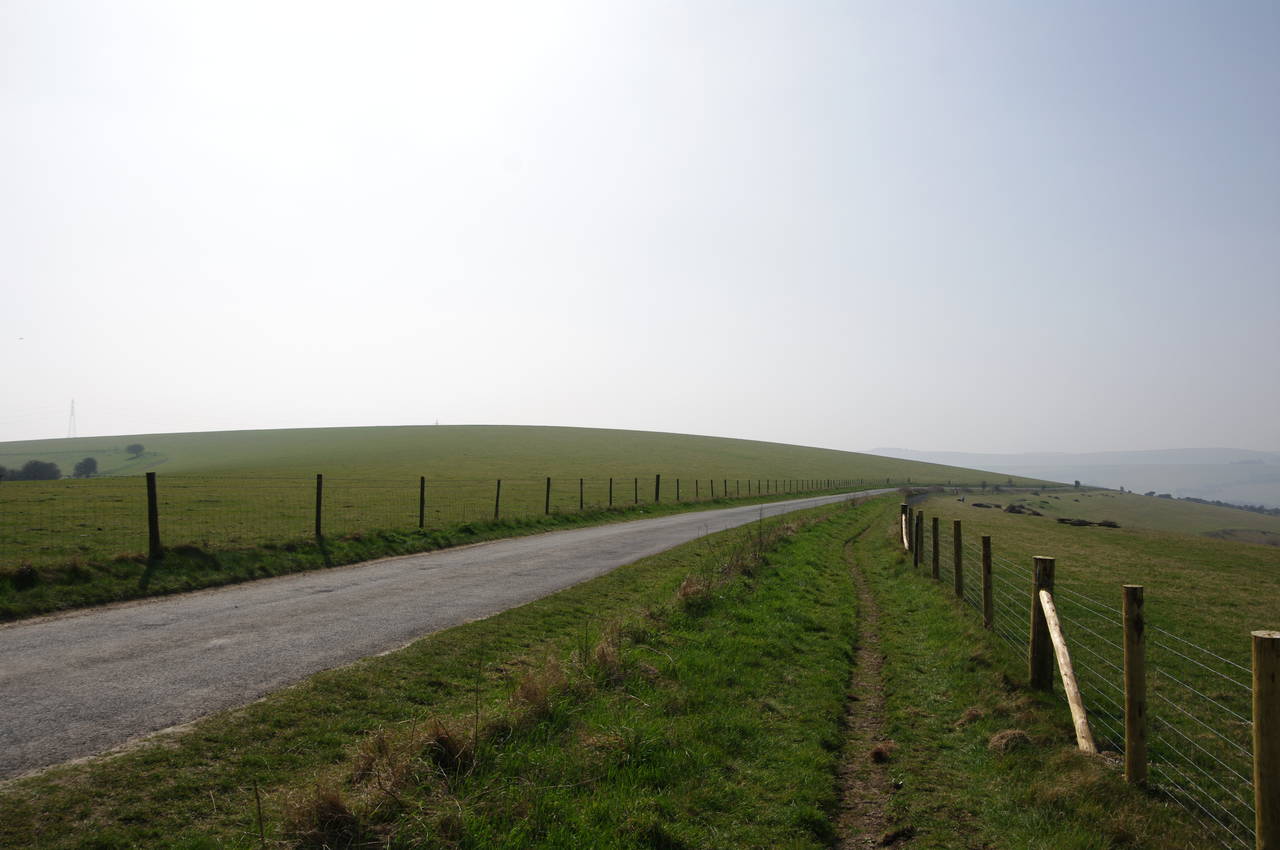
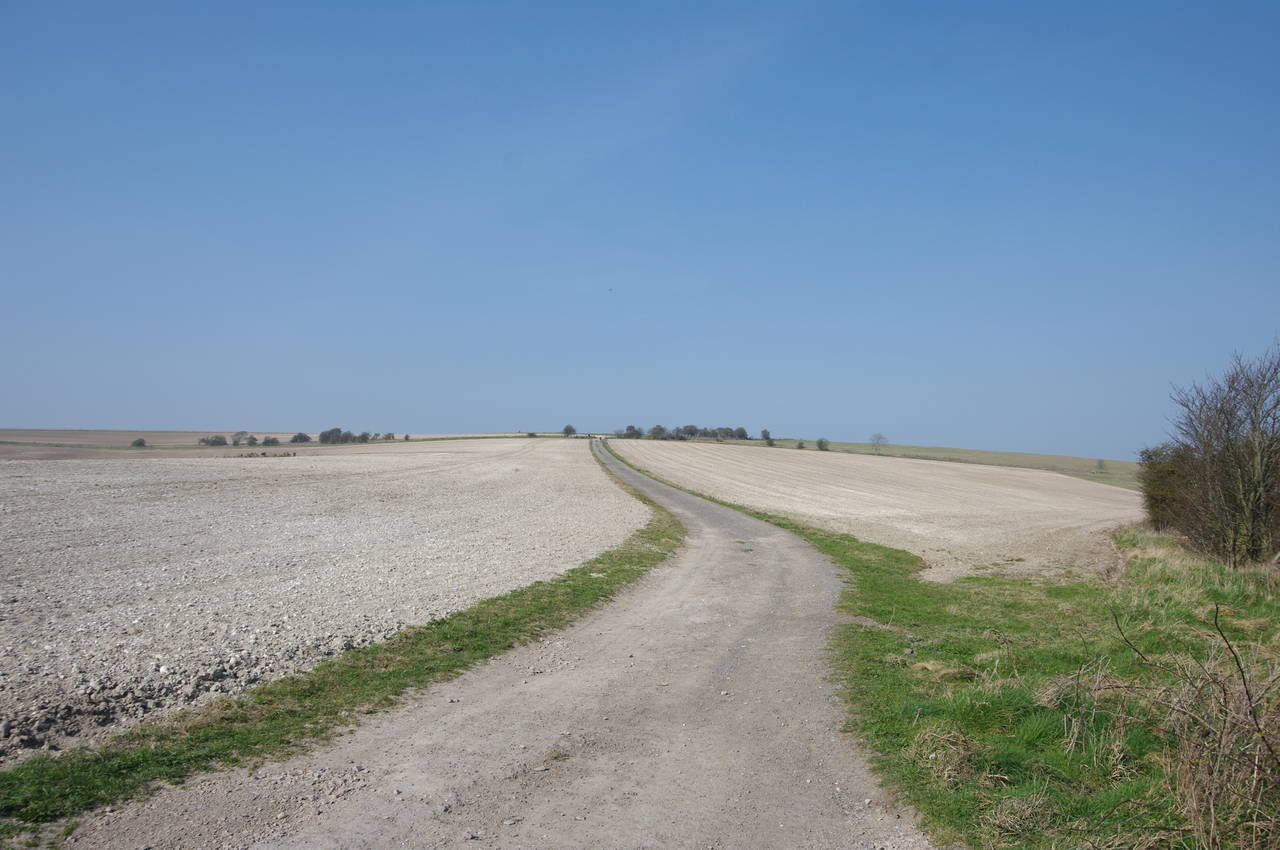
A short distance later, the track becomes a sealed lane, which soon begins a long straight run downhill with the grassy Beeding Hill off to the left (picture 13). After about one and a half kilometres the lane reaches a car park, where the South Downs Way is crossed by the Monarch's Way, a 990 kilometre long-distance walking path tracing the journey of King Charles II as he fled to France after the battle of Worcester in 1651.
While the lane turns left here, the Way continues straight ahead through a wooden gate and along a grassy hilltop above another grassy valley called Anchor Bottom (picture 14).
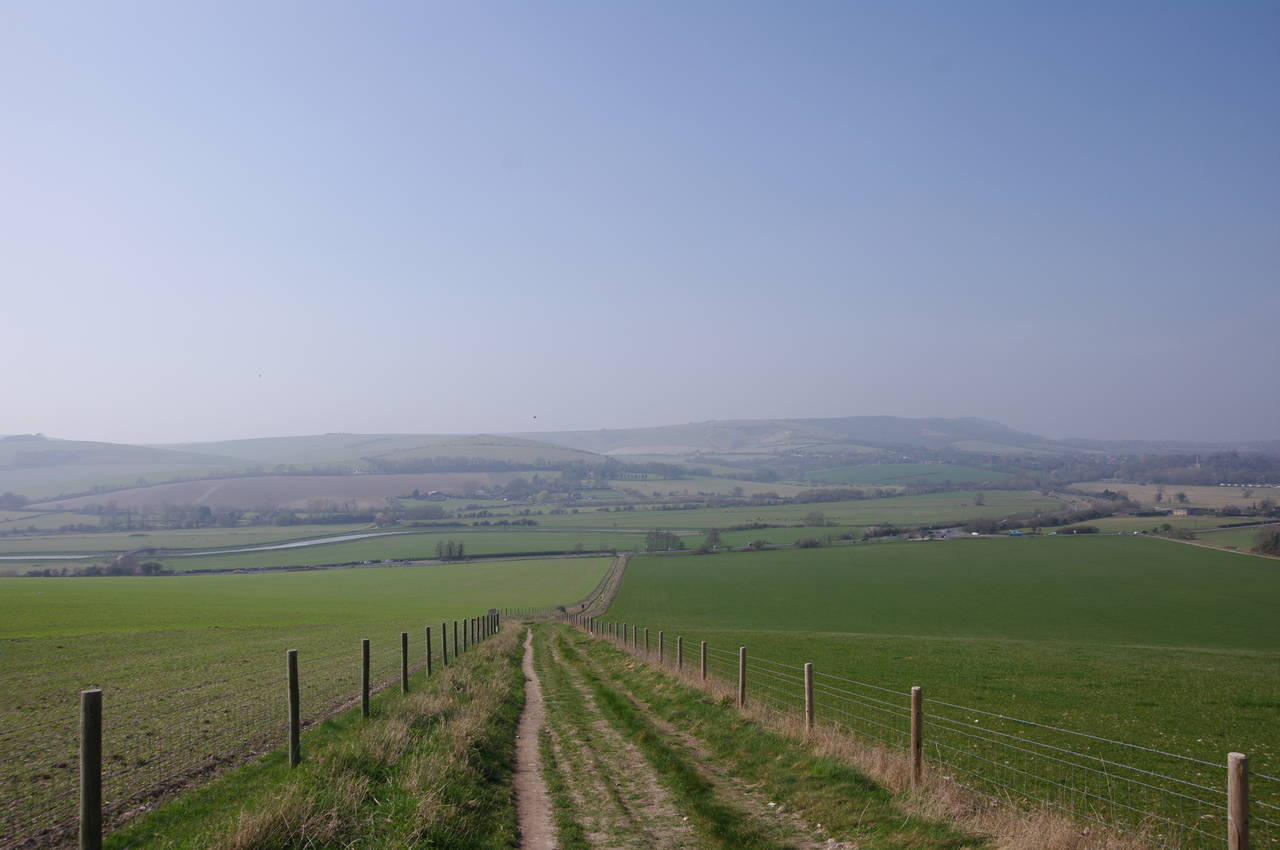
Before long the path begins to drop down into the valley of the River Adur, with hazy views across the valley ahead (picture 15) and to the right over the towns of Bramber and Steyning on the far side of the river. After the long gentle descent, the path reaches the busy A283 road, following the verge to the left for a short distance before crossing to a car park.
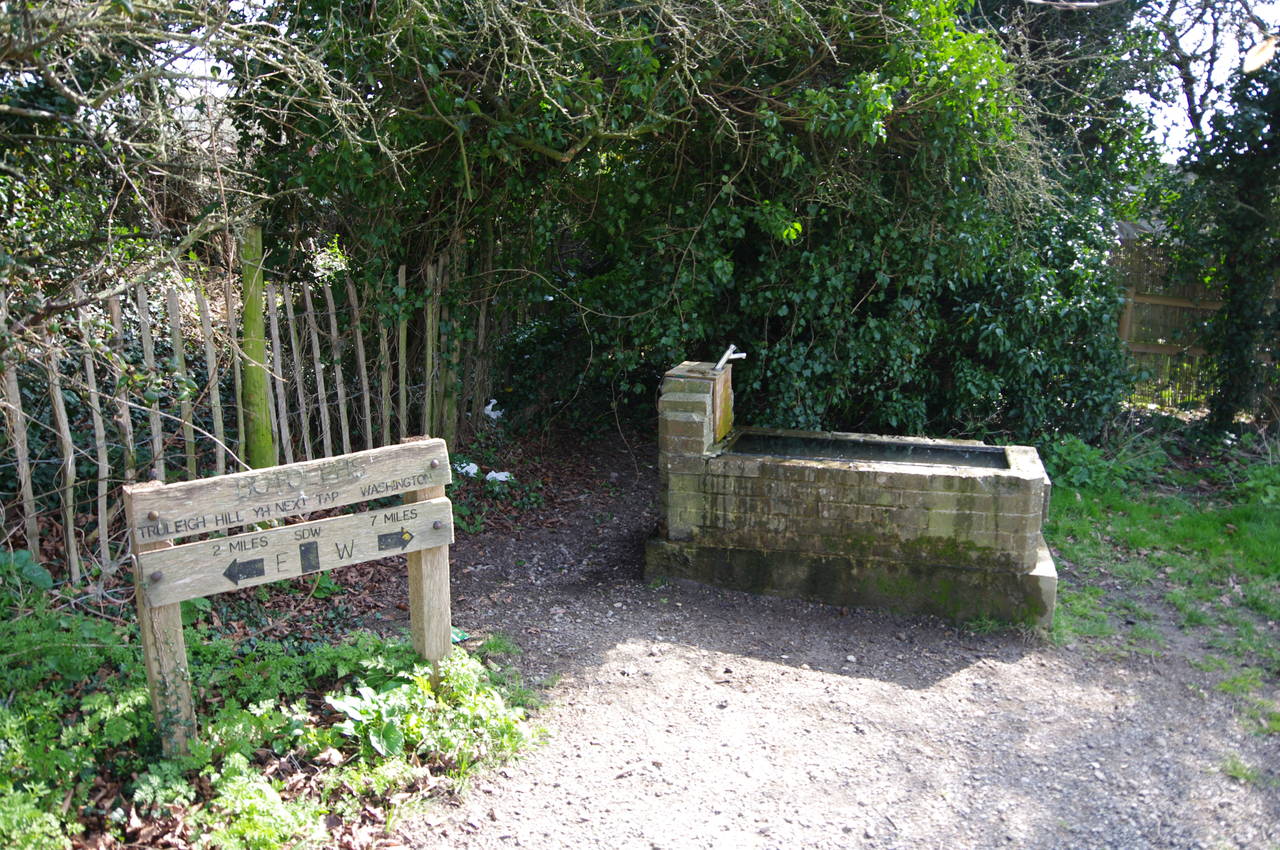
A footpath from the other side of the car park dips down behind a hedge and runs parallel with it for a short distance to reach a water point (picture 16), where I stopped to refill my water bottles, having already used almost two litres in the hot weather. Much to my surprise, the water coming out of the tap was icy cold, which was very welcome.
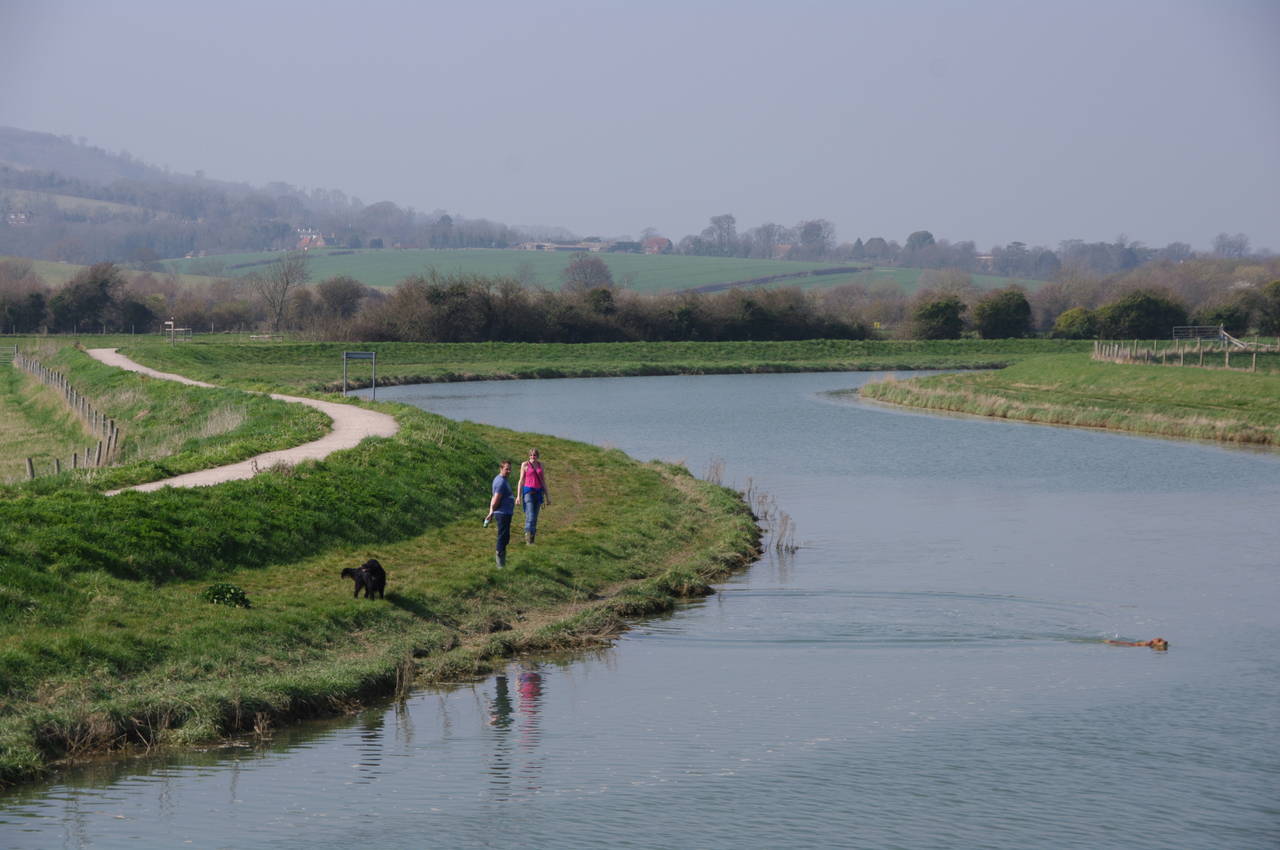
(17) View north along the River Adur

(18) Intersection with the Downs Link
(19) Botolphs Lane
(20) Coombe Head and Winding Bottom
From the water point the path turns west and heads up to a metal footbridge over the River Adur (picture 17). The route then follows the footpath north along the floodbank beside the river for a short distance until a fingerpost points west along a broad track. After about 100 metres, the path passes another intersection (picture 18) where the Downs Link, a 60km path linking the South Downs Way with the North Downs Way, heads off to the north towards the village of Bramber.
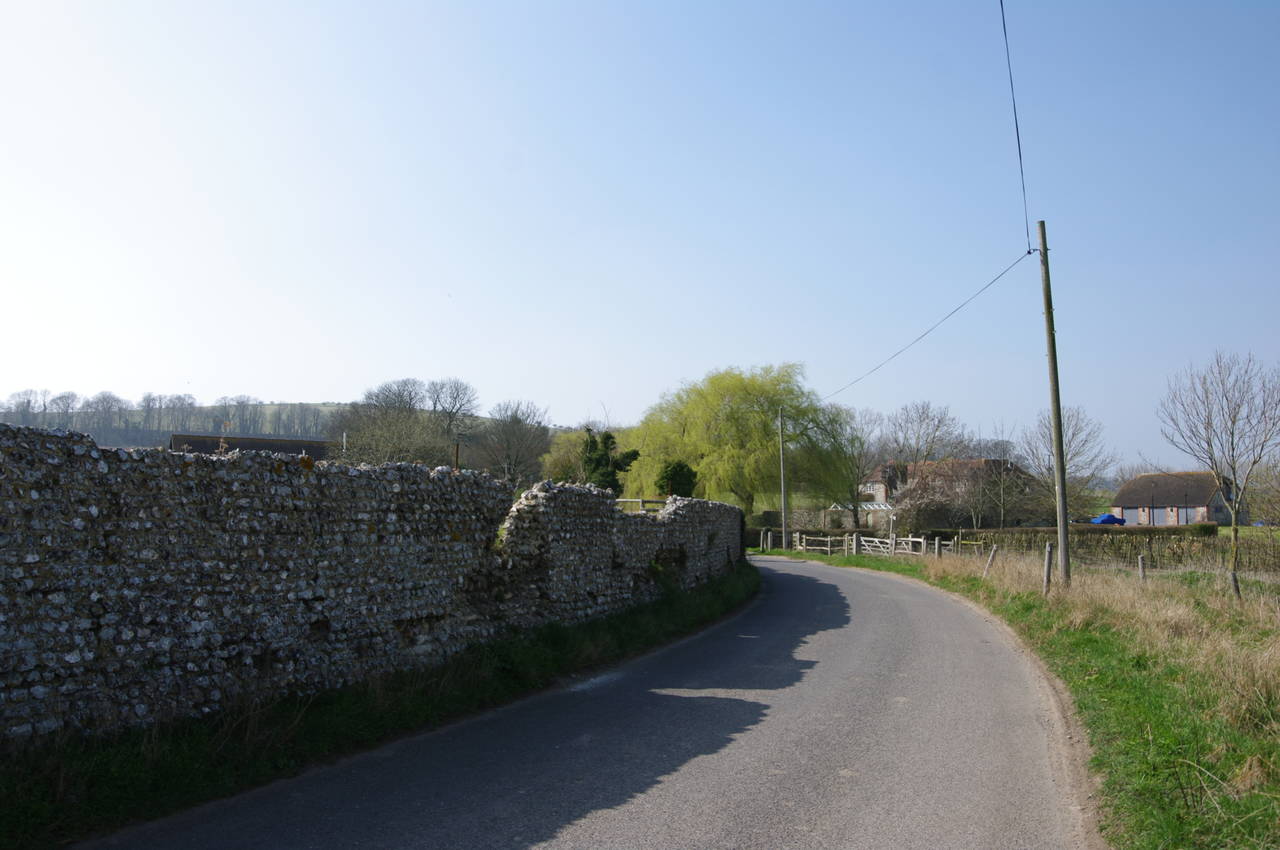
The South Downs Way continues straight ahead, soon joining Botolphs Lane (picture 19), which climbs steadily through the hamlet of Botolphs until a sharp left turn takes the route onto a shady track that continues to climb back onto the downs. Turning back to the right by a small hut, the path passes through a wooden gate and heads west along the ridge of Annington Hill, from which there are good views south across the valley of Winding Bottom to the clump of trees on top of Coombe Head (picture 20).
(21) Steyning Bowl
(22) Path climbs above Steyning Valley
(23) Memorial to local farmers
(24) Trees growing in dried-out dew pond
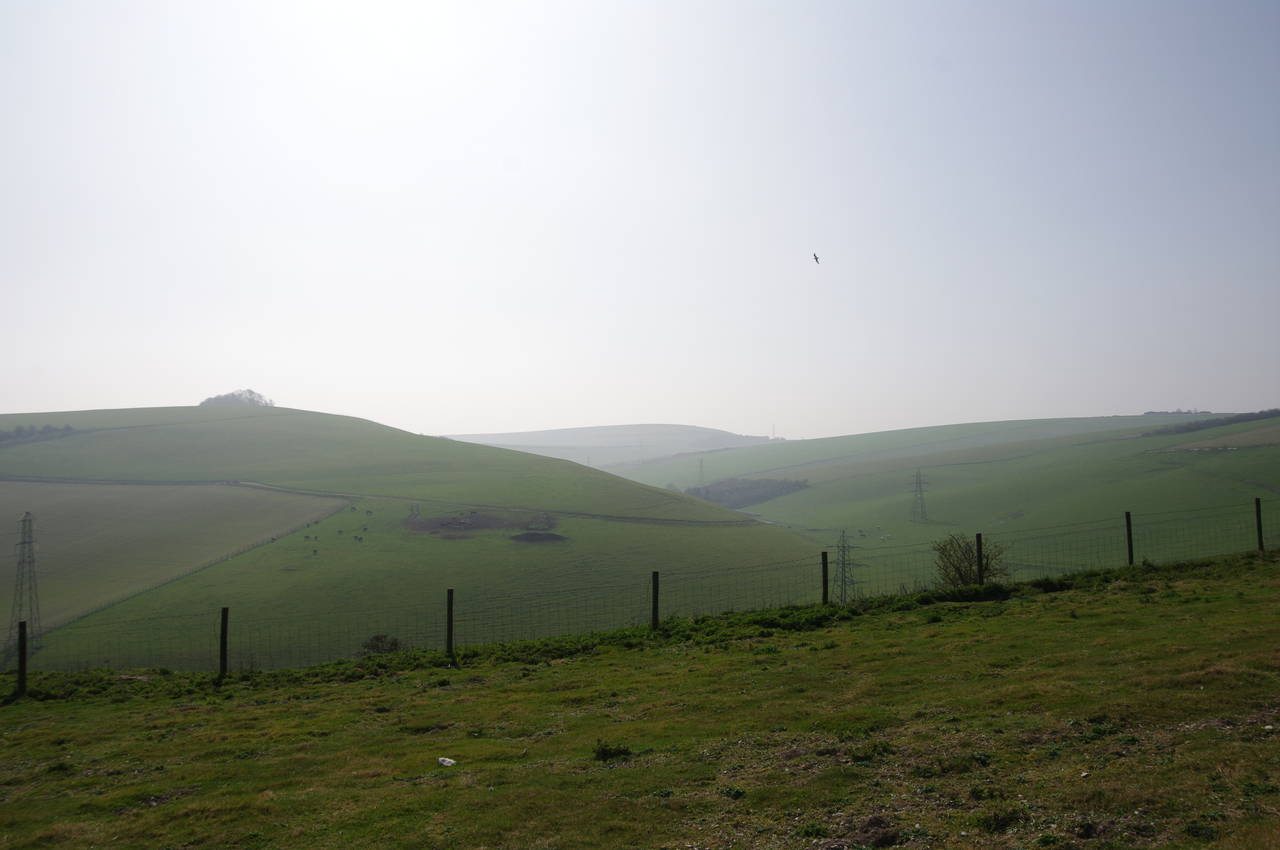
As the path heads along the ridge, there would normally be good views to the north over the wide combe of the Steyning Bowl (picture 21) and beyond to the town of Steyning itself, though today it was shrouded in the haze.
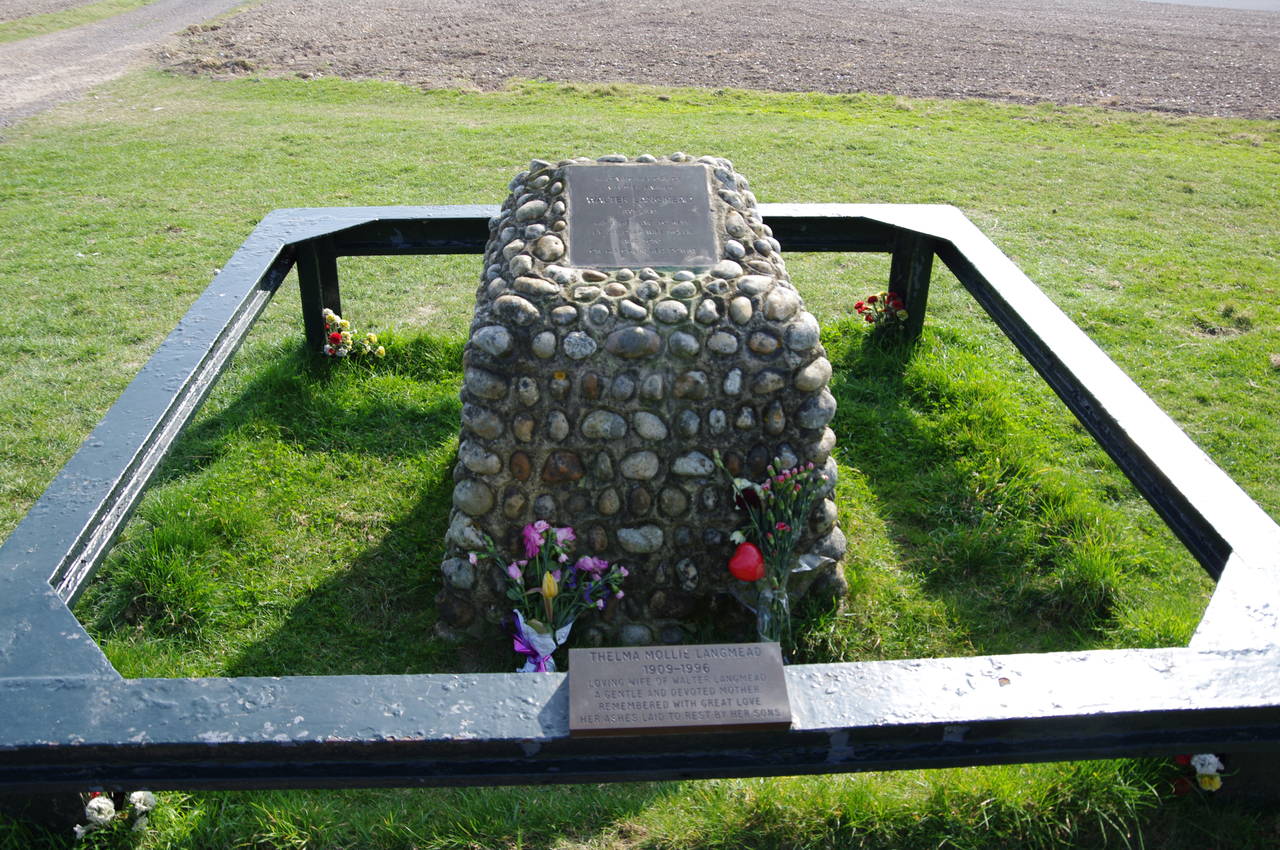
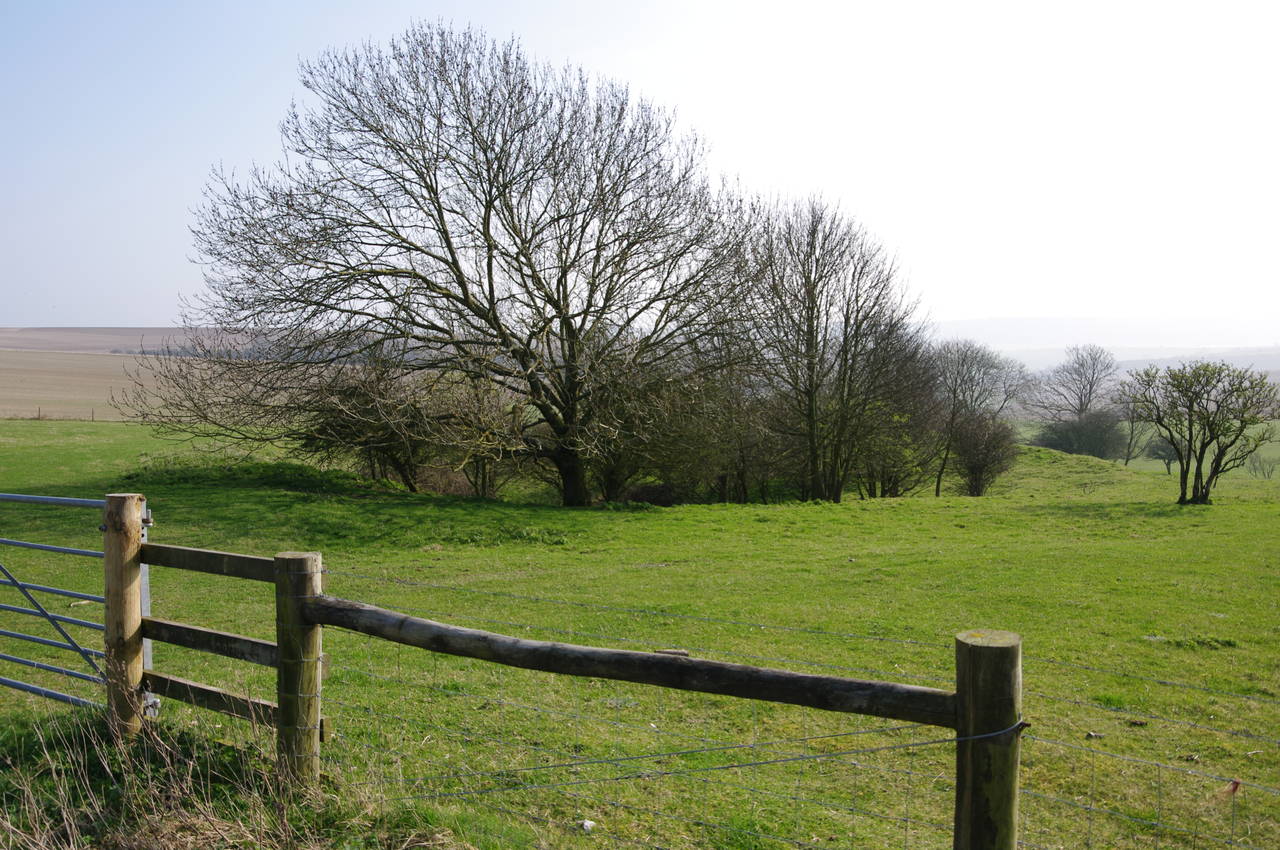
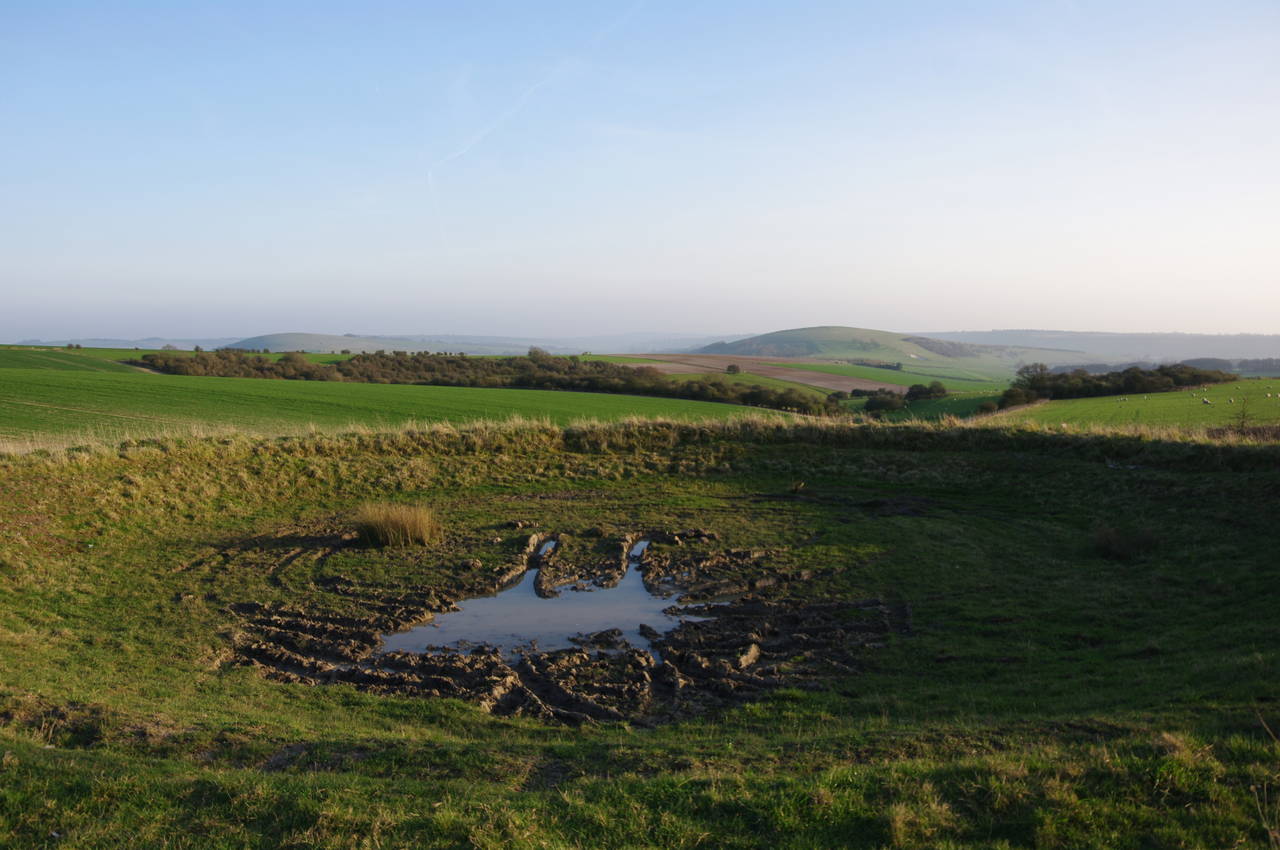
After about two kilometres walking along the ridge, the path reaches a road and turns north through a gate to follow the edge of a field parallel to the road. Through another gate, the path continues by the edge of the road until the road bears right, where the path crosses the road then continues north, climbing across a very stony field (picture 22). The path soon passes by a memorial to local farmers Walter and Thelma Langmead (picture 23), before continuing to climb in a northwesterly direction. After passing by a trig point standing off to the left in a barren field, the path becomes fairly level for a while, eventually running just to the north of a dried out dew pond which has been taken over by a clump of trees (picture 24).
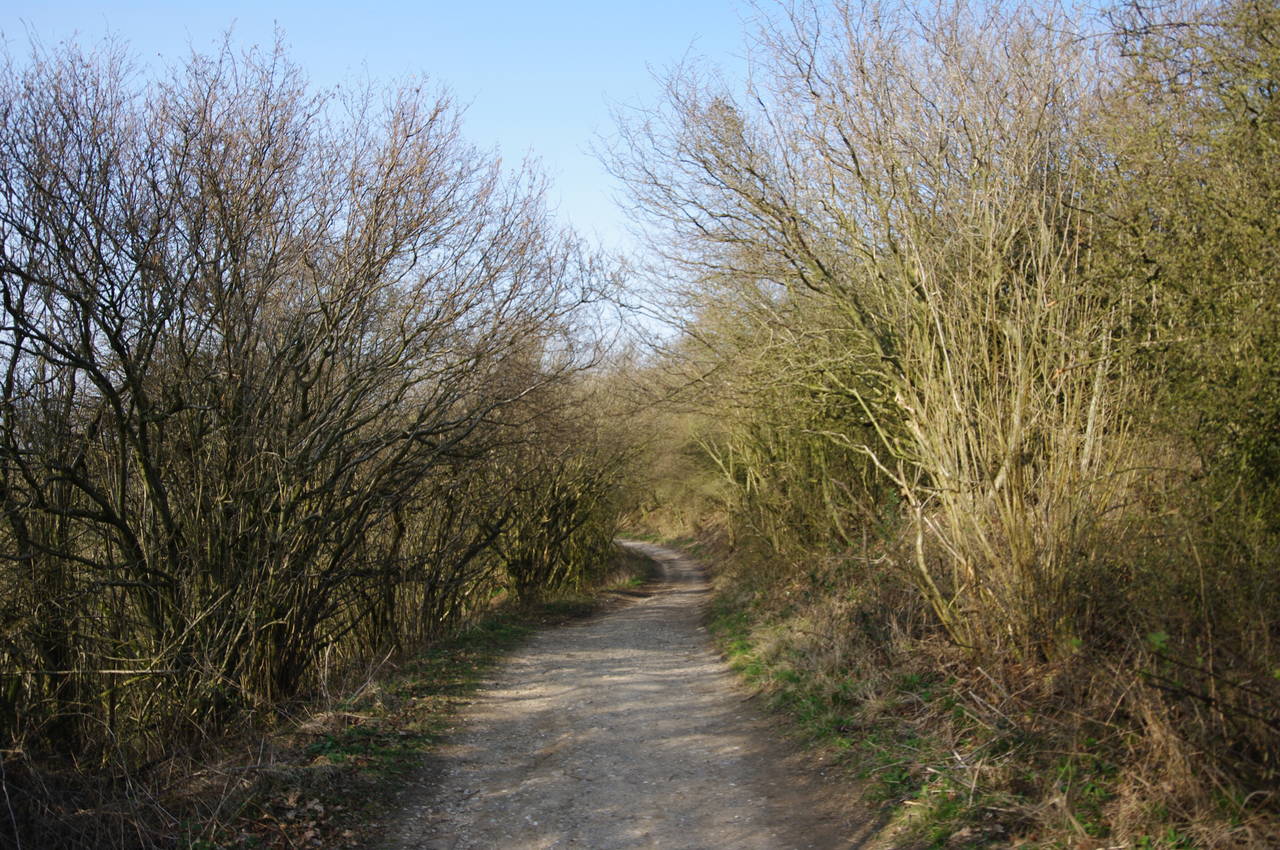
(25) Path by Chalkpit Wood

(26) Chanctonbury Ring
(27) Chanctonbury Ring
(28) Well Bottom
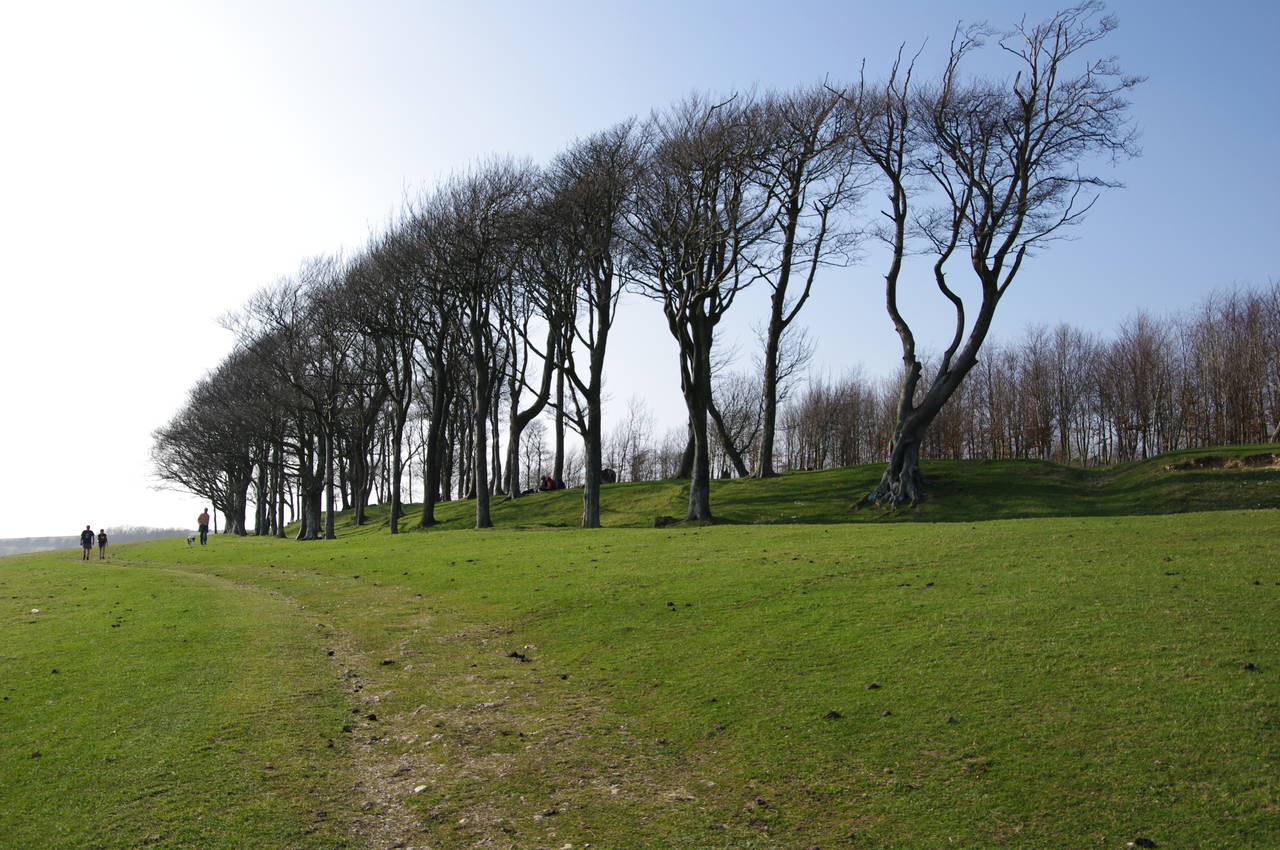
The rutted track now follows the edge of Chalkpit Wood for almost two kilometres (picture 25) before crossing over a ridge where the large circle of beech trees on top of Chanctonbury Ring can be seen ahead (picture 26). The path climbs up the hill to pass close by the south side of the Iron Age and Roman fort (picture 27), where a number of other walkers were resting in the shade. The trees here were planted by a local boy in 1760, though some of them were blown over in the famous storm of October 1987 and were replanted after a team of archaeologists took the opportunity to excavate part of the fort.
Off to the south of the Chanctonbury Ring, the combe of Well Bottom snakes away into the hazy distance (picture 28), while the South Downs Way curves gradually to the southwest before eventually reaching a sharp right-hand turn at a fingerpost.
(29) Path descending from Chanctonbury Hill
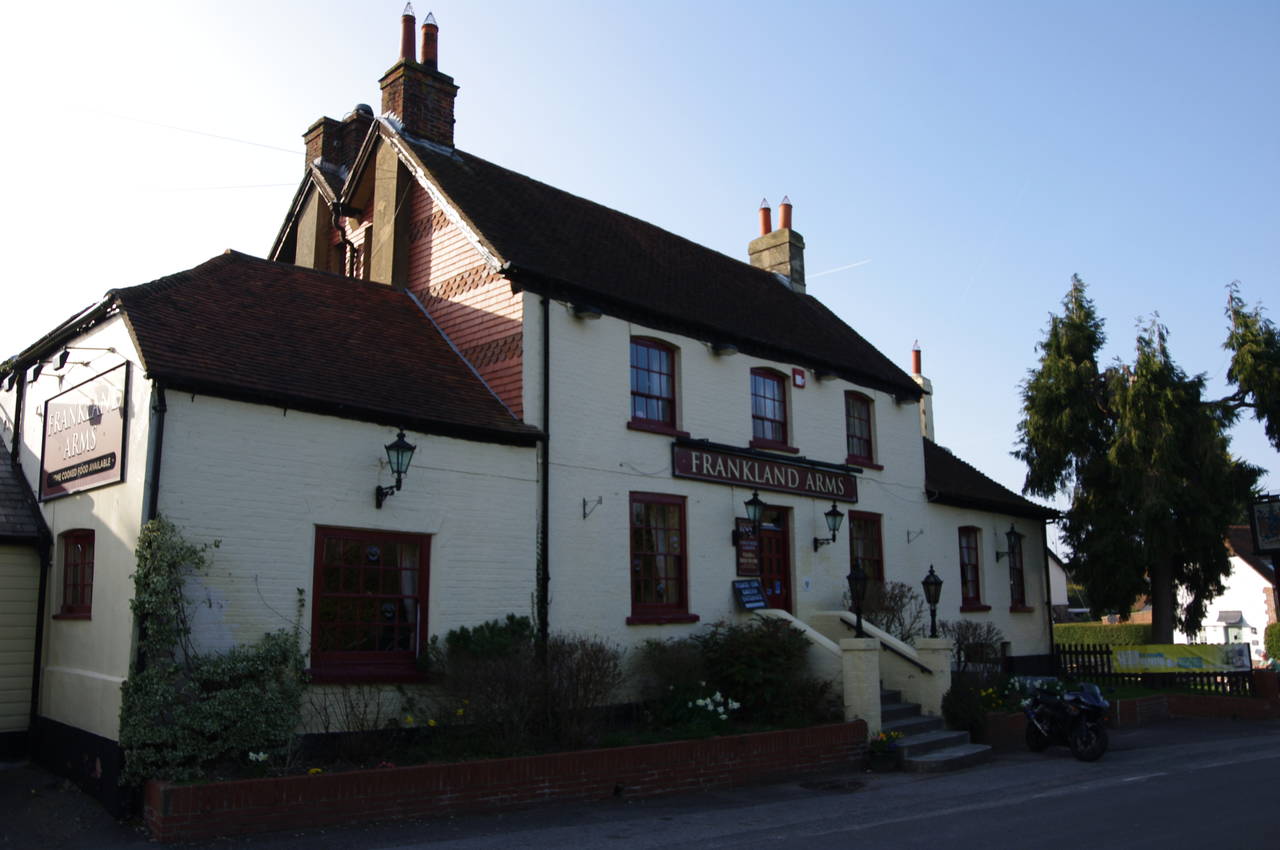
(30) Frankland Arms, Washington
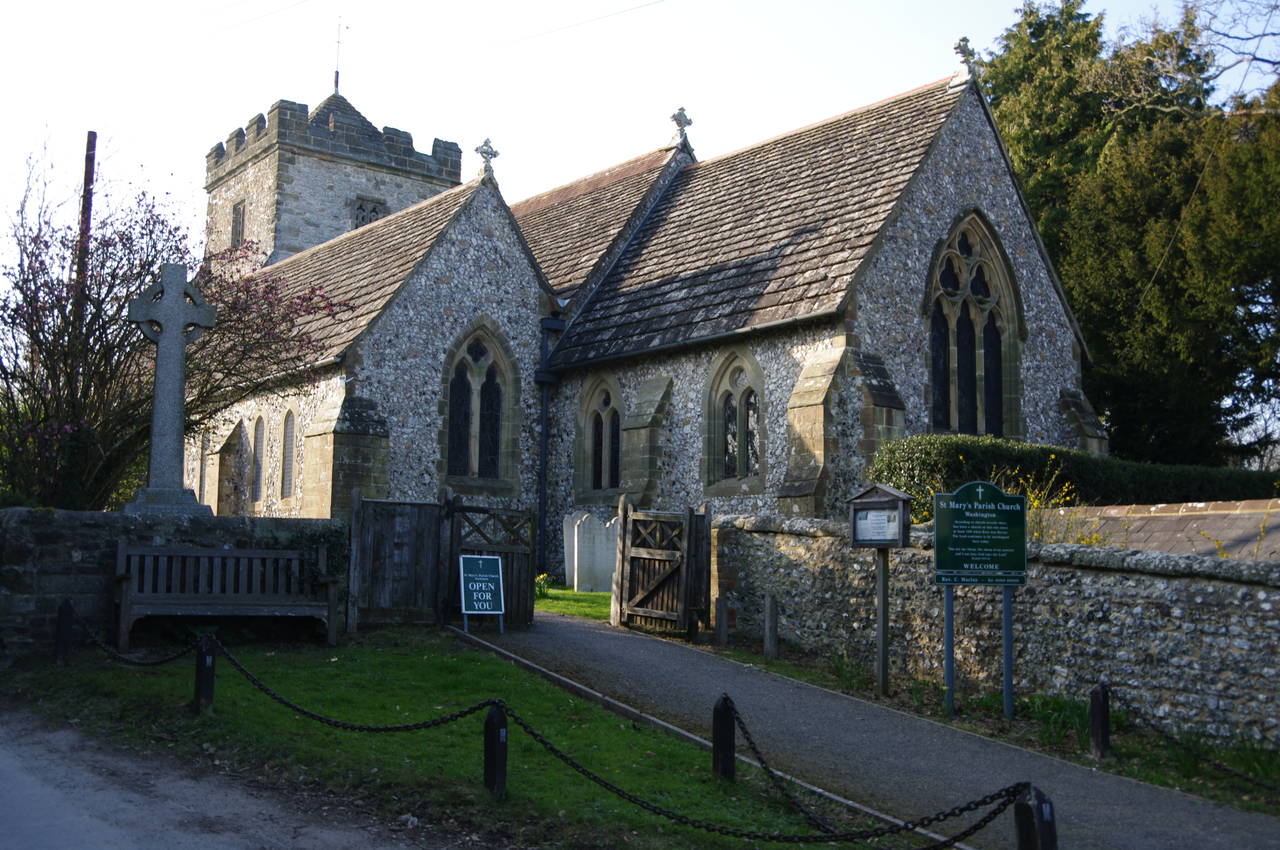
(31) St. Mary's Church, Washington
(32) Approaching Rowdel
The path soon begins a long and sometimes steep descent from Chanctonbury Hill (picture 29), eventually reaching a carpark near the A24 dual carriageway. Here there are two alternative routes for the South Downs Way: a direct route making a dangerous crossing of the very busy road and a more circuitous, but safer, route heading north up a side road to the village of Washington, adding an additional one and a half kilometres over the direct route.
Taking the safe option I headed towards the village, where the route turns west along The Street. Leaving the Way briefly to visit the village store, I was somewhat disappointed to discover that it is only open until 1PM each day. The Frankland Arms pub next door looked inviting (picture 30), but with only two more hours until sunset, I needed to press on.
Rejoining the South Downs Way, I followed The Street past houses and the parish church of St. Mary (picture 31) and then across a narrow road bridge over the A24. The route then continues ahead along a quiet lane towards the tiny hamlet of Rowdell (picture 32), where the Way turns left just before Rowdell House, though I couldn't find any signage here to reconfirm the route shown on my map.
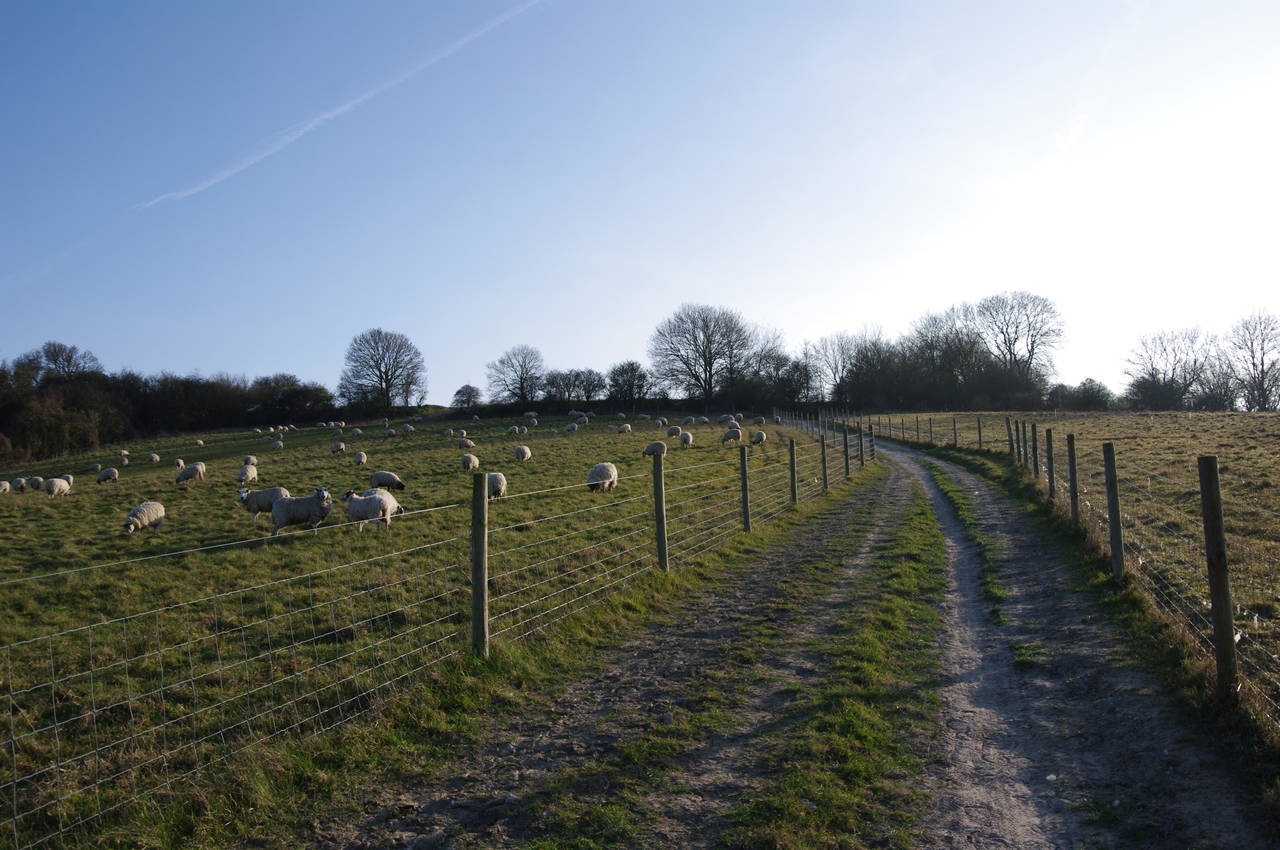
(33) Path climbing Barnsfarm Hill
(34) View back down from Barnsfarm Hill
(35) Combe near Barnsfarm Hill

(36) Kithurst Hill and the Chantry Post
The path soon begins to climb steeply between wire fences up Barnsfarm Hill, where a large flock of sheep were grazing on the grassy hillside (picture 33). Nearing the top of the hill, the view back to the northeast revealed a large disused chalk pit on the slope above Rowdell (picture 34).
At the top of Barnsfarm Hill, 205 metres above sea-level, the two alternative routes of the South Downs Way come back together and the route heads west, passing by another large combe which was mostly in shadow in the late afternoon sun (picture 35) and then continuing west across Sullington Hill. Descending gently on the other side of the hill, the path reaches a car park, beside which the Chantry Post points the way west towards Kithurst Hill (picture 36).
(37) Dew pond on Kithurst Hill
(38) Springhead Hill
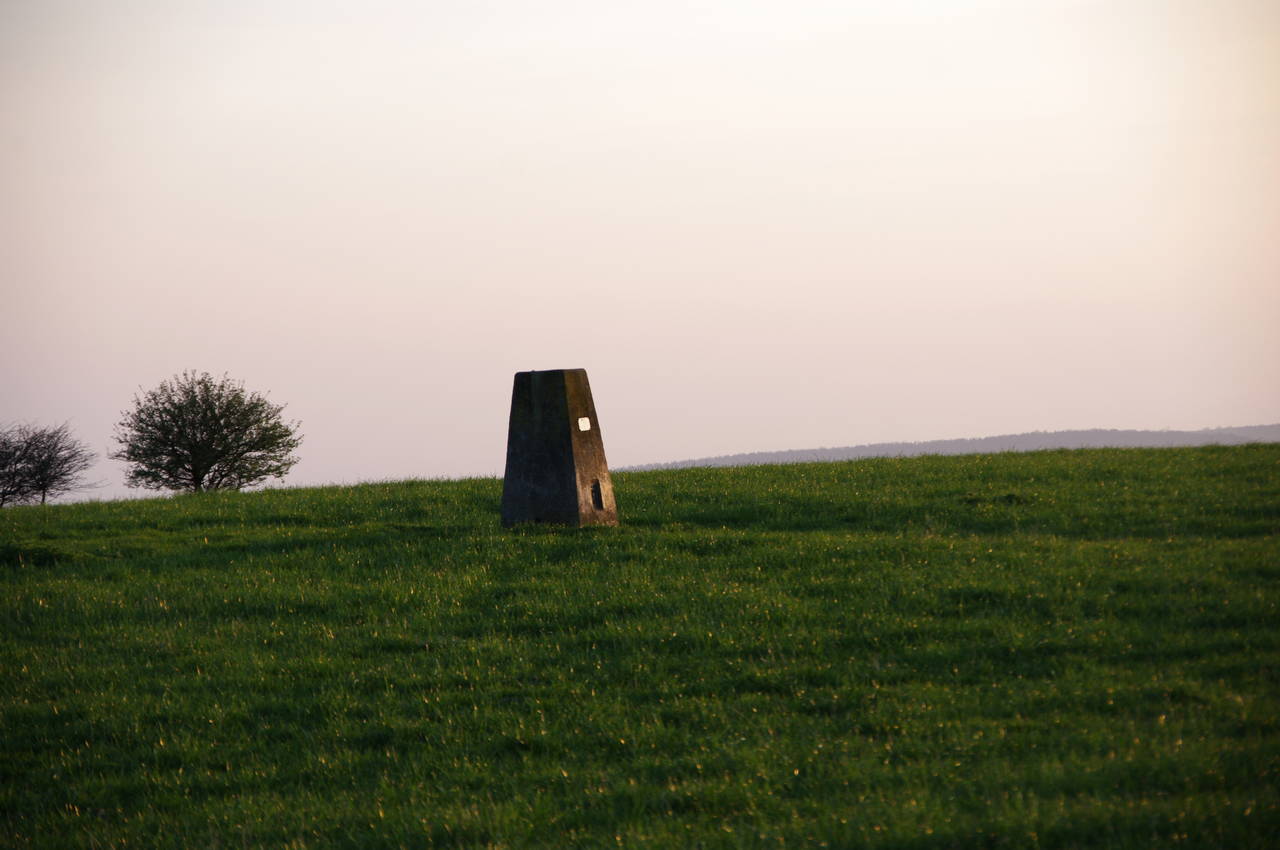
(39) Trig point on Rackham Hill
(40) View over the Arun Valley
The path continues through a wooden bridleway gate and out over the grassy slopes of Kithurst Hill, where the remains of another dew pond lay next to the path (picture 37). Further westward, the rough track climbs gently to the crest of Springhead Hill (picture 38), where a long line of trees crosses the hill perpendicular to the path.
On the other side of the trees, the path forks and the Way takes the right branch, a grassier track that heads over Rackham Hill, where a weathered trig point marks the peak at 193 metres (picture 39). From this high-point the path begins to descend gently with views to the north and west over the valley of the River Arun (picture 40).
(41) Sunset across the Arun Valley
(42) Downs Farm
(43) Amberley Working Museum
(44) Intersection with New Barn Road
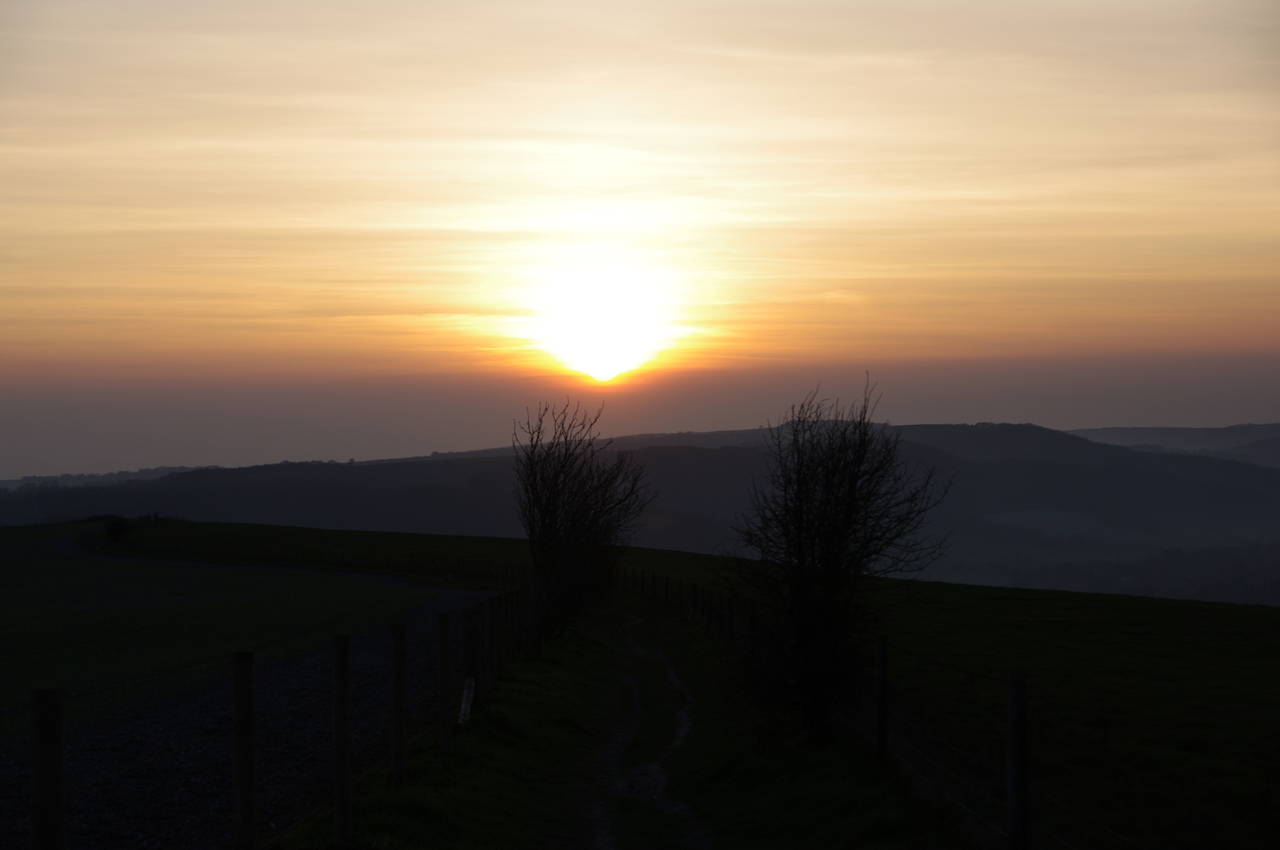
The path descends very gradually for nearly two kilometres along a ridge called Amberley Mount. Ahead of me the sun was getting very low in the sky (picture 41), which made it difficult to take photos of the view across the valley ahead.
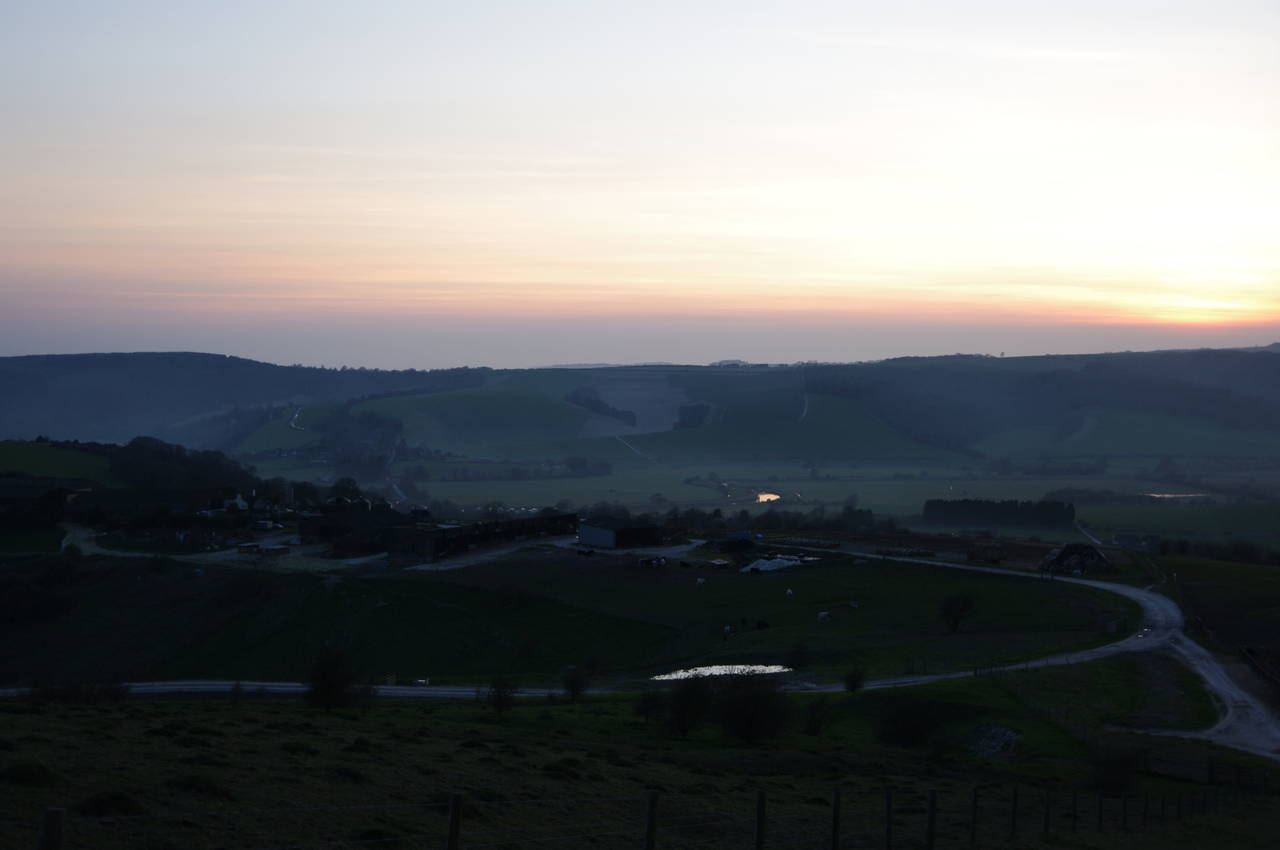
A steeper descent drops down from Amberley Mount to join a circular track at Downs Farm (picture 42), but almost immediately the route leaves the track to continue westwards past a large pile of circular hay bales and descends again through a wooded area to join a lane called High Titten.
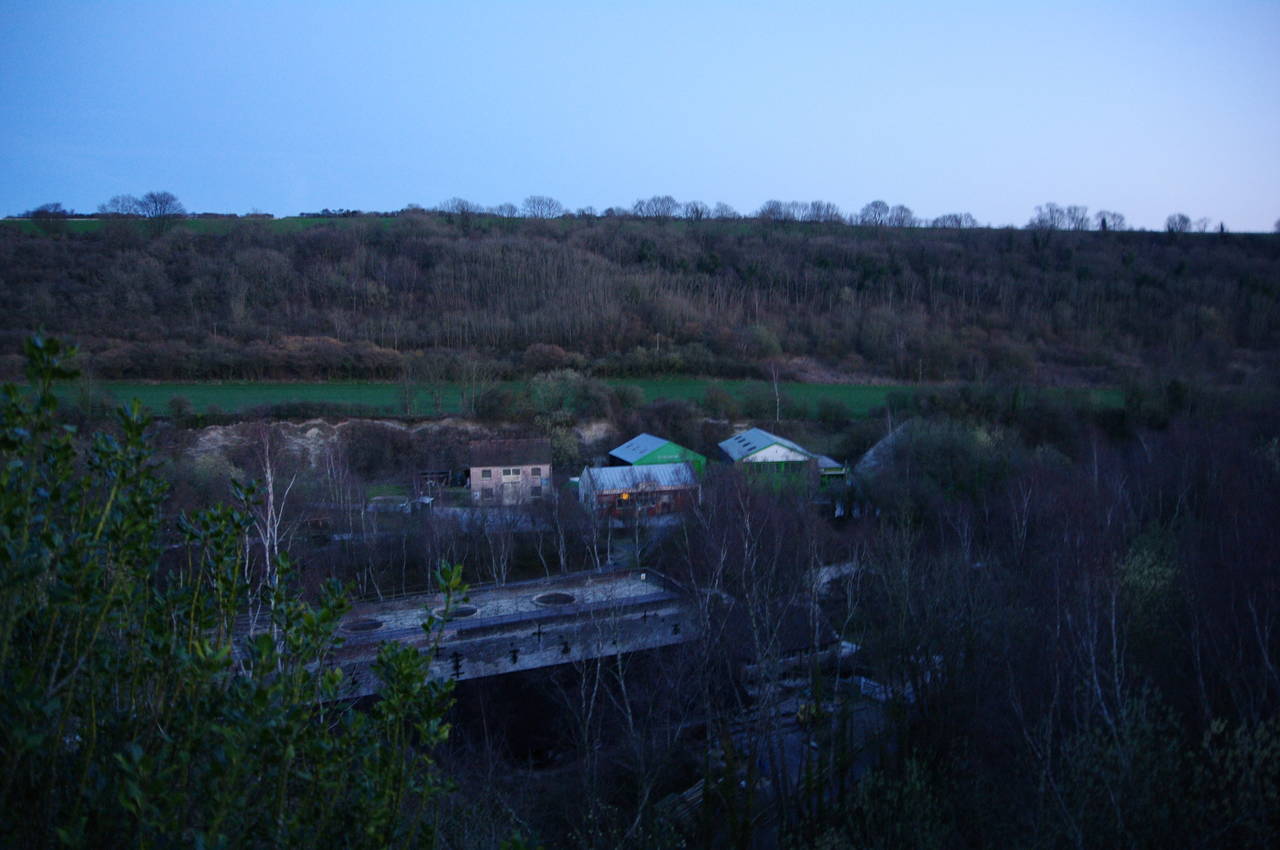
The lane is initially flanked on the left by a tall hedge, but eventually this gives way to a stone wall, over which one can see that the ground drops away sharply into the former quarry that now houses the large Amberley Working Museum (picture 43).
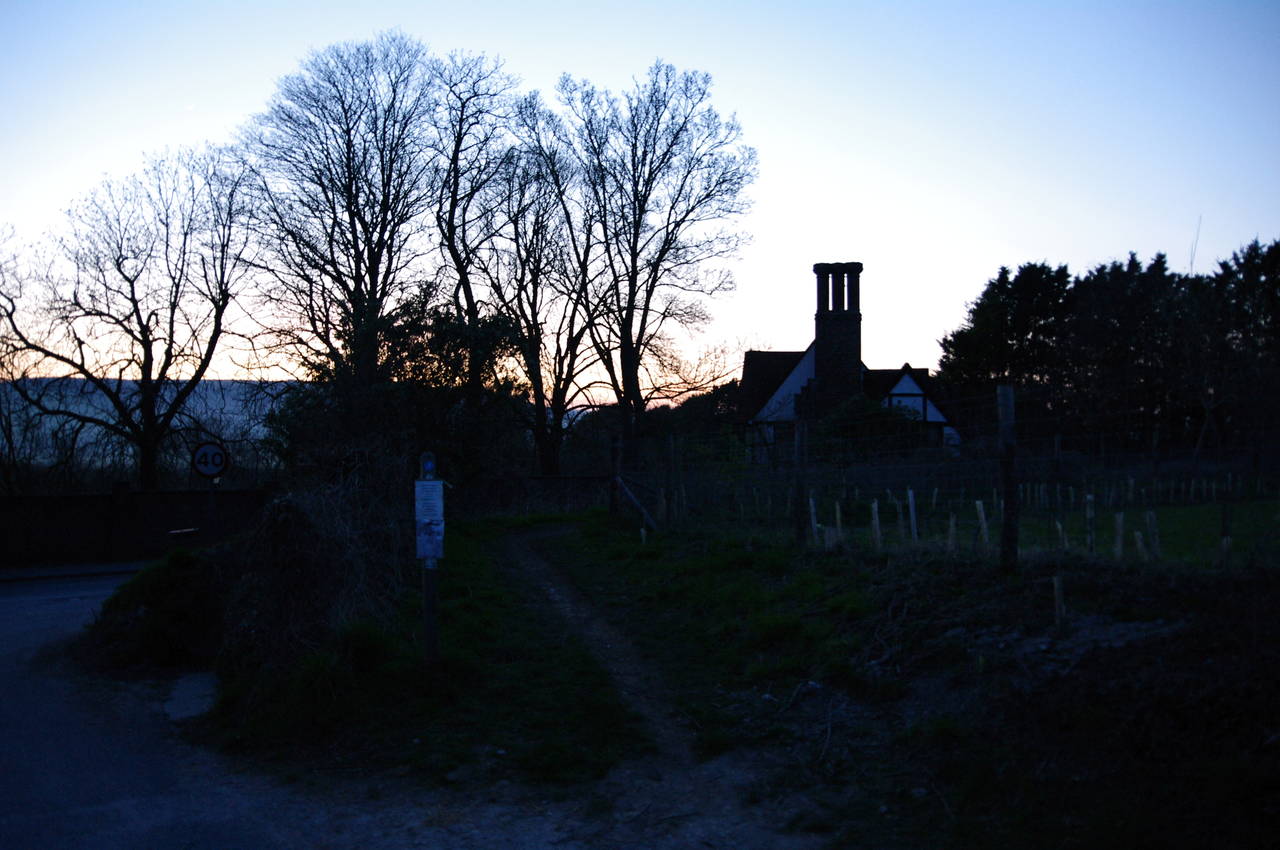
At the bottom of High Titten, I reached a T-junction where the Way heads north beside New Barn Road (picture 44). Here I left the path for the day and instead headed south a short distance to Amberley Station, which somewhat confusingly is actually on the edge of the village of Houghton Bridge -- Amberley itself is more than a kilometre to the north. By the time I reached the station it was almost completely dark.
It had been a good days walking, with my GPS showing 28.9km completed along the South Downs Way, and it was good to get back onto the path for the first time since the previous summer. I felt unusually tired by the end of the walk as this was my longest walk for some months and had included some strenuous uphill sections.