KENNET AND AVON CANAL PATH
Stage 3: Trowbridge to Pewsey
Friday, August 26, 2016
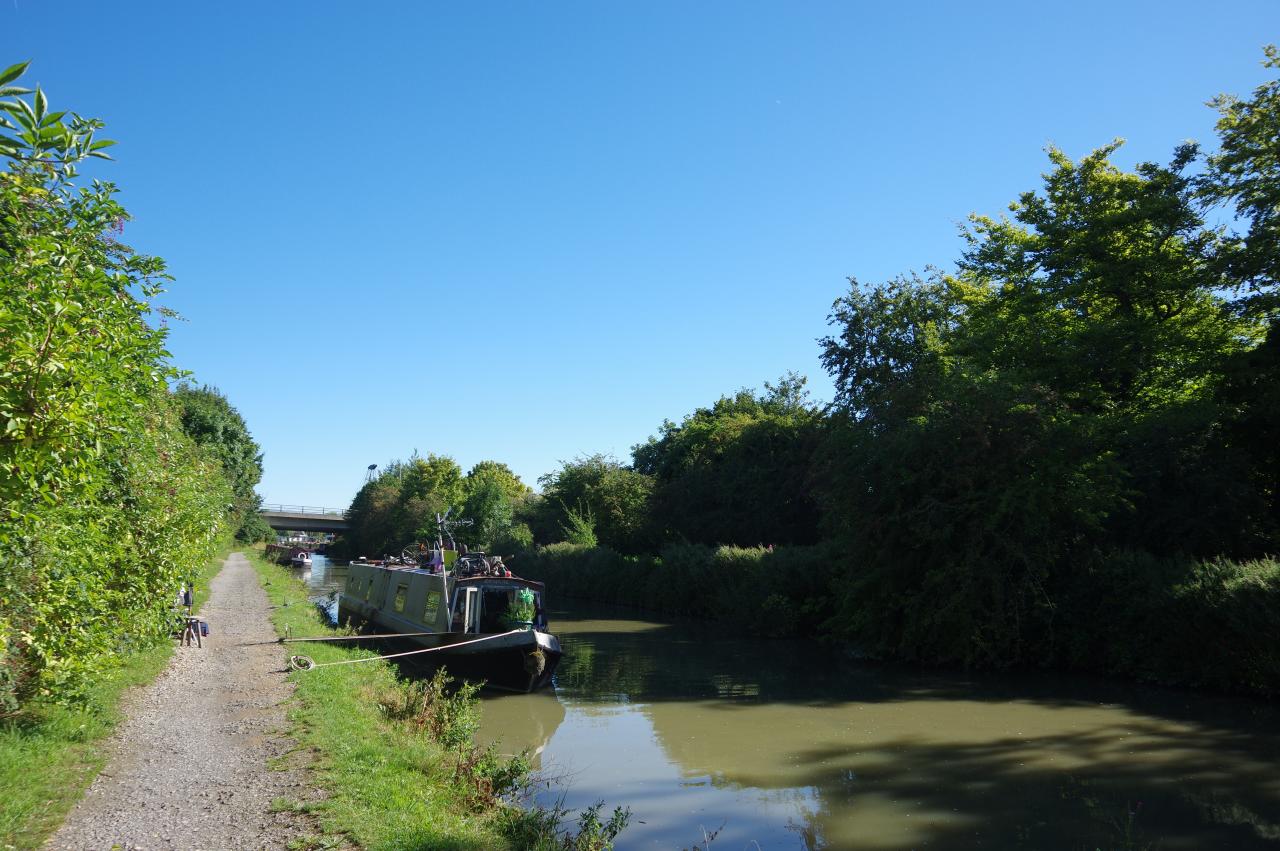
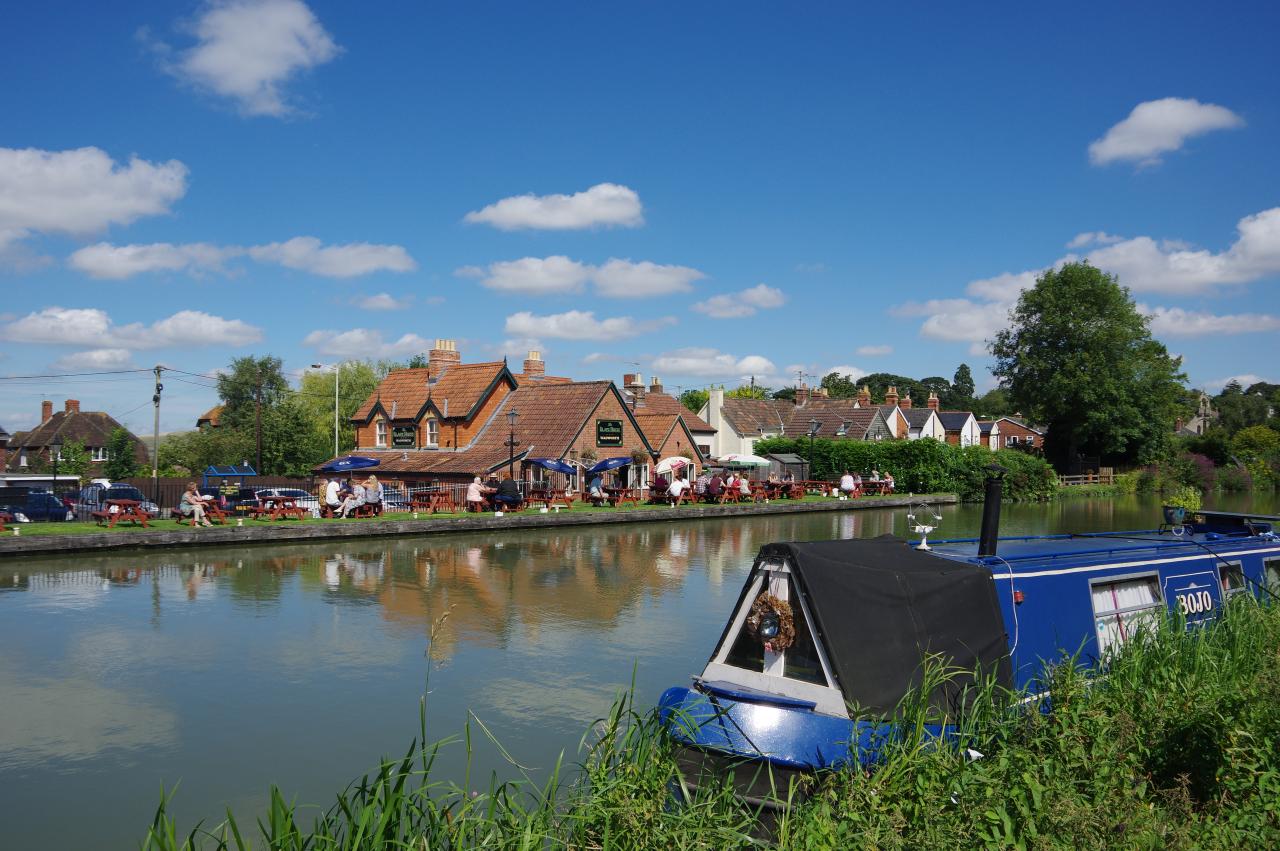
(1) Hilperton
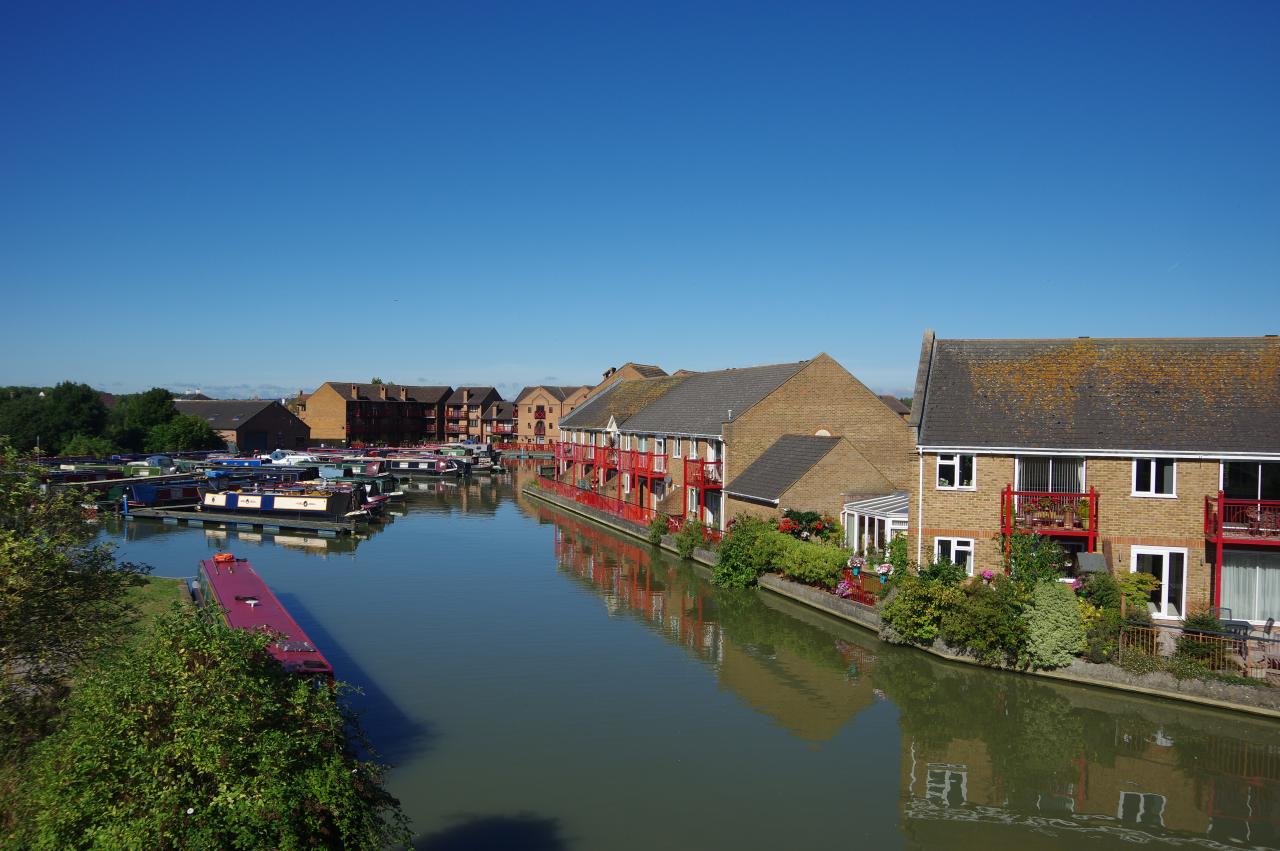
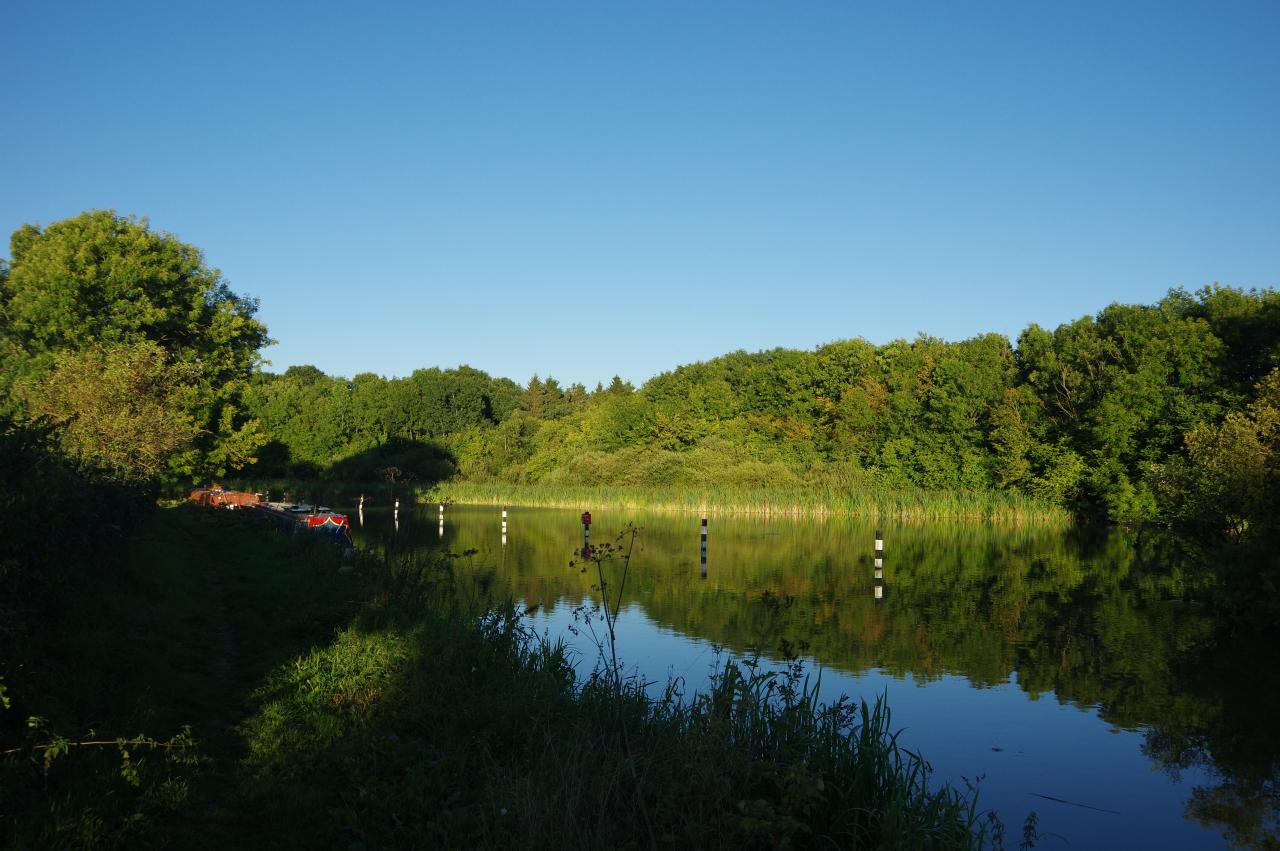
(2) Hilperton Marina
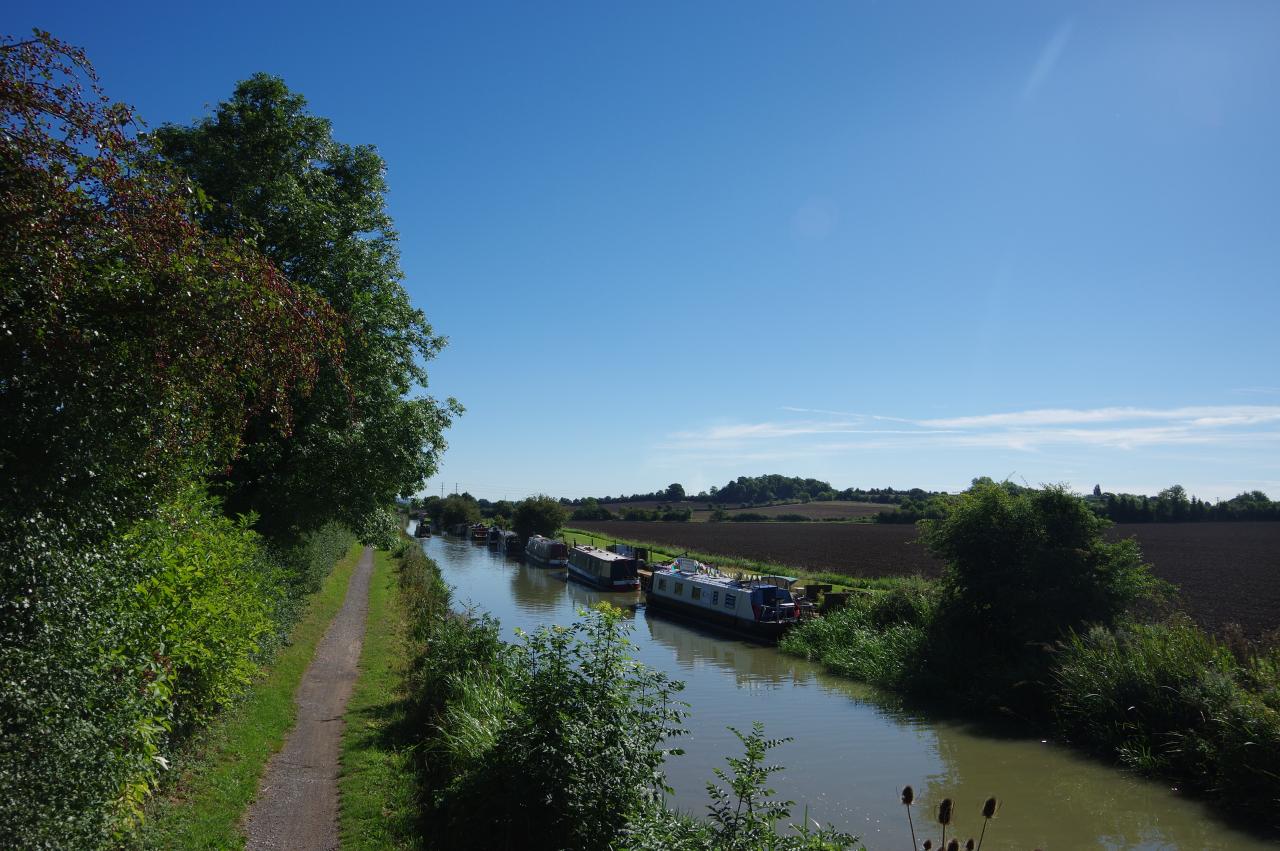
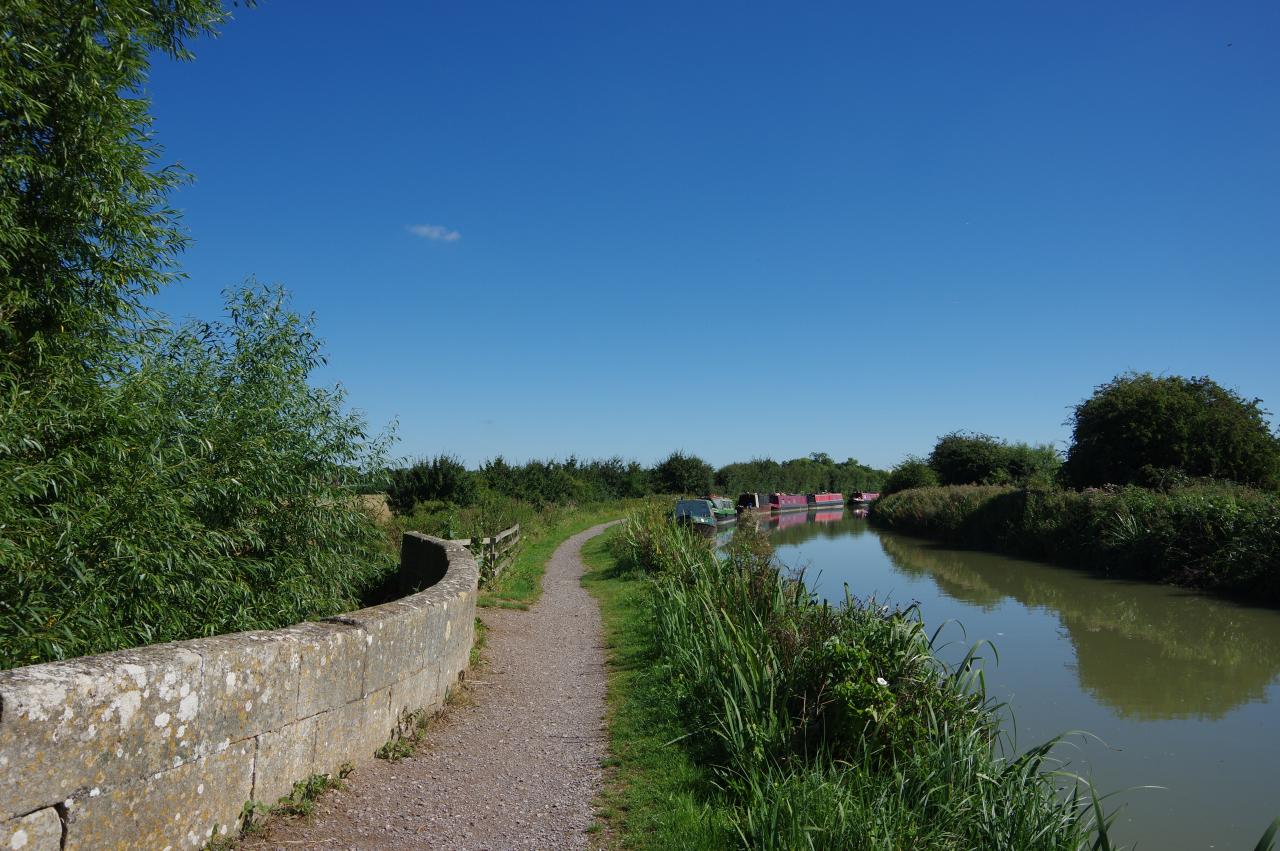
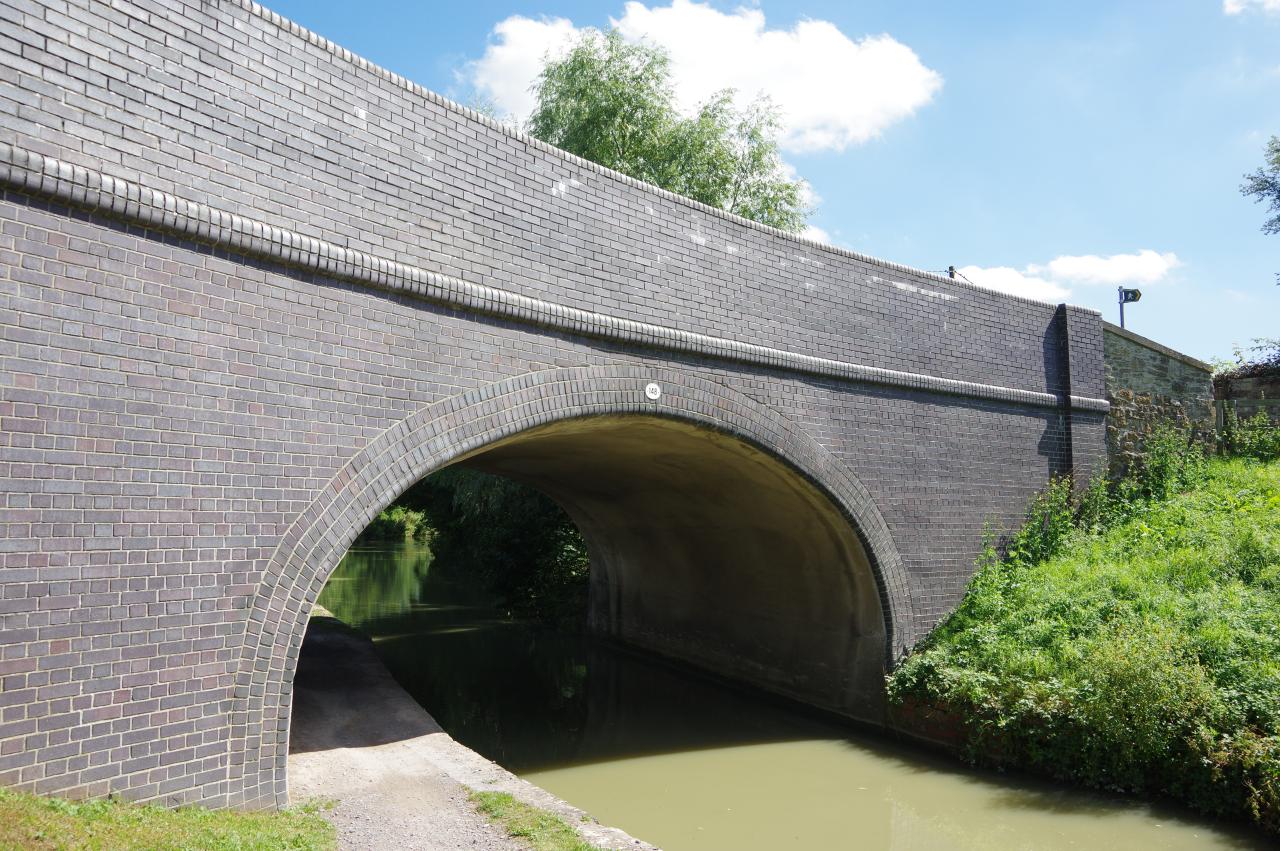
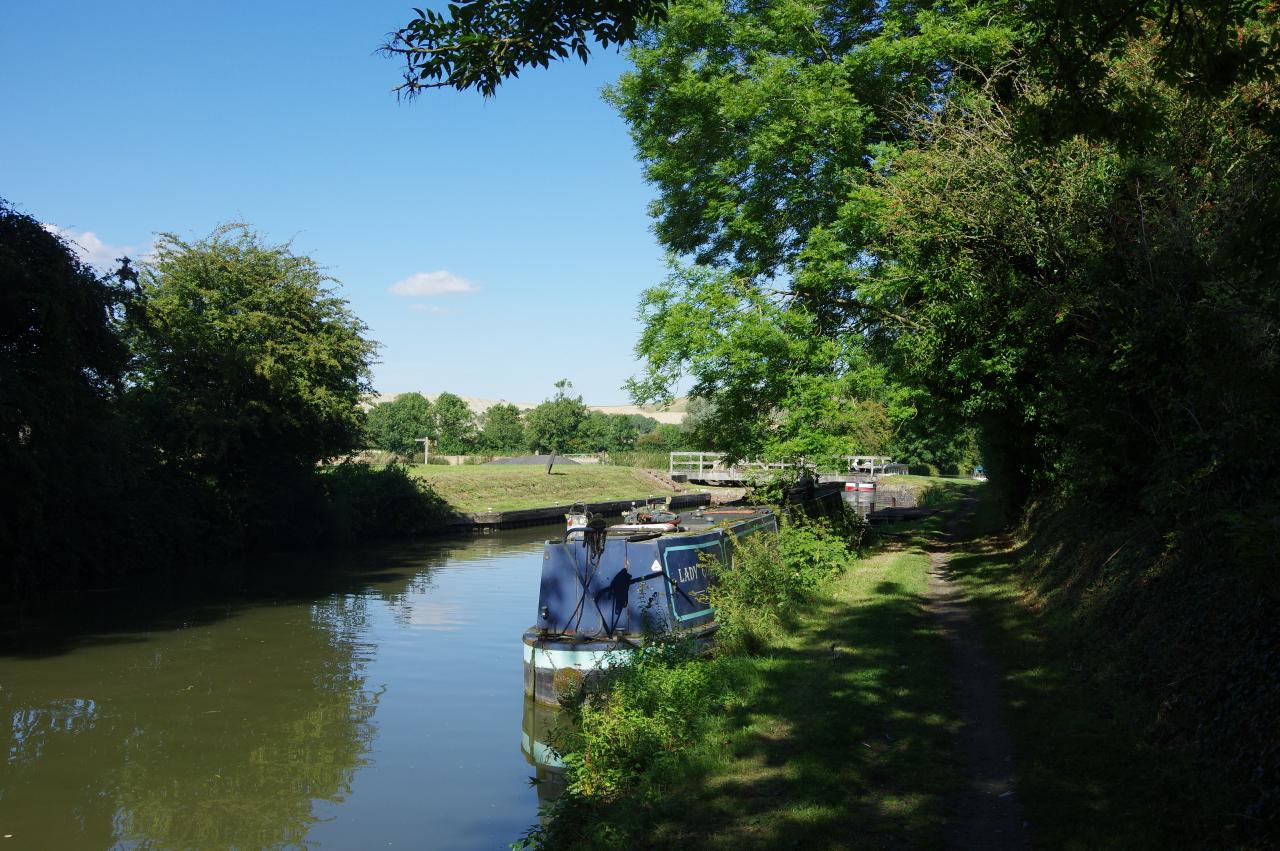
(3) View from Bridge 165
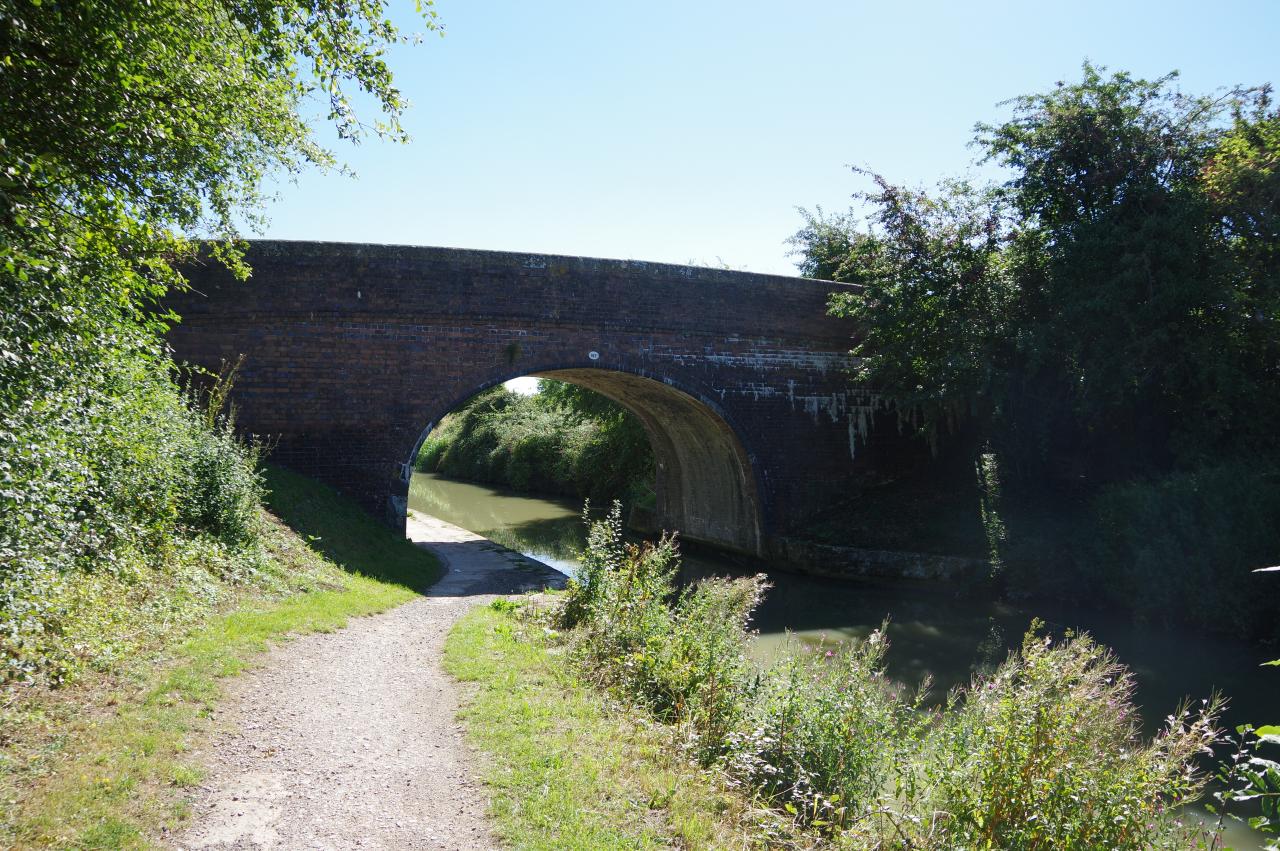
(4) Bridge 162
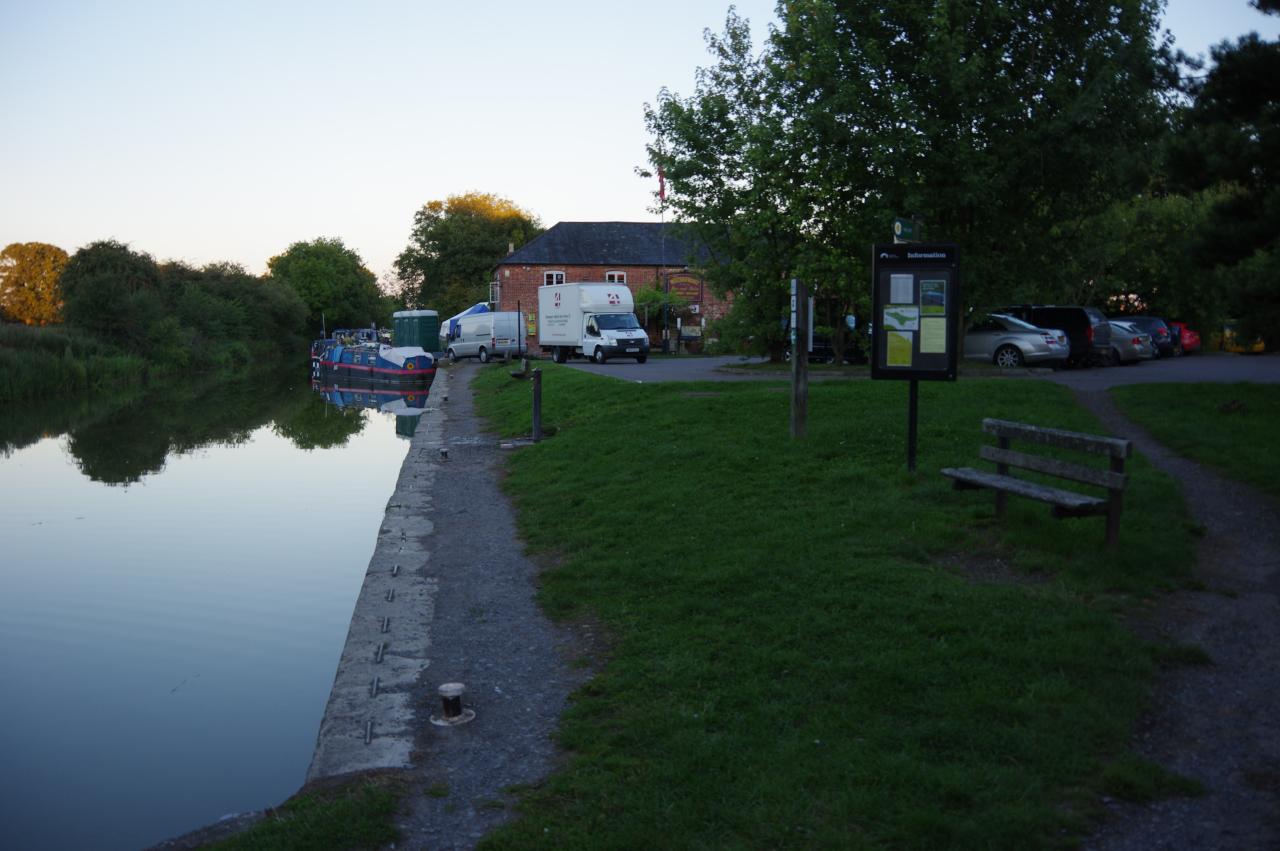
After a day off for heavy rain, I returned to the Kennet and Avon Canal Path at Bridge 168 on the north-western outskirts of Trowbridge with the weather forecast promising much better walking conditions.
The towpath heads north-east past quiet moorings (picture 1) and under a road bridge carrying Thestfield Drive between the two halves of the suburb of Hilperton. After crossing a stone footbridge over the entrance of the Hilperton Marina (picture 2), the path follows the canal past houses and under the B3105.
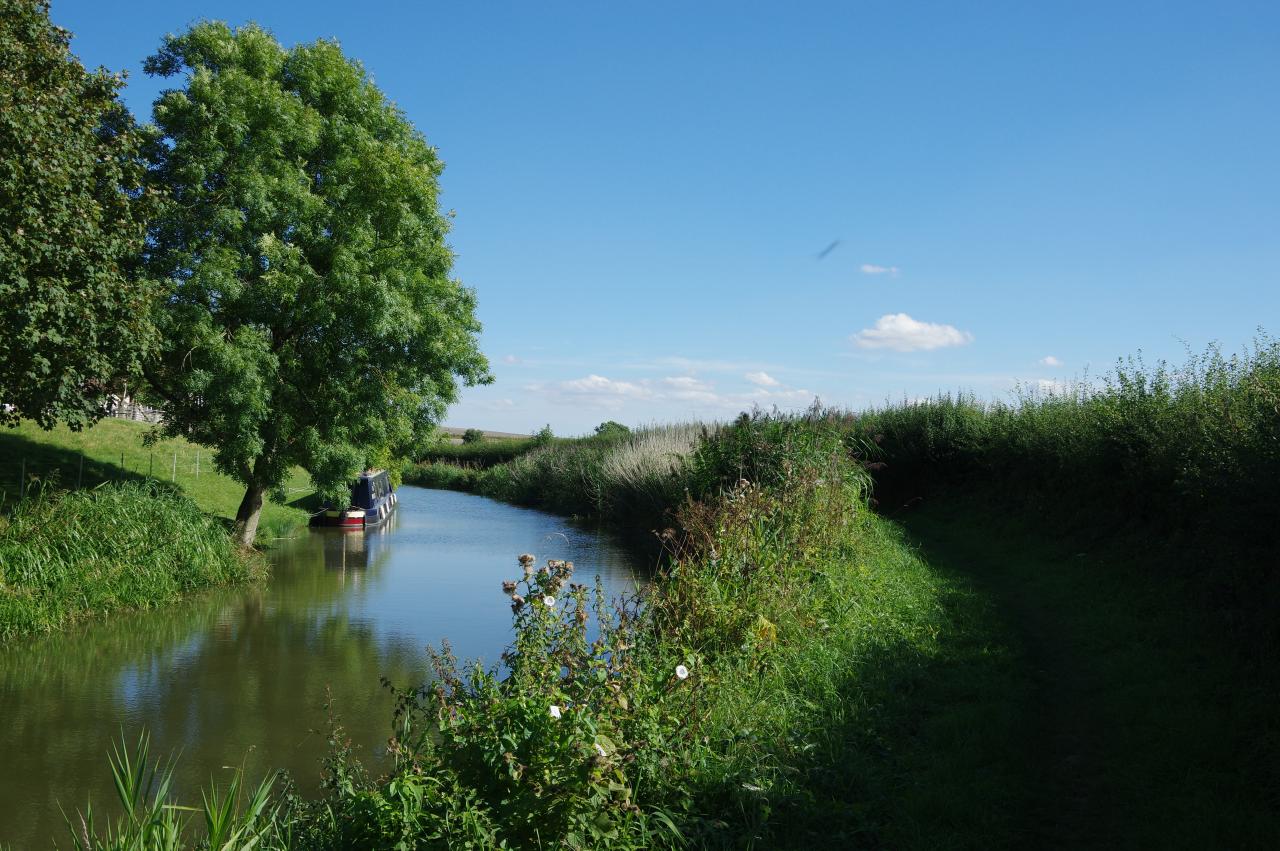
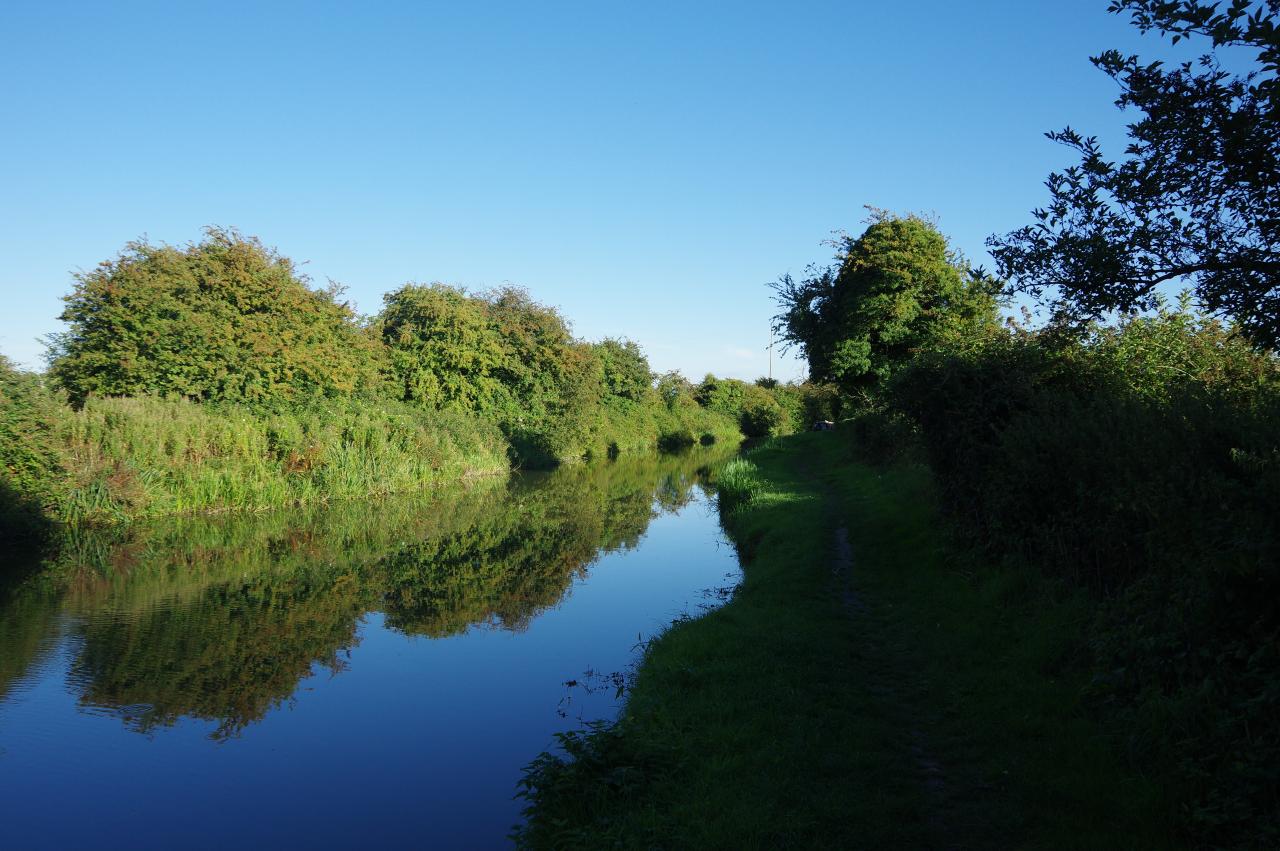
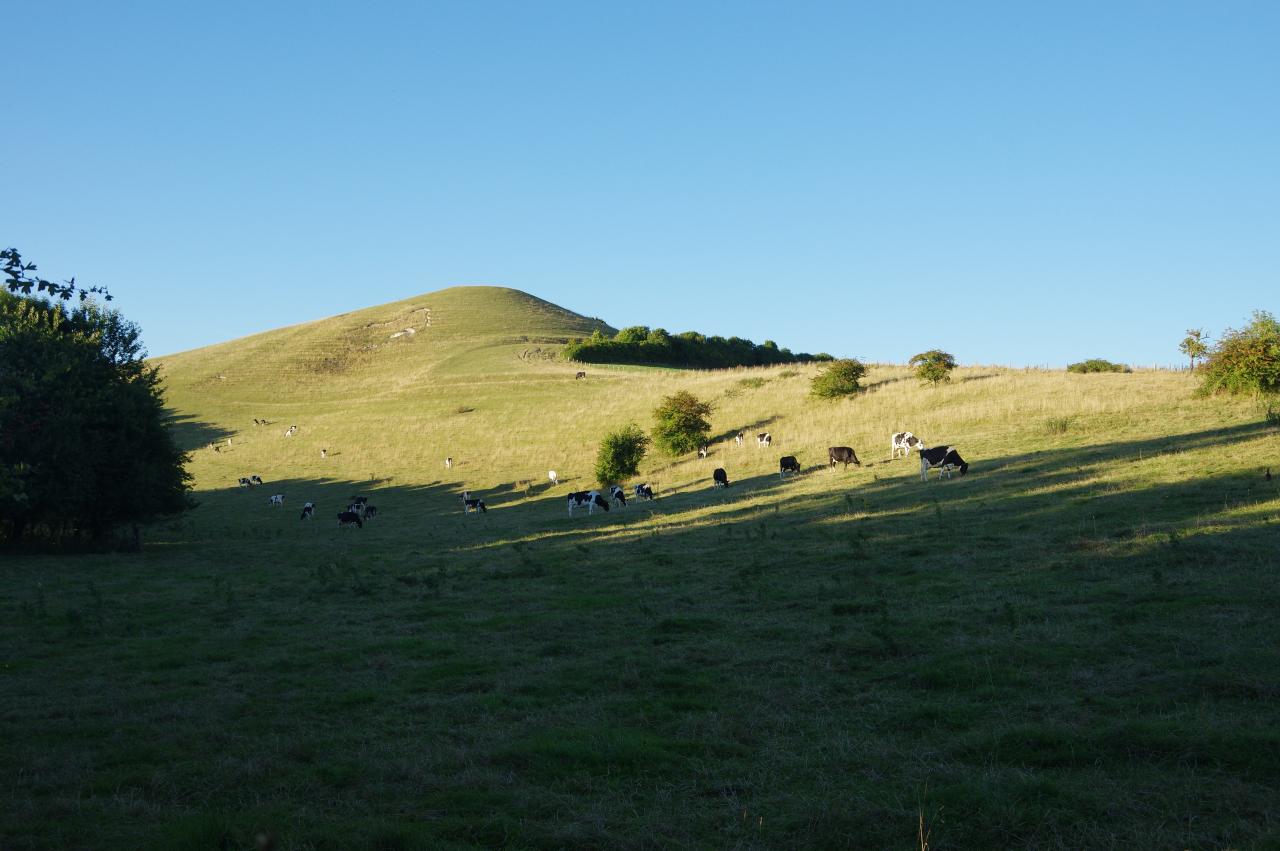
The path is soon in open countryside as the canal bends to the right and heads through an area known as Hilperton Marsh. These days this landscape is dominated by farmers' fields rather than marshland. The weathered concrete Bridge 165 is ignored by the path, but gives a good view ahead and to the right (picture 3). To the left, a large solar energy farm is hidden behind the trees that line the towpath.
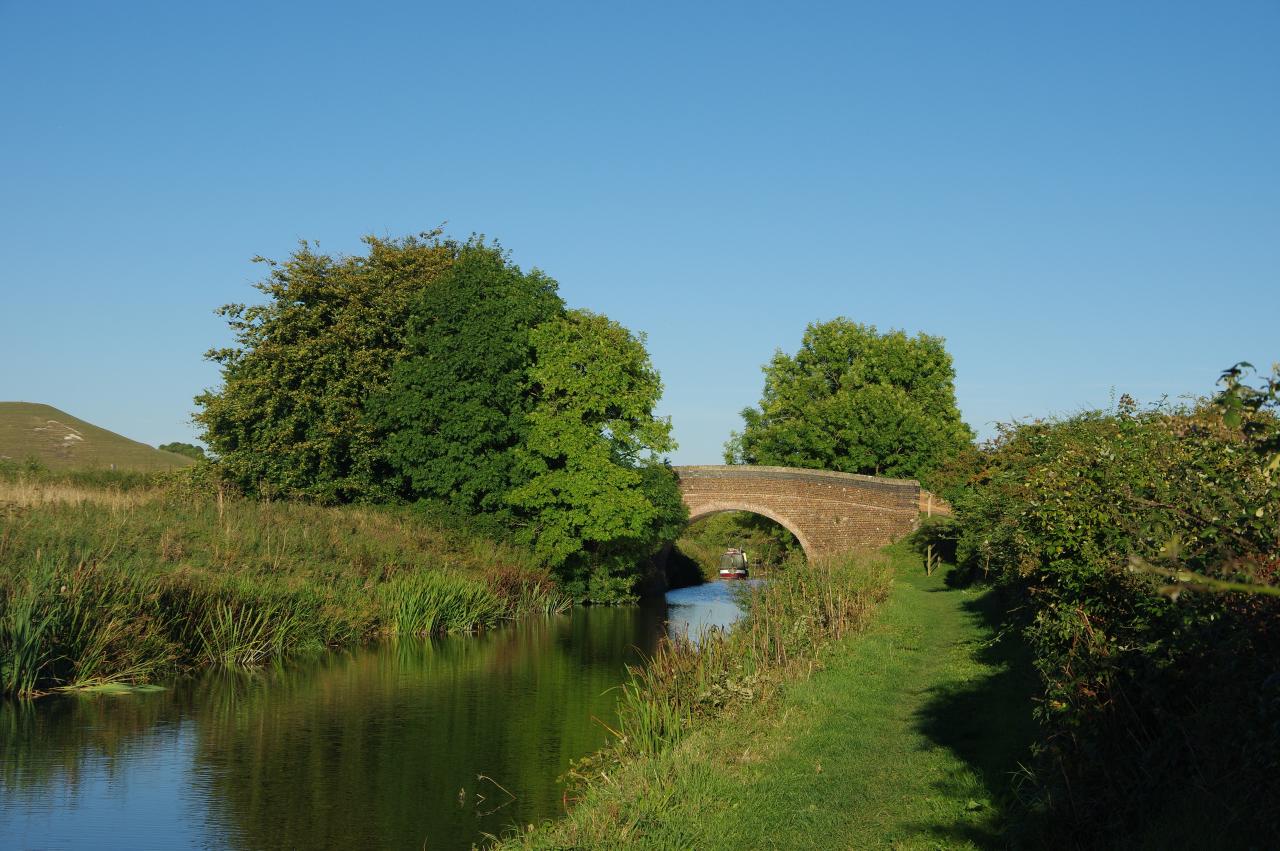
Beyond a few more fields the path passes under Bridge 163 — there's no trace of Bridge 164 — and soon Bridge 162 (picture 4), which seems a little over-engineered for a bridge that simply connects two fields and doesn't carry any kind of road or track.
(5) Semington Aqueduct
(6) Junction with Wilts & Berks Canal

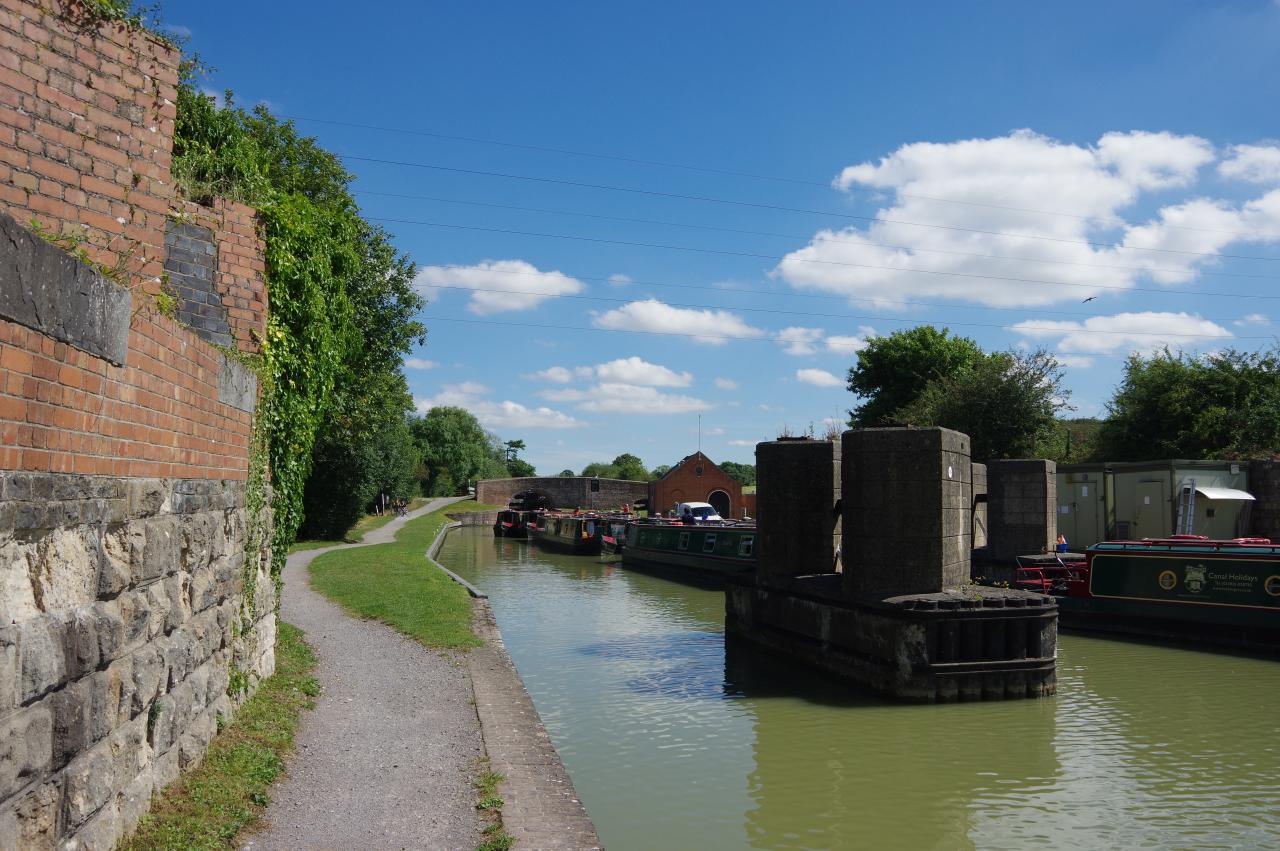
(7) Buckley's Lock
(8) Barrett's Lock
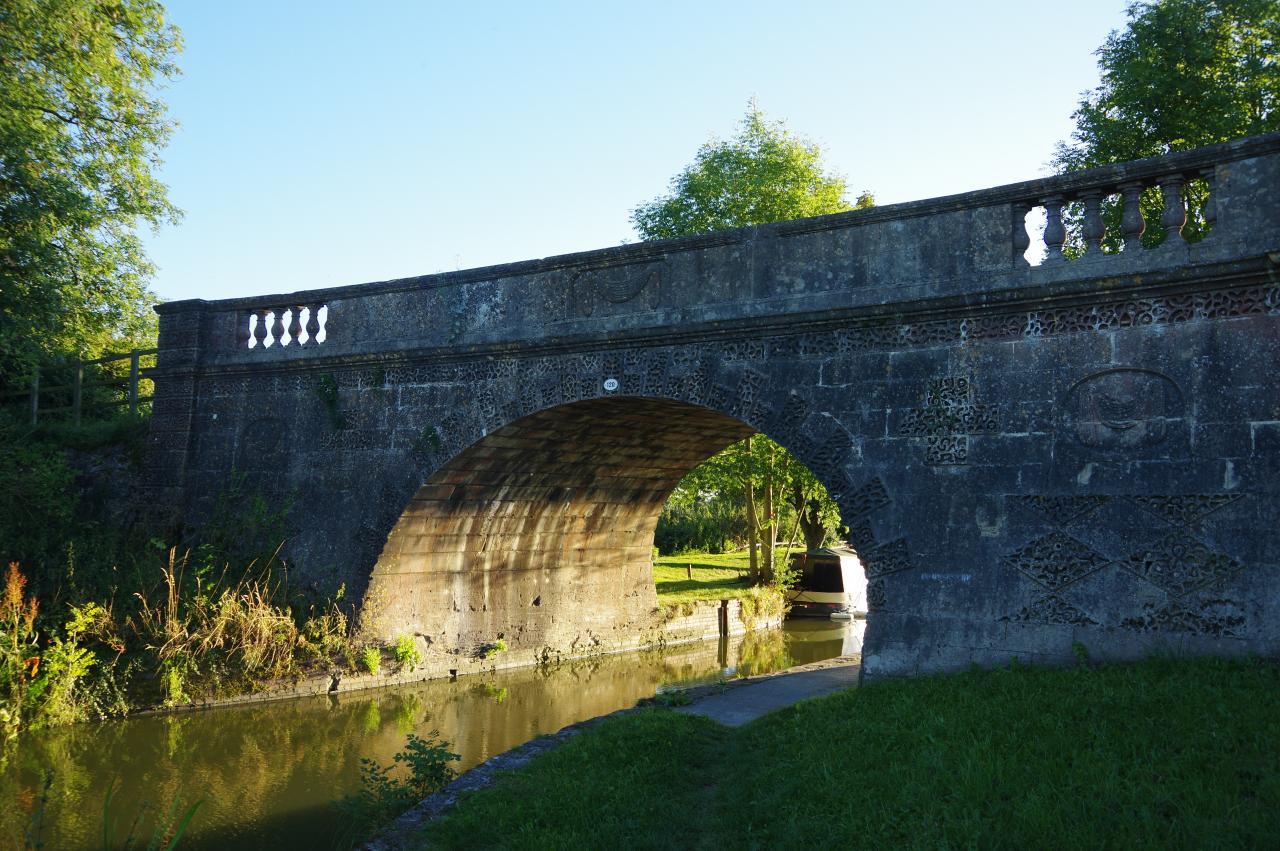
A very peaceful stretch of the towpath follows until the canal eventually traverses a long S-bend to cross a short aqueduct over Semington Brook (picture 5) and pass under Semington Bridge. The latter carries a minor road linking the village of Semington, a few minutes walk to the right, with the larger town of Melksham, a couple of kilometres to the left. A sign on the bridge advertises Semington's pub, but it was still more than an hour until opening time, so I decided to press on.
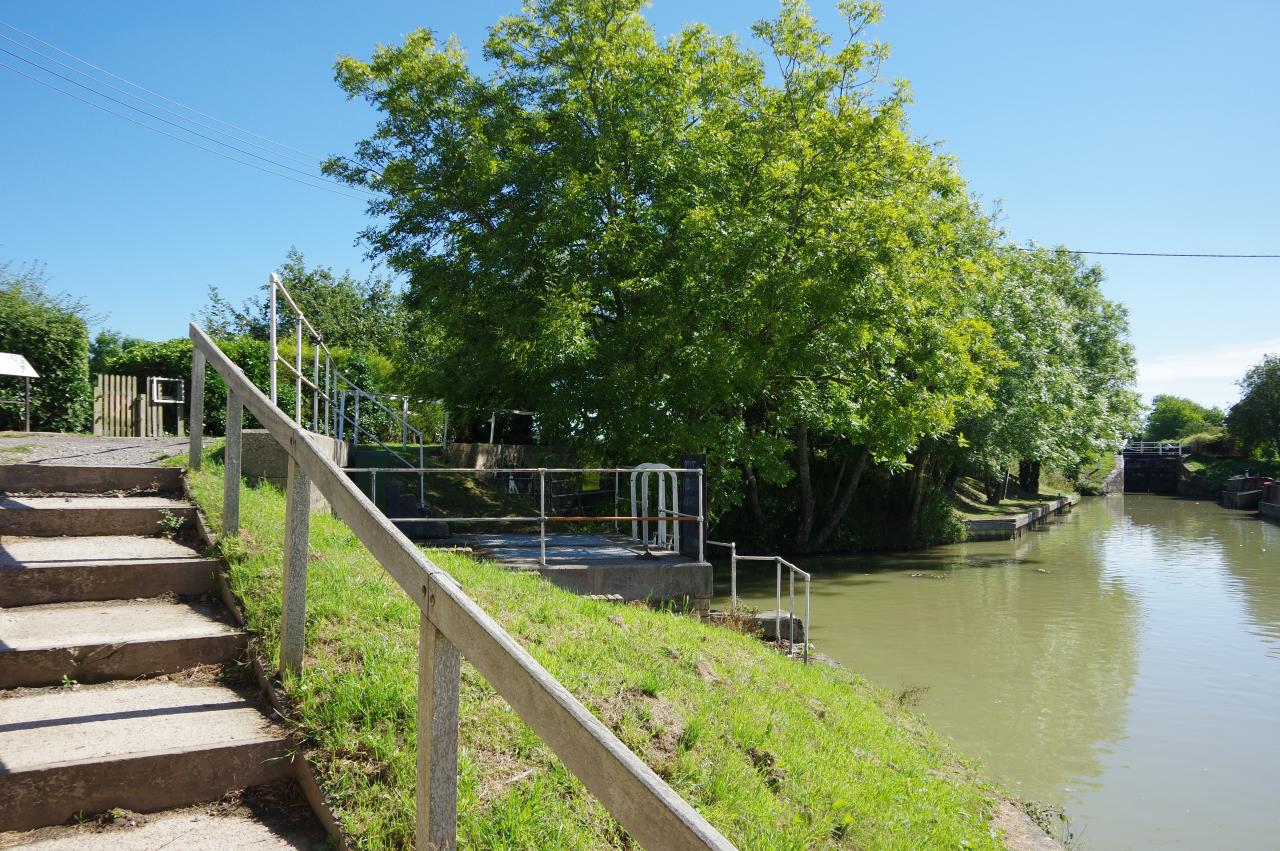
Immediately beyond the bridge is a flight of steps up to a bridge over the former junction of the Kennet and Avon with the Wilts & Berks Canal (picture 6). Completed in 1810, the same year as the Kennet and Avon, the Wilts & Berks Canal ran for 84 kilometres to join the River Thames at Abingdon near Oxford. After the canal was abandoned in 1914 it rapidly fell into disrepair and parts of it were filled in or built over, including the stretch between Semington and Melksham, most of which is now buried under industrial developments. However, there are efforts to restore the canal and an information board near the bridge proposes a new route between Semington and Melksham.
Just after the canal junction is Buckley's Lock, which has an unusually large lock-keeper's house (picture 7) and a few minutes further along the towpath is Barrett's Lock (picture 8).
(9) New Semington Aqueduct

(10) Bridge 155
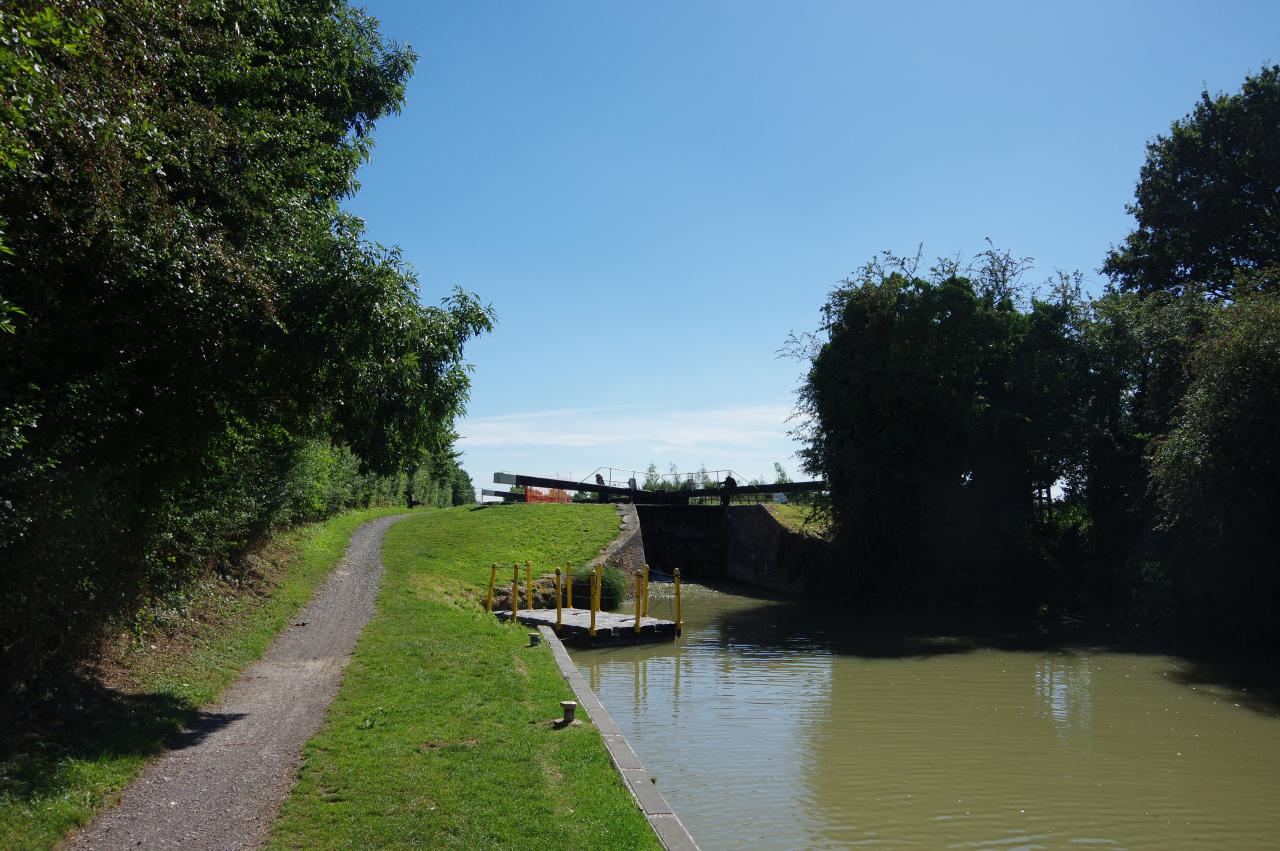
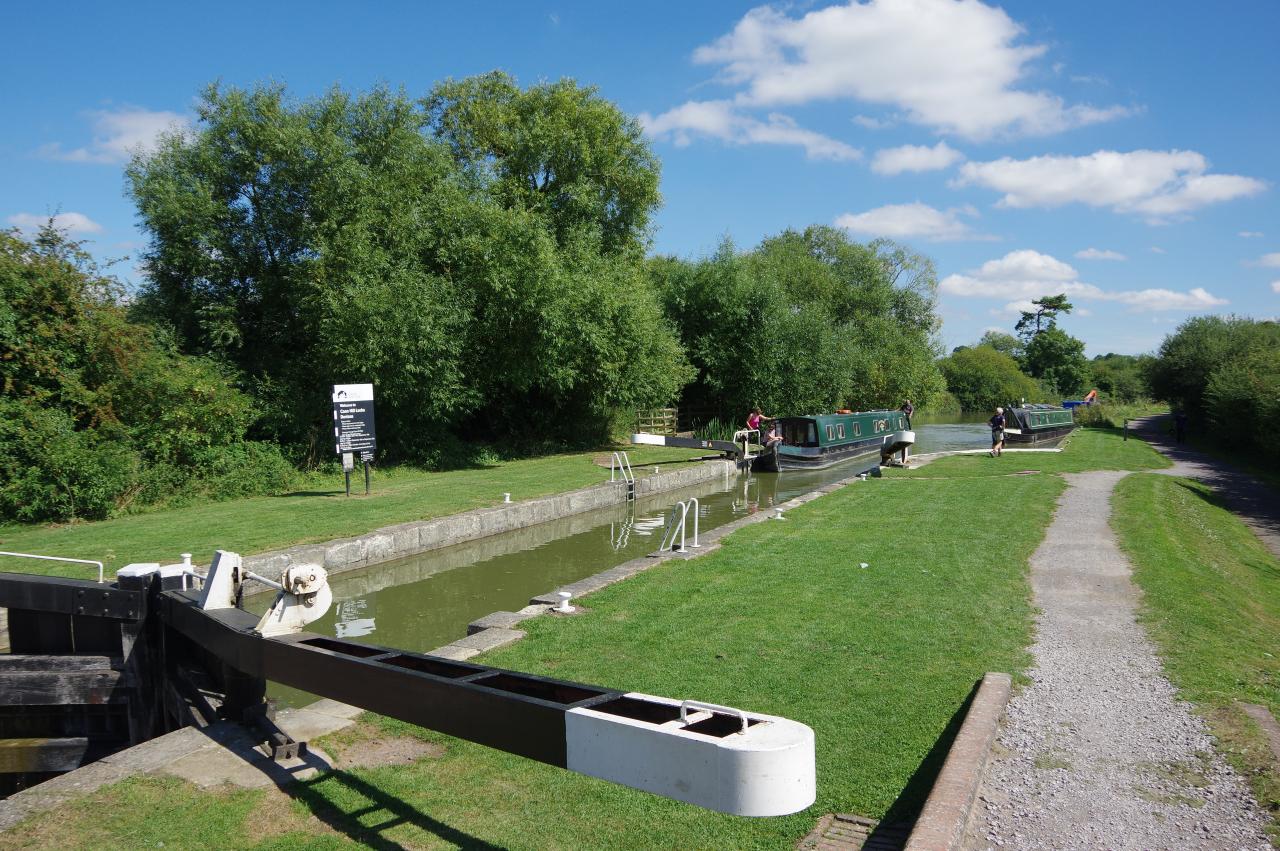
(11) Seend Bottom Lock
(12) The Barge Inn, Seend
Next up is the New Semington Aqueduct (picture 9). This is a relatively recent addition, built in 2004 to allow the A350 Trowbridge Bypass to pass under the canal. The aqueduct is long enough to allow the road to become a dual carriageway in the future.
Another quiet stretch of the towpath follows, passing by crop-filled fields and the small Giles Wood, with four swing bridges spaced at fairly regular intervals. The last of these, Bridge 155 (picture 10), is next to a picnic area created by the Bowerhill Residents Action Group.
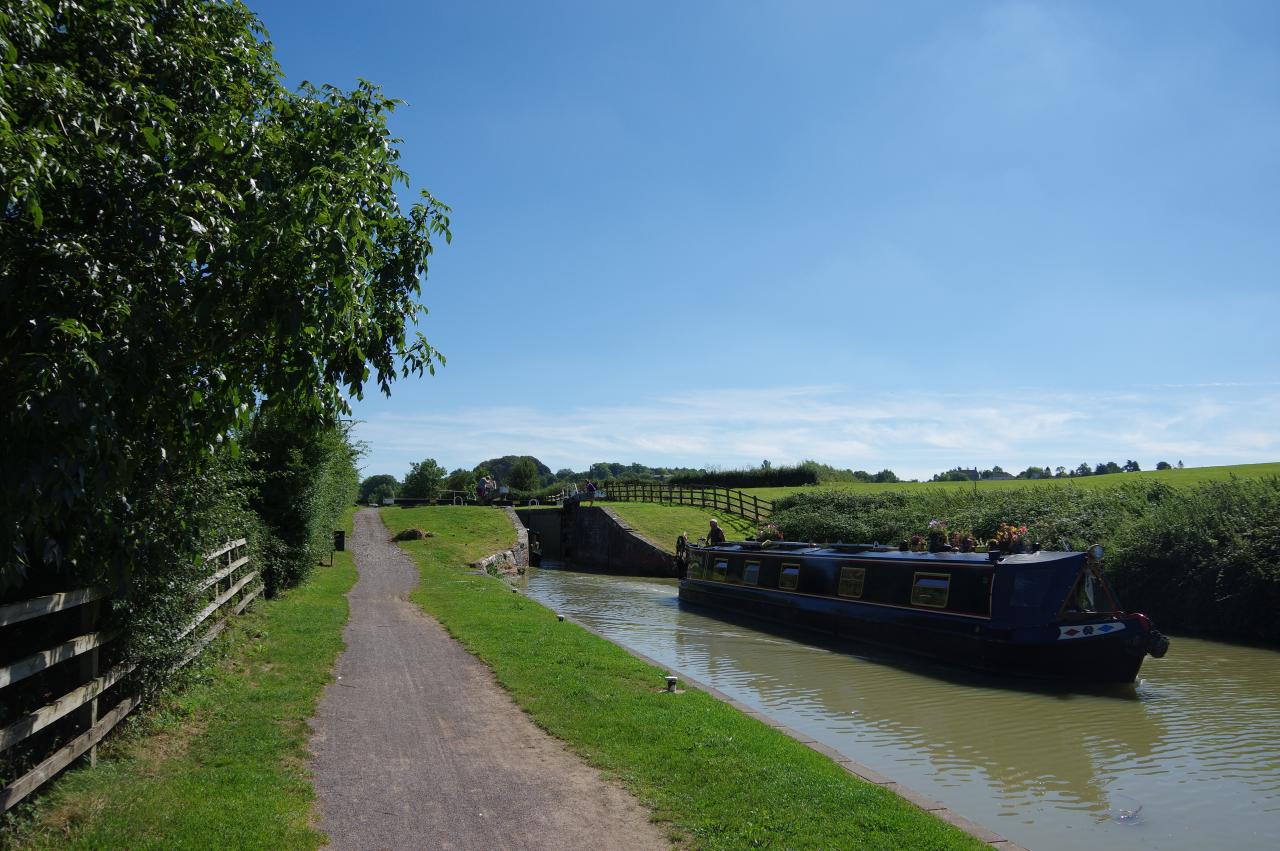
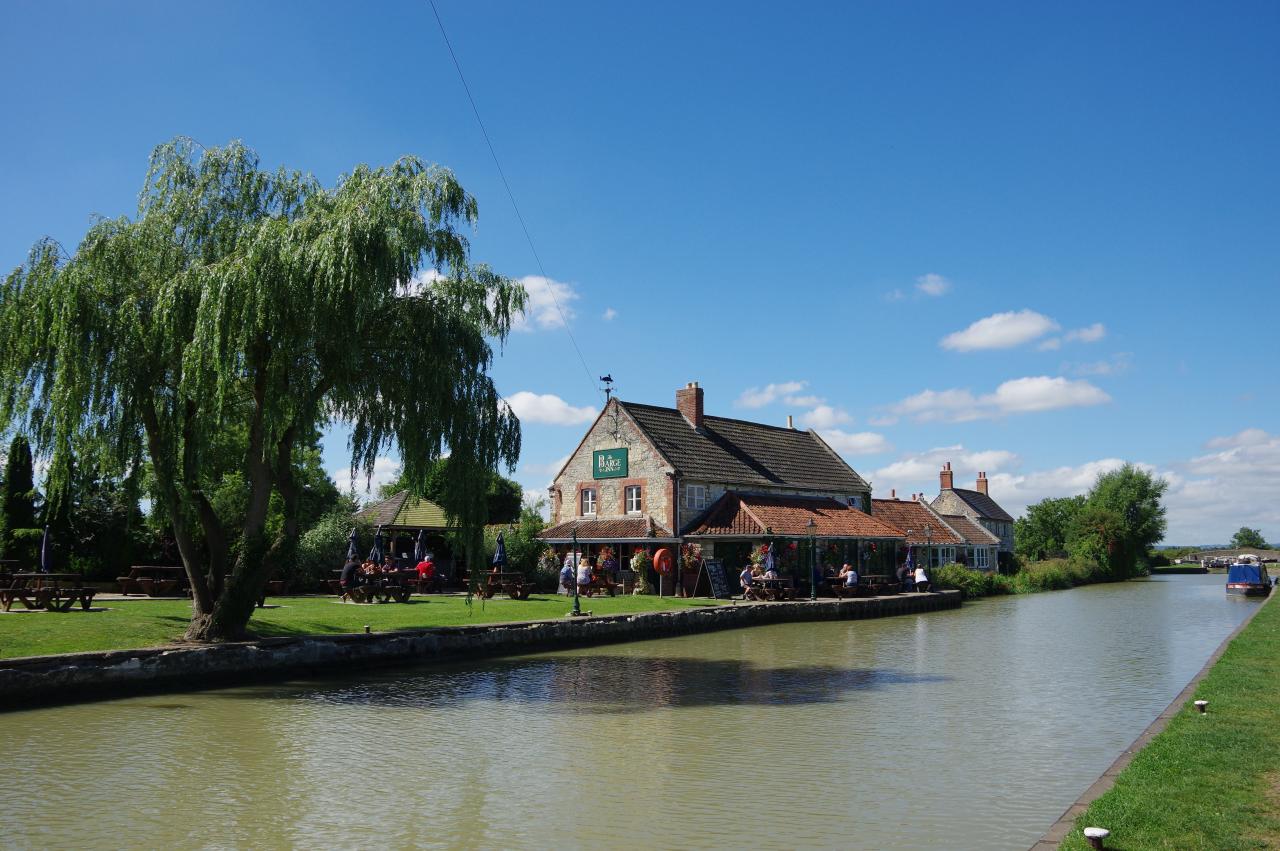
Beyond the next bend in the canal, the path reaches Seend Bottom Lock (picture 11), the first of a series of five locks spaced over the next kilometre as the canal passes a little to the north of the villages of Seend Cleeve and Seend. On the other side of the canal, accessed by a road bridge, the large Barge Inn (picture 12) stands between the second and third locks.
(13) Seend Top Lock
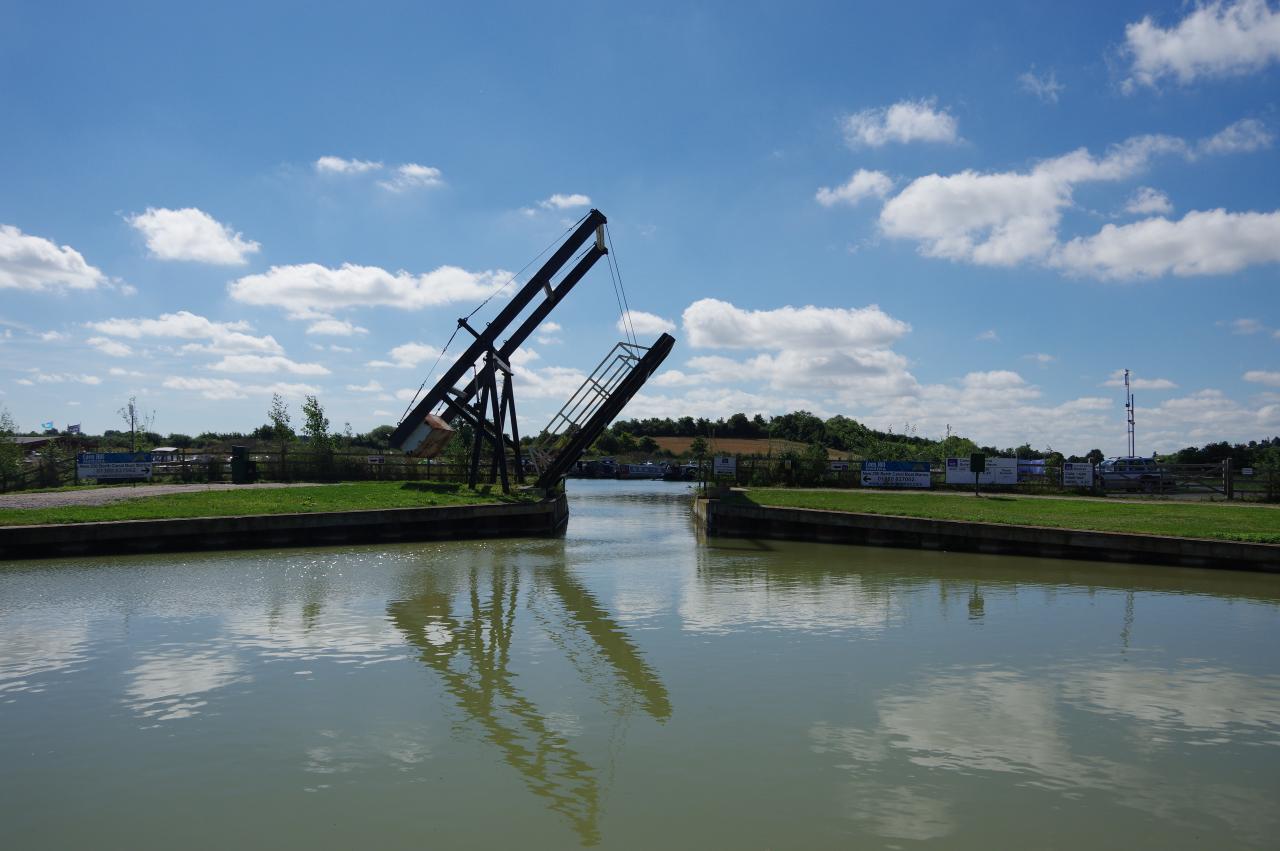
(14) Spout Lane Bridge, Sells Green
(15) Bath Road Bridge, Sells Green
(16) Caen Hill Marina
Immediately beyond the next road bridge is Seend Top Lock (picture 13). In total the flight of five locks raises the canal by almost twelve metres.
After two more swing bridges the path passes under two road bridges near the hamlet of Sells Green. The first, carrying Spout Lane, is built of stone but has clearly been patched up several times with a variety of mismatched bricks (picture 14). The second, carrying the A365 Bath Road, is much more pleasing to the eye (picture 15).
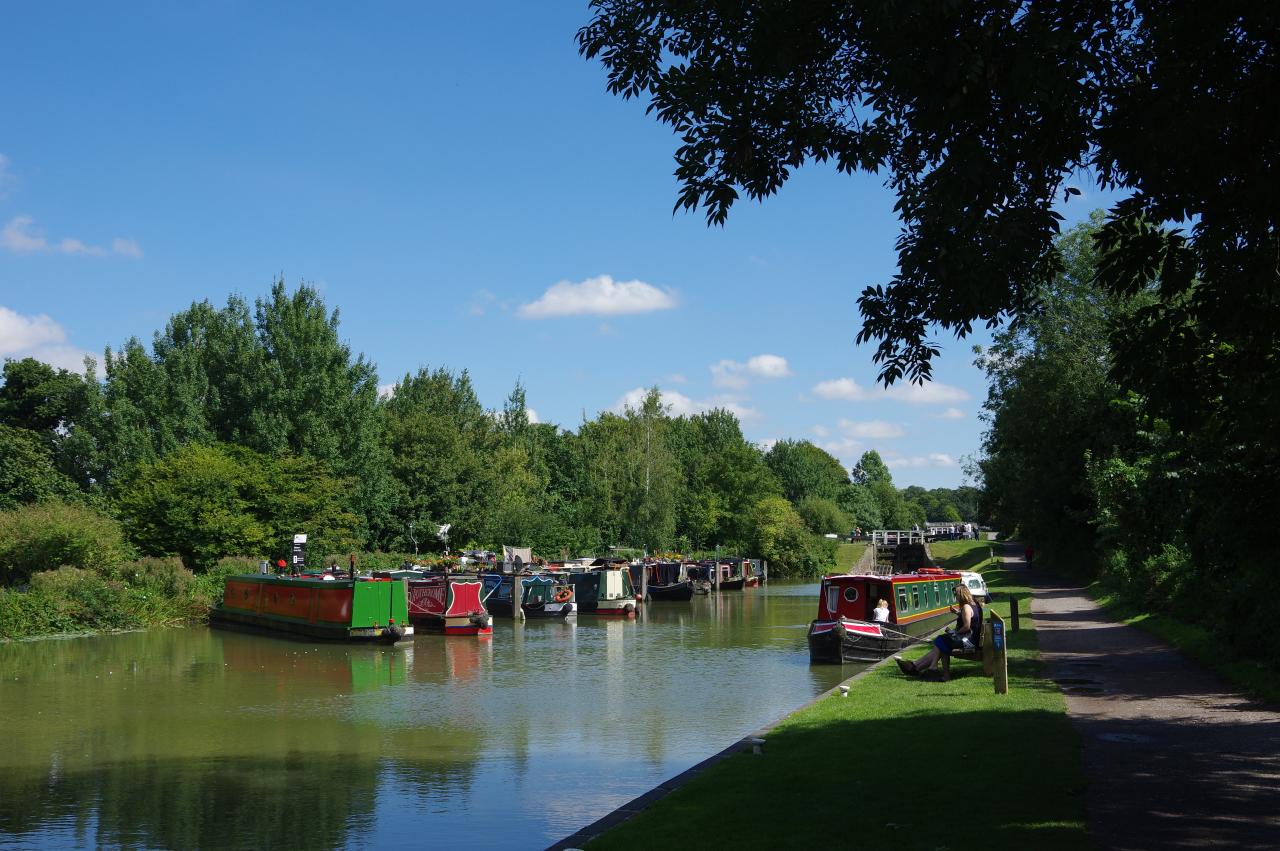
From Sells Green, a disused railway trackbed runs parallel to the towpath for the next kilometre until it passes opposite the Caen Hill Marina (picture 16), the largest I had passed so far.
(17) Remains of Bridge 147
(18) Foxhangers Wharf Lock
(19) Lower Foxhangers Farm
(20) Caen Hill Lock Flight
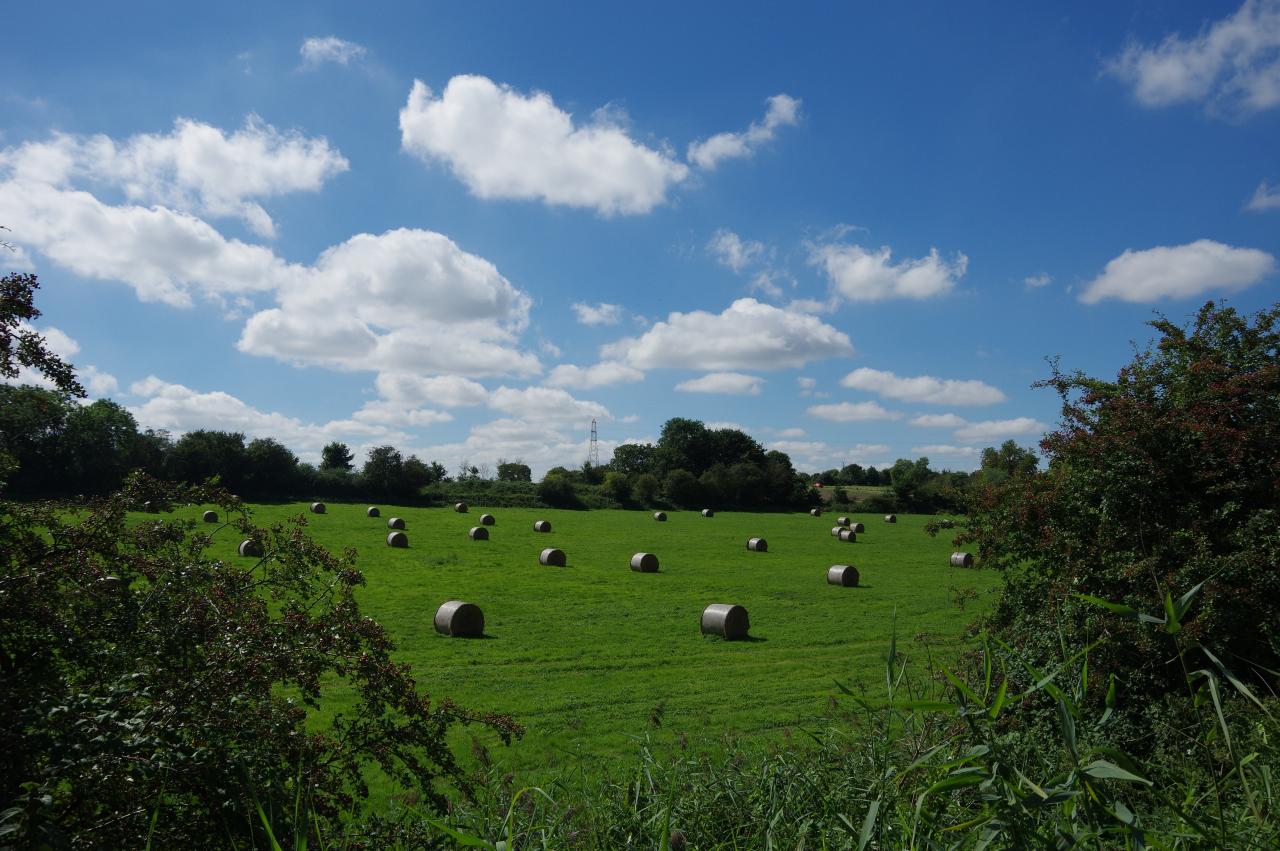
Just past the marina entrance, the canal bends left and passes the piers of a demolished railway bridge (picture 17) before reaching Lock 22, Foxhangers Wharf Lock (picture 18), where the towpath swaps sides of the canal. On both sides of the canal here there are large fields where bales of hay had recently been harvested (picture 19).
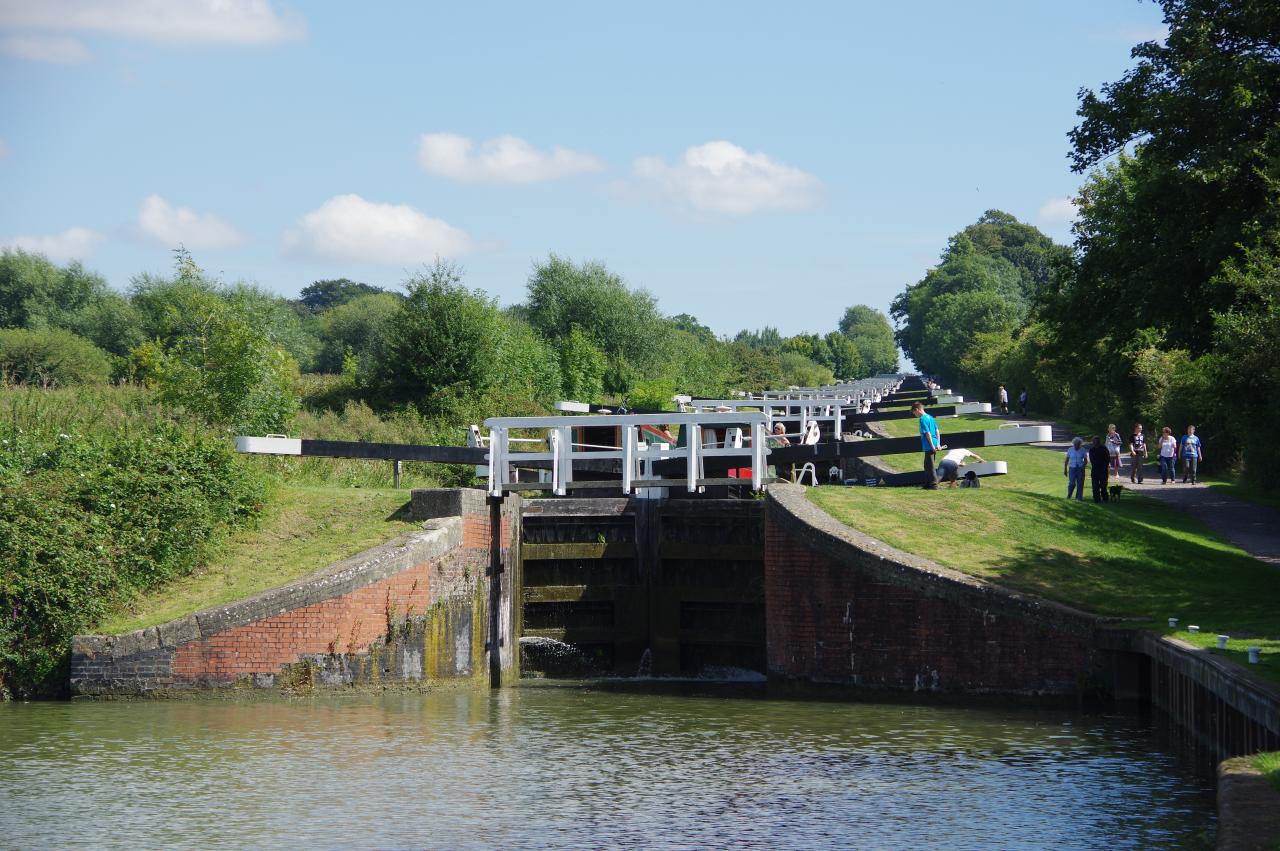
This is the first of a series of 29 locks that take the canal up Caen Hill to the town of Devizes, raising the water level by 72 metres in a little over three kilometres. Negotiating the entire series of locks is a significant undertaking. Even for an efficient skipper, it takes around six hours.
The first seven locks are similar to those seen so far, spaced out over a little more than a kilometre. Shortly after passing Foxhangers Bridge Lock (number 28), the path reaches the main flight of 16 consecutive locks (picture 20), numbered 29 to 44. This impressive feat of engineering was the last part of the canal to be completed in 1810. Due to the very short distance between these locks, there is a large pool on the far side of each lock to ensure that there is enough water to operate the locks. There is also a pump capable of moving more than thirty million litres per day back up to the top of the flight.
(21) View back from Lock 44
(22) Approaching Lock 45
(23) The Black Horse Inn
(24) Devizes Lock
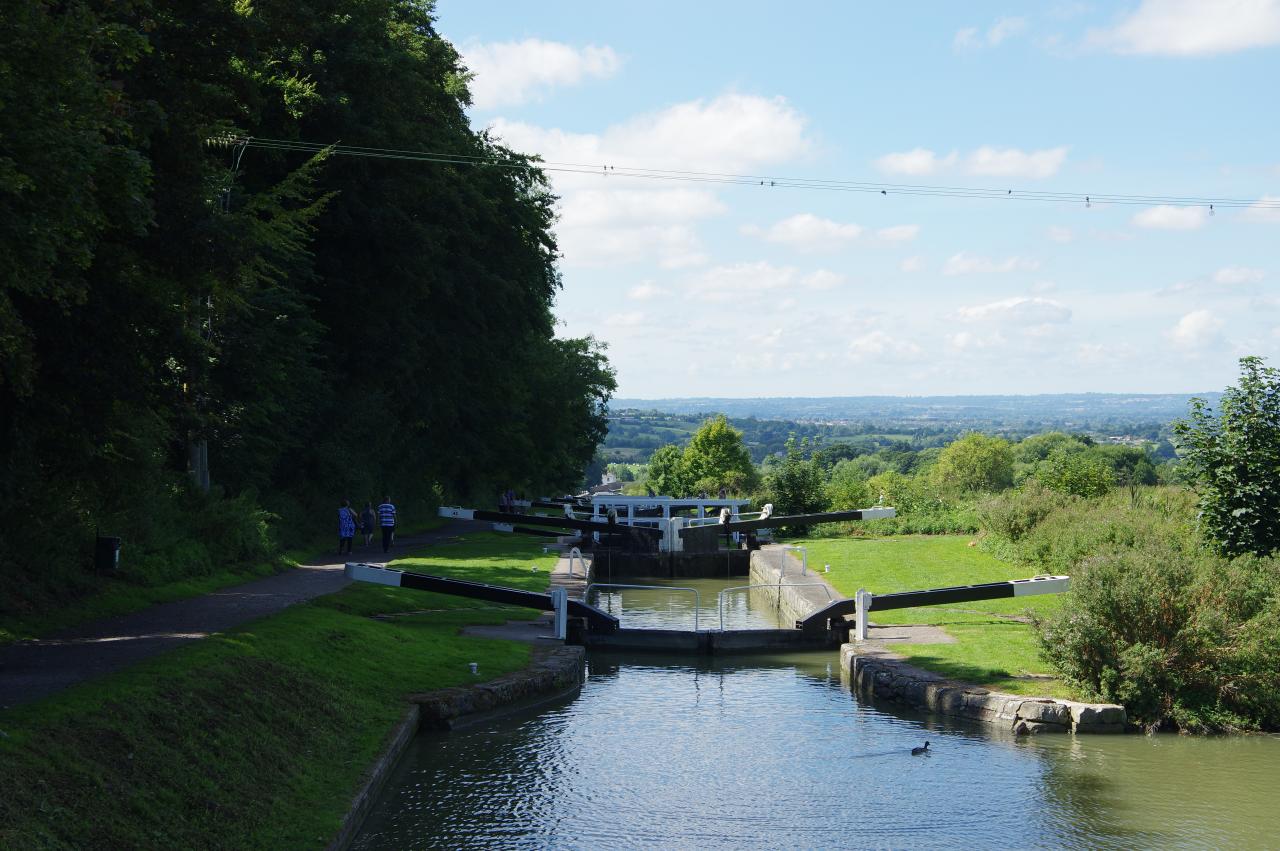
The towpath climbs up Caen Hill to the right of the locks, the only uphill climb of any significance on the entire Kennet and Avon Canal Path. From the top of the flight, there are views back across the west of Wiltshire (picture 21).
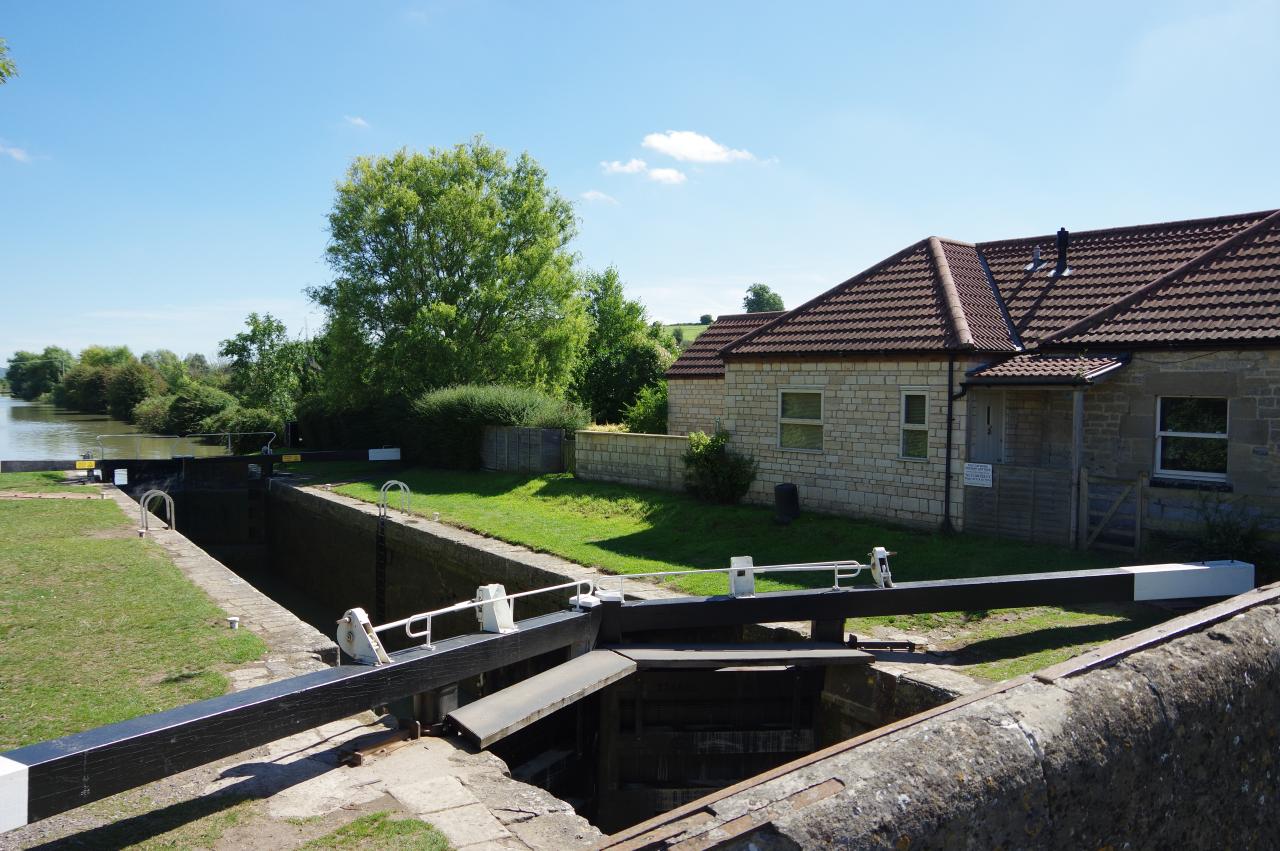
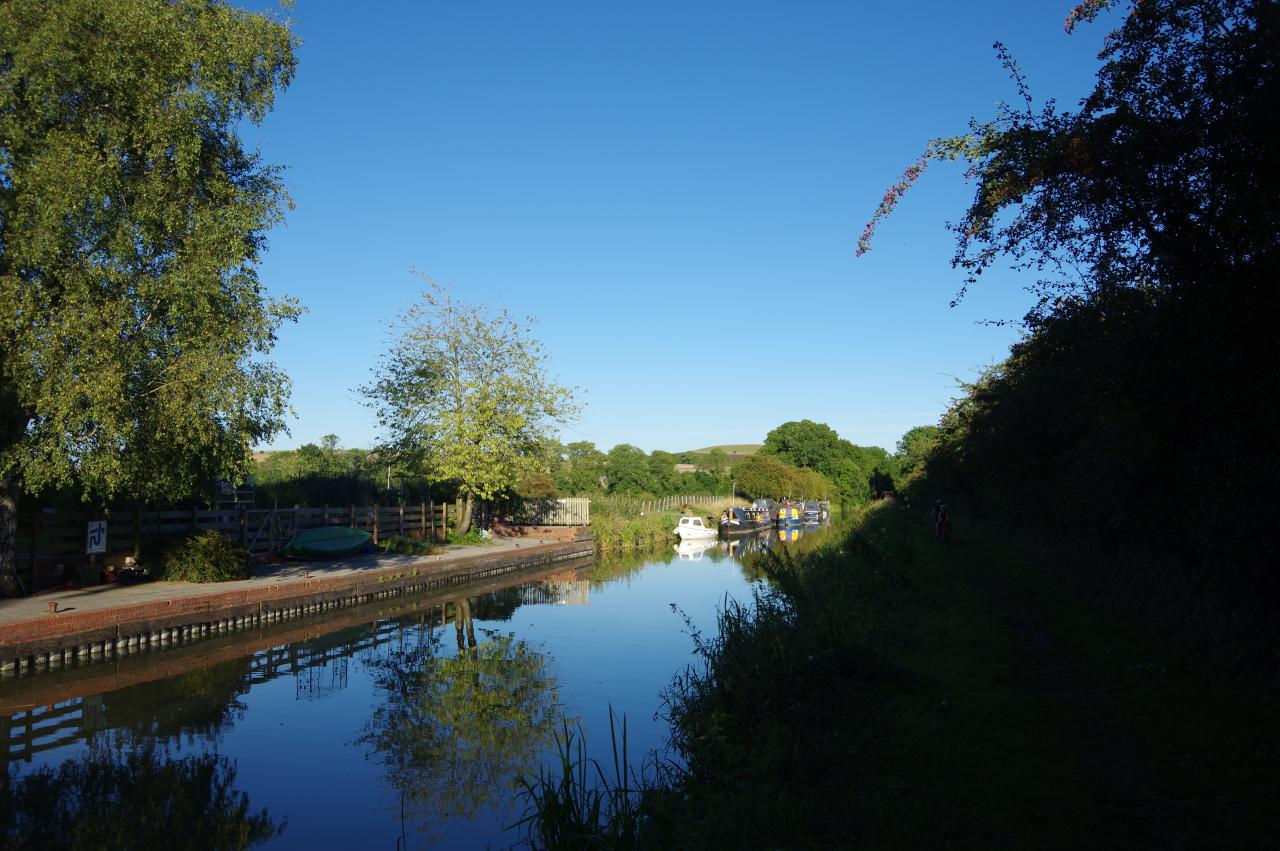
The gradient decreases as the canal approaches lock 45 (picture 22), the first of six more locks on the way through the northern fringe of Devizes. Between locks 47 and 48, the large Black Horse Inn occupies the opposite bank (picture 23). At Lock 50, Devizes Lock (picture 24), the towpath loops around to the right to use the adjacent road bridge to change sides of the canal.
Lock 50 would be the last one I would pass for the day. The next lock is around 24 kilometres away, making this the longest pound on the entire canal.
(25) Devizes Wharf
(26) The Market Place
(27) The Bear Hotel and Corn Exchange
(28) Wadworth Brewery
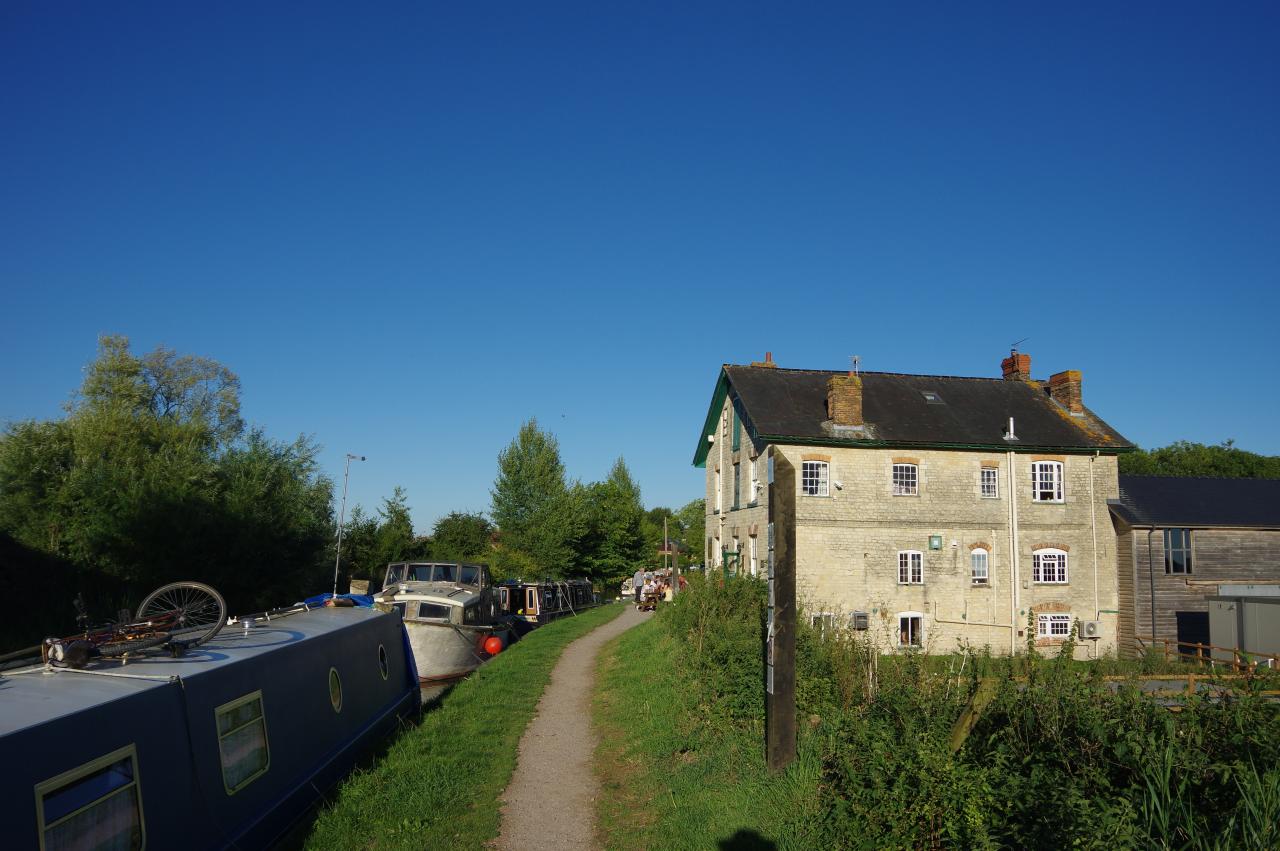
The towpath passes opposite Devizes Wharf (picture 25), before using the next bridge, number 140, to cross over to it. From here, I left the path for about an hour and went into the nearby town centre to find some lunch and to explore.
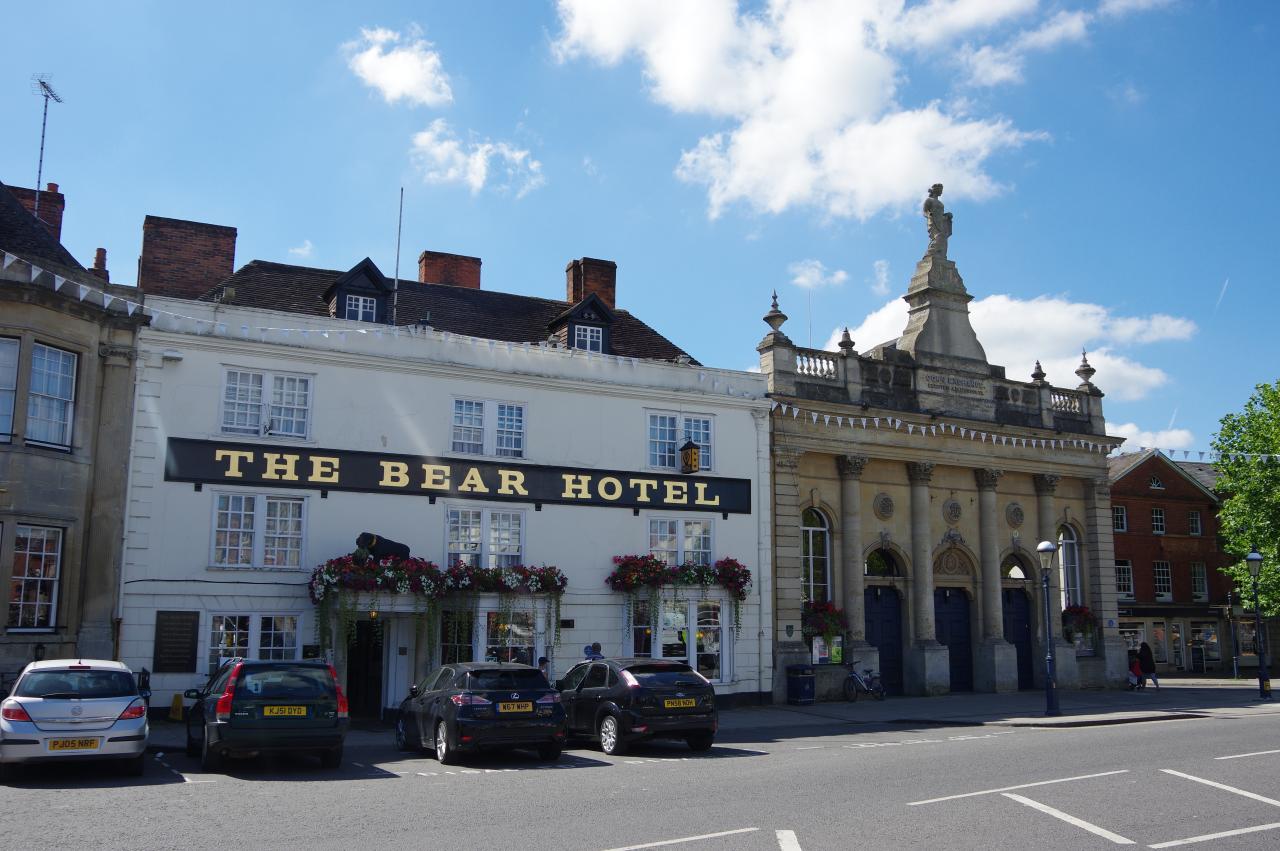
Devizes is a town of around 13,000 people with a history believed to stretch back to before the Romans arrived in Britain. Today the town has more than 500 listed buildings, including most of those lining both sides of the Market Place (picture 26). At the southern end of the Market Place are the Bear Hotel and the Corn Exchange (picture 27). The latter was built in 1856 to provide local farmers with a covered market and is, appropriately, topped by a statue of Ceres, the Roman goddess of grain and agriculture.
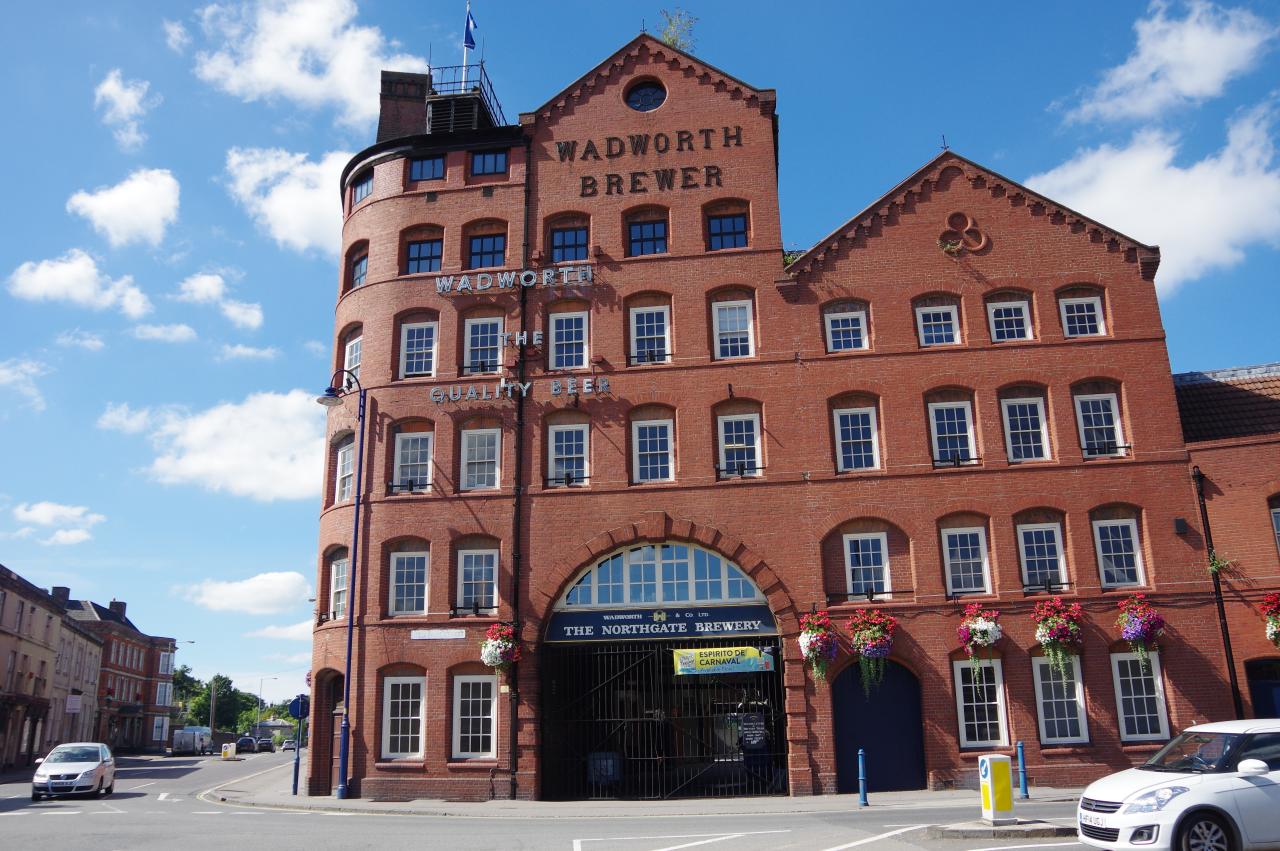
A short walk to the north-west of the Market Place is the imposing, six-storey Victorian facade of the Wadworth Brewery (picture 28), which dates from 1885. On my one previous visit to Devizes I joined the fascinating brewery tour. Wadworth are one of the few breweries that still has it's own cooperage (where wooden barrels are made by one of Britain's four remaining Master Coopers) and its own sign shop, which produces hand-painted signs for the brewery's associated pubs. Several of those pubs are in the town and it is not unusual to see beer being delivered to them on a dray drawn by draught horses that are stabled at the brewery.
(29) View ahead from Bridge 140
(30) The Hourglass Inn
(31) Approaching Bridge 133
(32) Canal above Horton Chain Bridge
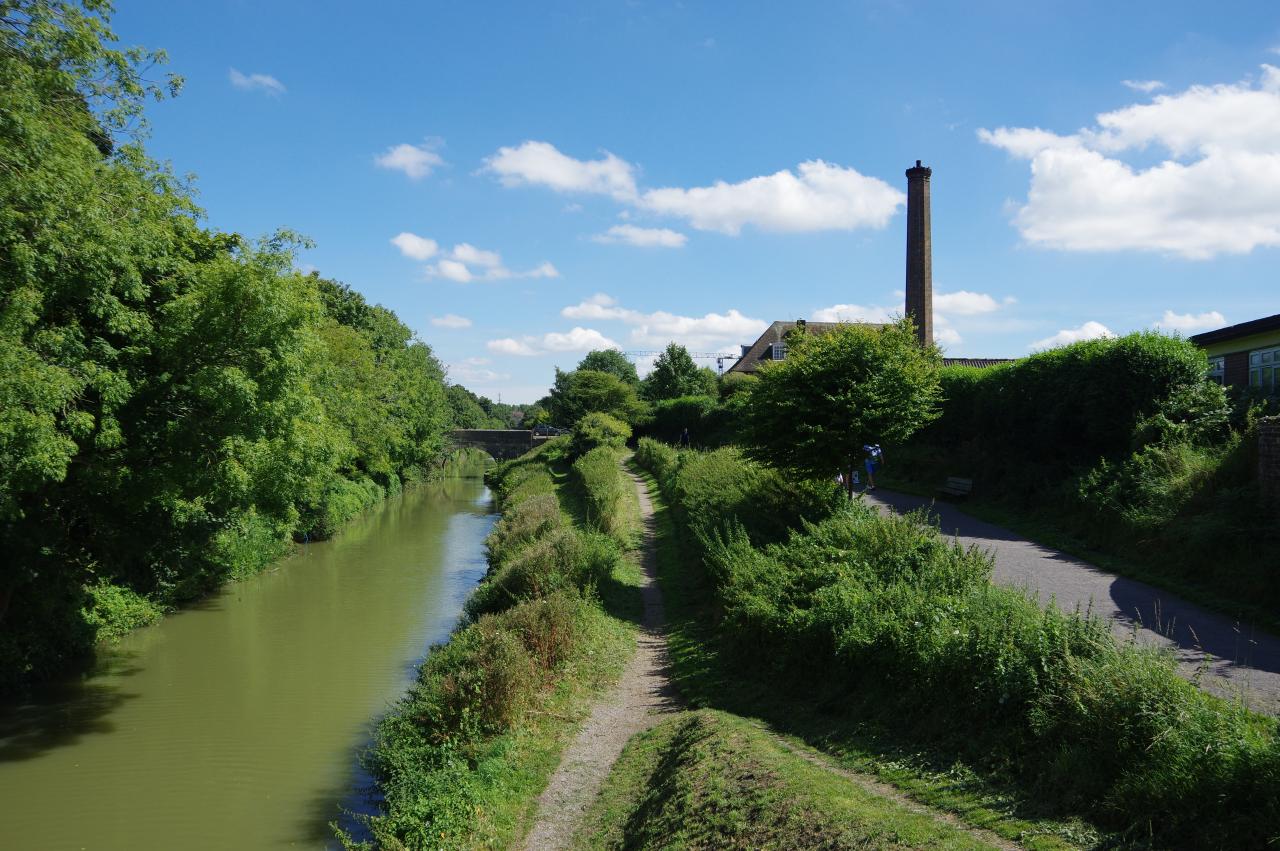
From Bridge 140, the Canal Path runs alongside the Devizes Community Hospital, where a tall chimney briefly dominates the view (picture 29). After crossing the next bridge at road level, the towpath follow a straight stretch of the canal past the back gardens of a long line of terrace houses, though these are mostly hidden by a dense band of scrub alongside the path.
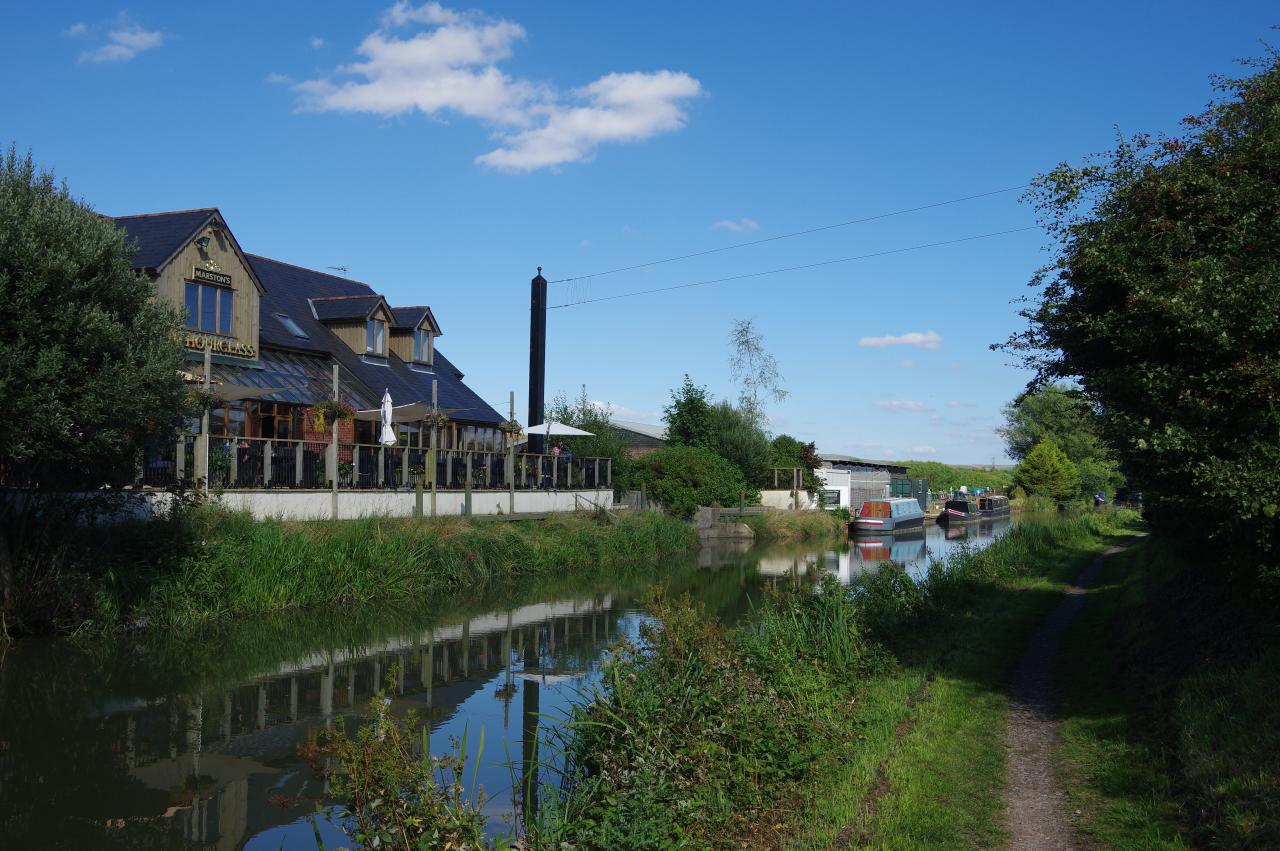
The canal takes a dogleg to the left immediately after passing under the A361, still running through a residential part of Devizes. Beyond two more bridges, the houses give way to fields on the towpath's side of the canal, but there are still houses on the other side. The Hourglass pub (picture 26) stands between the last of those houses and the Devizes Marina, after which the canal is finally into the open countryside of the Vale of Pewsey.
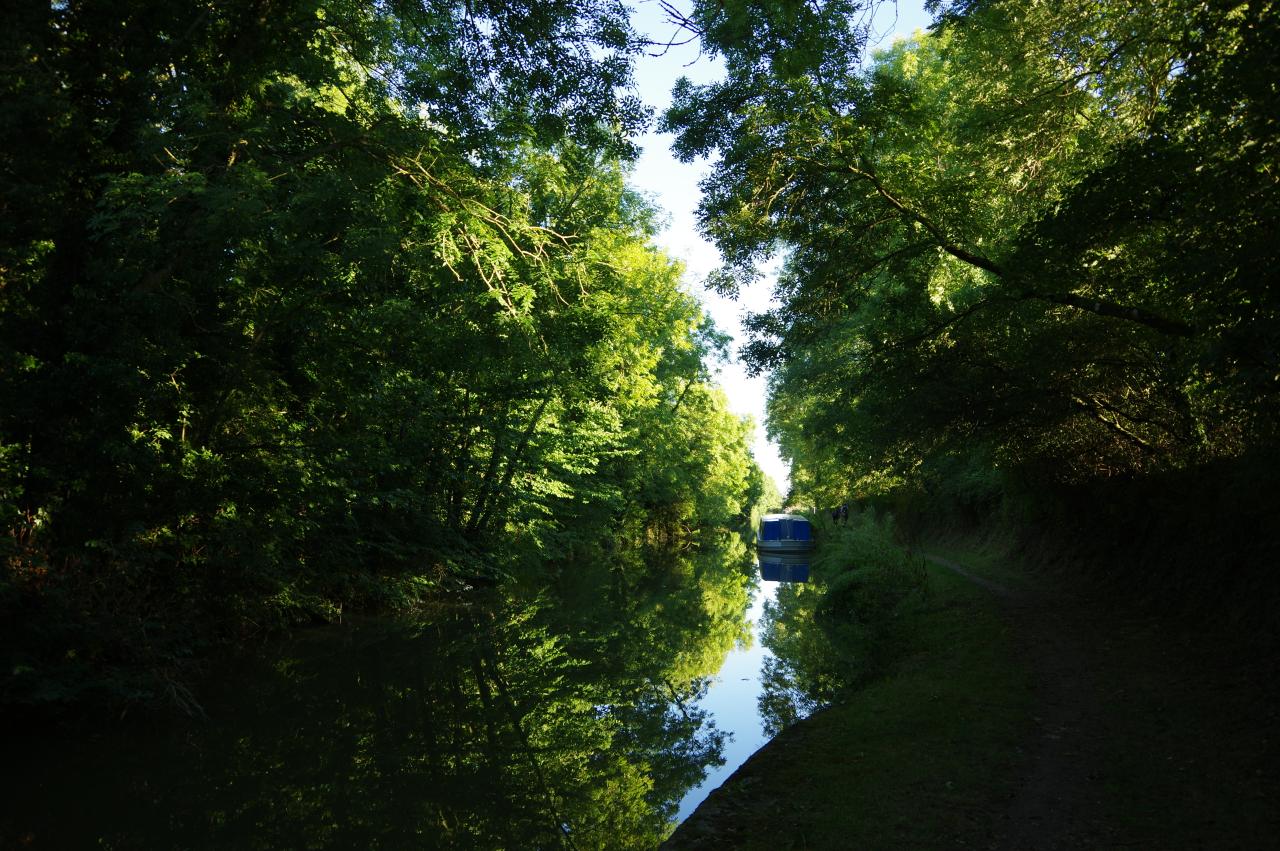
After a few fields comes the isolated Laywood Bridge, then after a few more is Horton Bridge, with the Bridge Inn mostly hidden from view on the other side. A little further on, a group of narrowboats occupied shady moorings by a swing bridge (picture 31). A straight stretch of the canal eventually turns into a long right-hand bend that passes under Horton Chain Bridge before turning back to the left (picture 32). This was a very pleasant spot and I paused here for about ten minutes to eat a snack and enjoy the late afternoon sun.

(33) View towards Pewsey Downs
(34) The Long Barrow
(35) All Cannings
(36) Canal near Stanton St Bernard
The canal continues to wind it's way across the Vale of Pewsey, following the contours of the land. Beyond the fields on the other side of the canal there were plenty of good views up to the low hills of the Pewsey Downs (picture 33).
I was still passing bridges at fairly regular intervals along this stretch of the path, giving me a series of little milestones to mentally tick off. At the third bridge, a swing bridge, I stopped for a few minutes to chat to a boat owner who was opening the bridge. It transpired that he had been in search of a recently reported crop circle in a field a bit further along the canal — Wiltshire is well-known as the worldwide epicenter of crop circle activity.
Sadly the gentleman had arrived just in time to find the farmer harvesting his crop, thus erasing the artwork. Sure enough, when I walked around the next bend in the canal I saw a combine harvester operating on the far side of a freshly harvested field. A shame, as I've never seen a crop circle in person before.
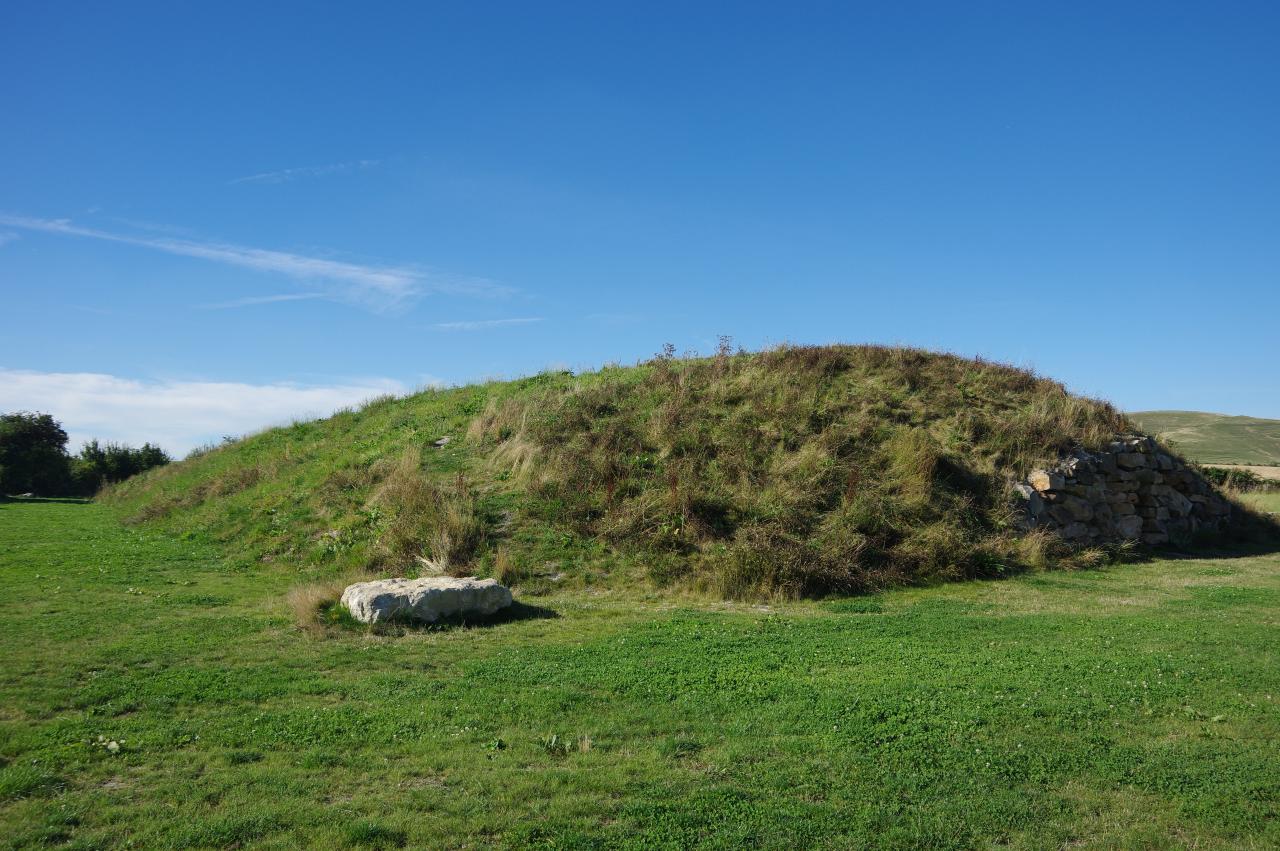
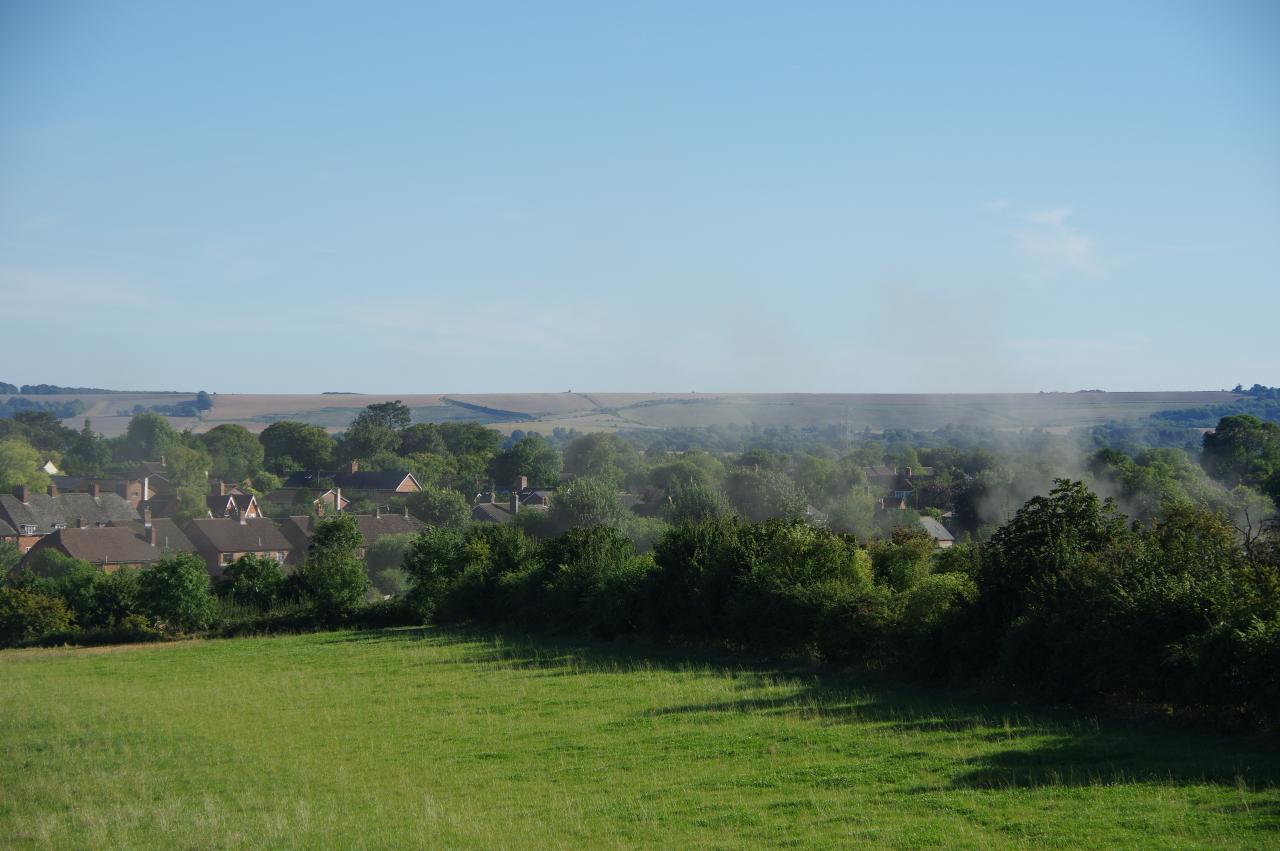
At the next bridge, Woodway Bridge, I took a small detour from the towpath. About 250 metres over the bridge, in the corner of a field, is The Long Barrow (picture 34). From the top of the barrow, there are views to the village of All Cannings, which lies a short distance to the south of the canal (picture 35).
Despite appearances, this is actually a modern creation, completed in 2014, and is the first longbarrow to be built in Britain for around 5,500 years. Inside there are 340 niches for storing urns of cremated human ashes. Like many neolithic longbarrows, the entrance is aligned so that the rising sun will shine along the central passage on the winter solstice.
Back on the canal, it's a short walk to All Cannings Bridge, then a much longer walk to England's Bridge, near the village of Stanton St Bernard. The Canal Path then heads around a gentle bend (picture 36) and onwards to Stanton Bridge.
(37) The Barge Inn, Honeystreet
(38) Honeystreet Wharf
(39) Canal beyond Honeystreet
(40) Woodborough Bridge
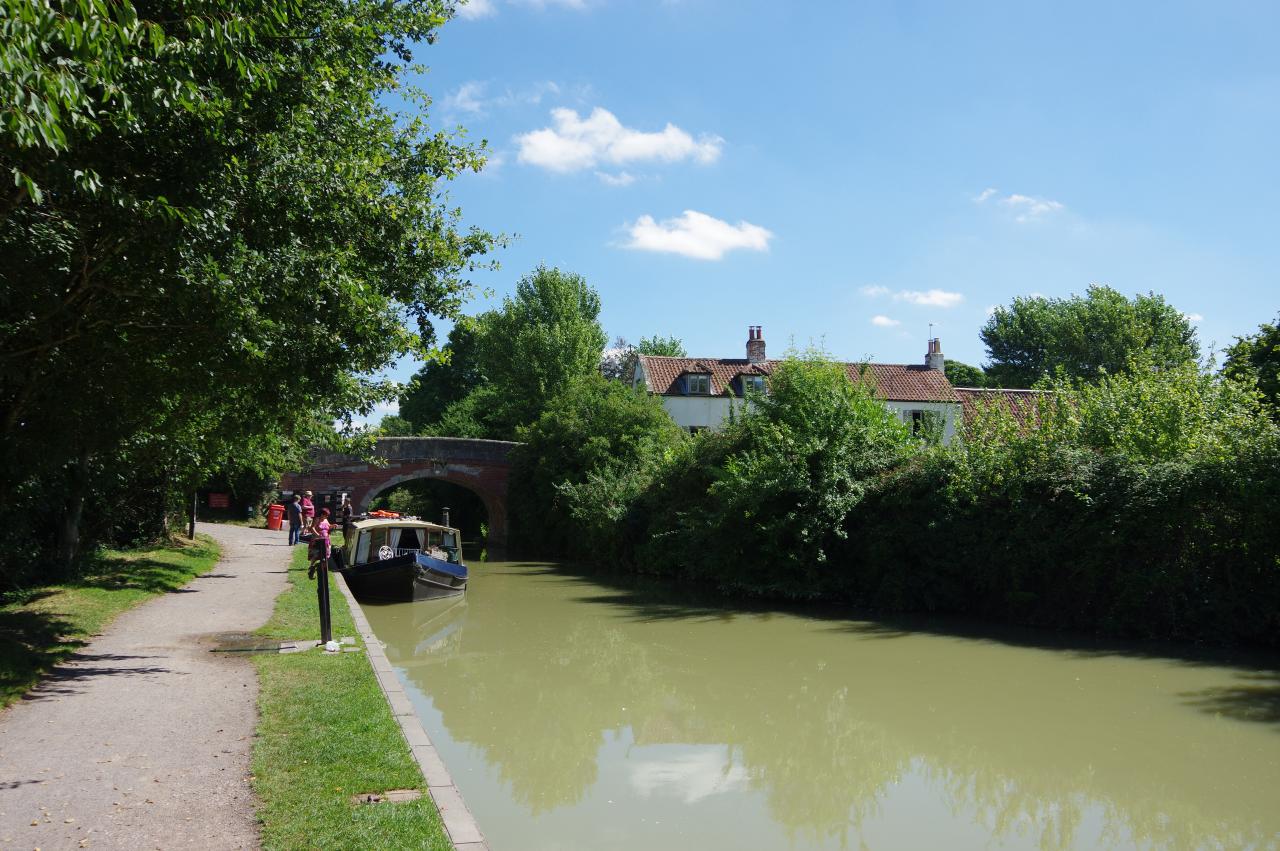
Another quiet length of towpath follows until the canal reaches the hamlet of Honeystreet, where the Barge Inn stands by the towpath (picture 37) and Honeystreet Wharf (picture 38) occupies the opposite bank just beyond the next bridge.
Leaving Honeystreet, the canal bends right and passes under Bridge 123 and a short, shady stretch (picture 39) before a long left-hand curve leads up to Woodborough Bridge (picture 40) and another change of sides for the towpath.
(41) Picked Hill
(42) Ladies Bridge
(43) Wide Water
(44) Pewsey Wharf
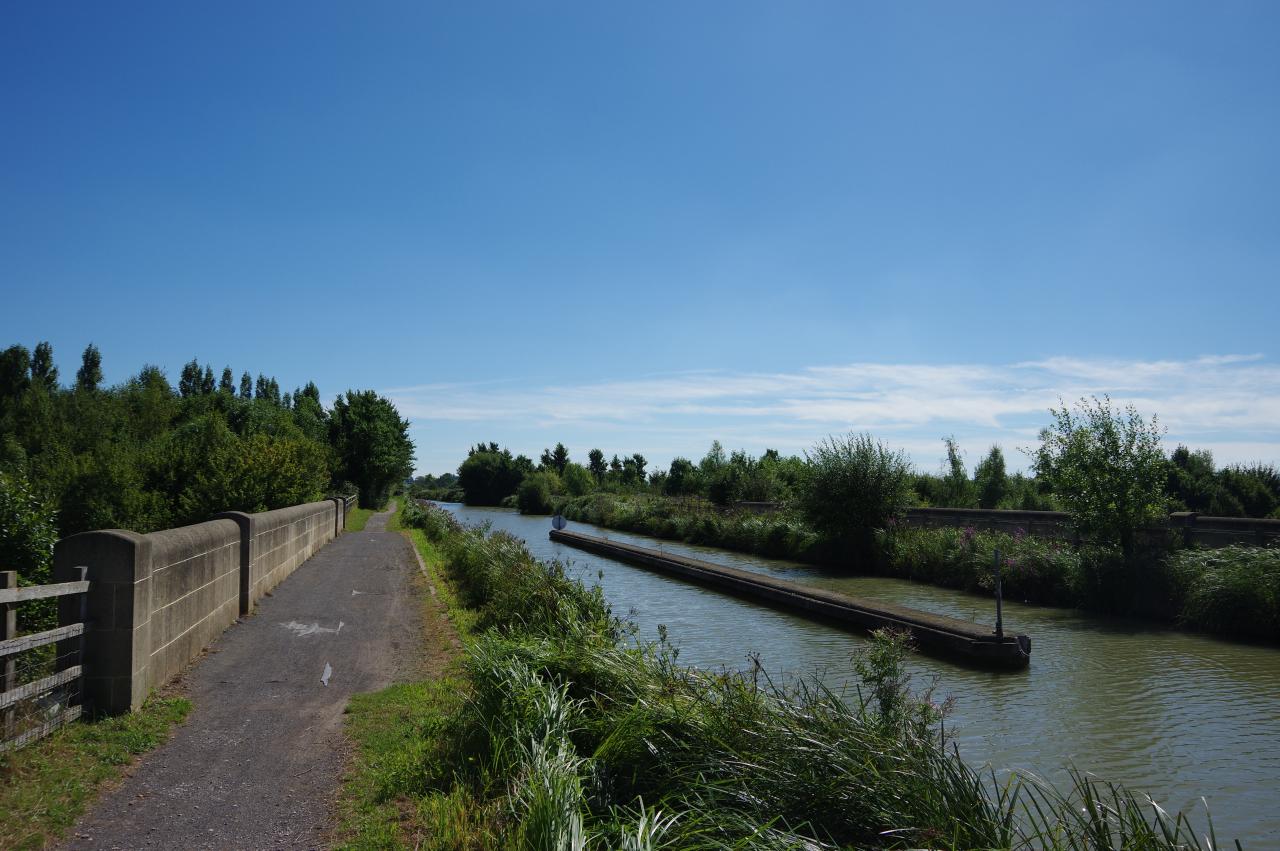
The course of the canal now skirts around the southern slopes of Woodborough Hill and Picked Hill (picture 41) to reach Ladies Bridge (picture 42). The canal broadens temporarily at the appropriately-named Wide Water (picture 43), but this is short-lived and it returns to its normal width by the time it reaches the next bridge.
A straight stretch of canal leads well beyond Wilcot Bridge and under a rather flimsy looking metal footbridge before a fairly acute right-hand bend leads to Bristow Bridge and the day's last change of sides for the towpath. The last short section of the day's walk runs past moorings to Pewsey Wharf (picture 44), where I left the Canal Path for the day, having covered another 35.7 kilometres.
Pewsey Wharf is actually outside the town of Pewsey and it was about another 900 metres walk to reach Pewsey Station. It was getting dark when I arrived and it had been a long day's walking, so I decided to leave exploring the town to another day and caught the first train back to Bristol.